Munchies Tray
Hey hey, it’s the munchies.
Origins
When I set out to do this, I hadn’t really thought of the complications involved in making angled cuts like this. I mean, I knew there would be some, but I had to really dig deep and resurrect some old trigonometry skills. Nah, not really; I used an online calculator, but still, it involved a lot of weird angles. It’s a 15° angle to the sides, but when you are doing the cuts, it’s a double mitre angle cut at a 13.1° tilt and a 34° mitre. Yikes.
Mitre Calculator: For those who are interested in a really good online mitre cut calculator, here is the one I used: Compound Angle Calculator
Under Construction
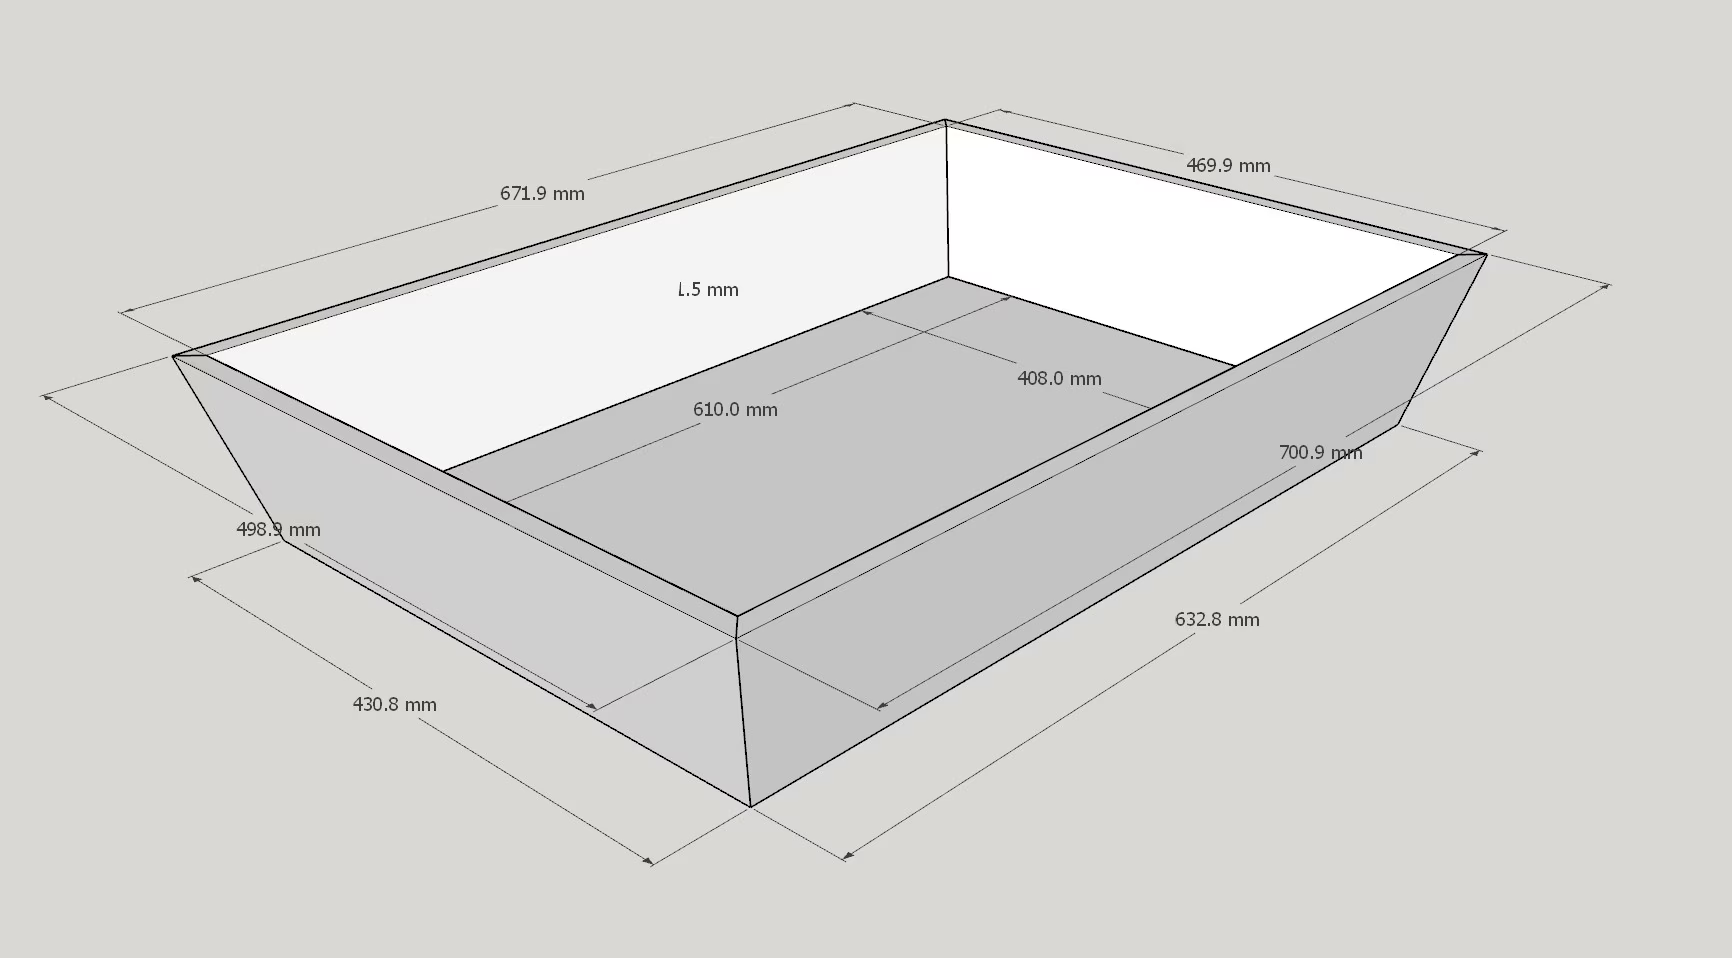
This is the Sketchup drawing used to plan the whole thing.
It ended up being bigger than this in the end, as I called an audible during the construction process. Doing such a reckless thing can often come back to haunt you, but in this case it worked out okay. The overall size was never an issue, it was all those angles that were the risky part.
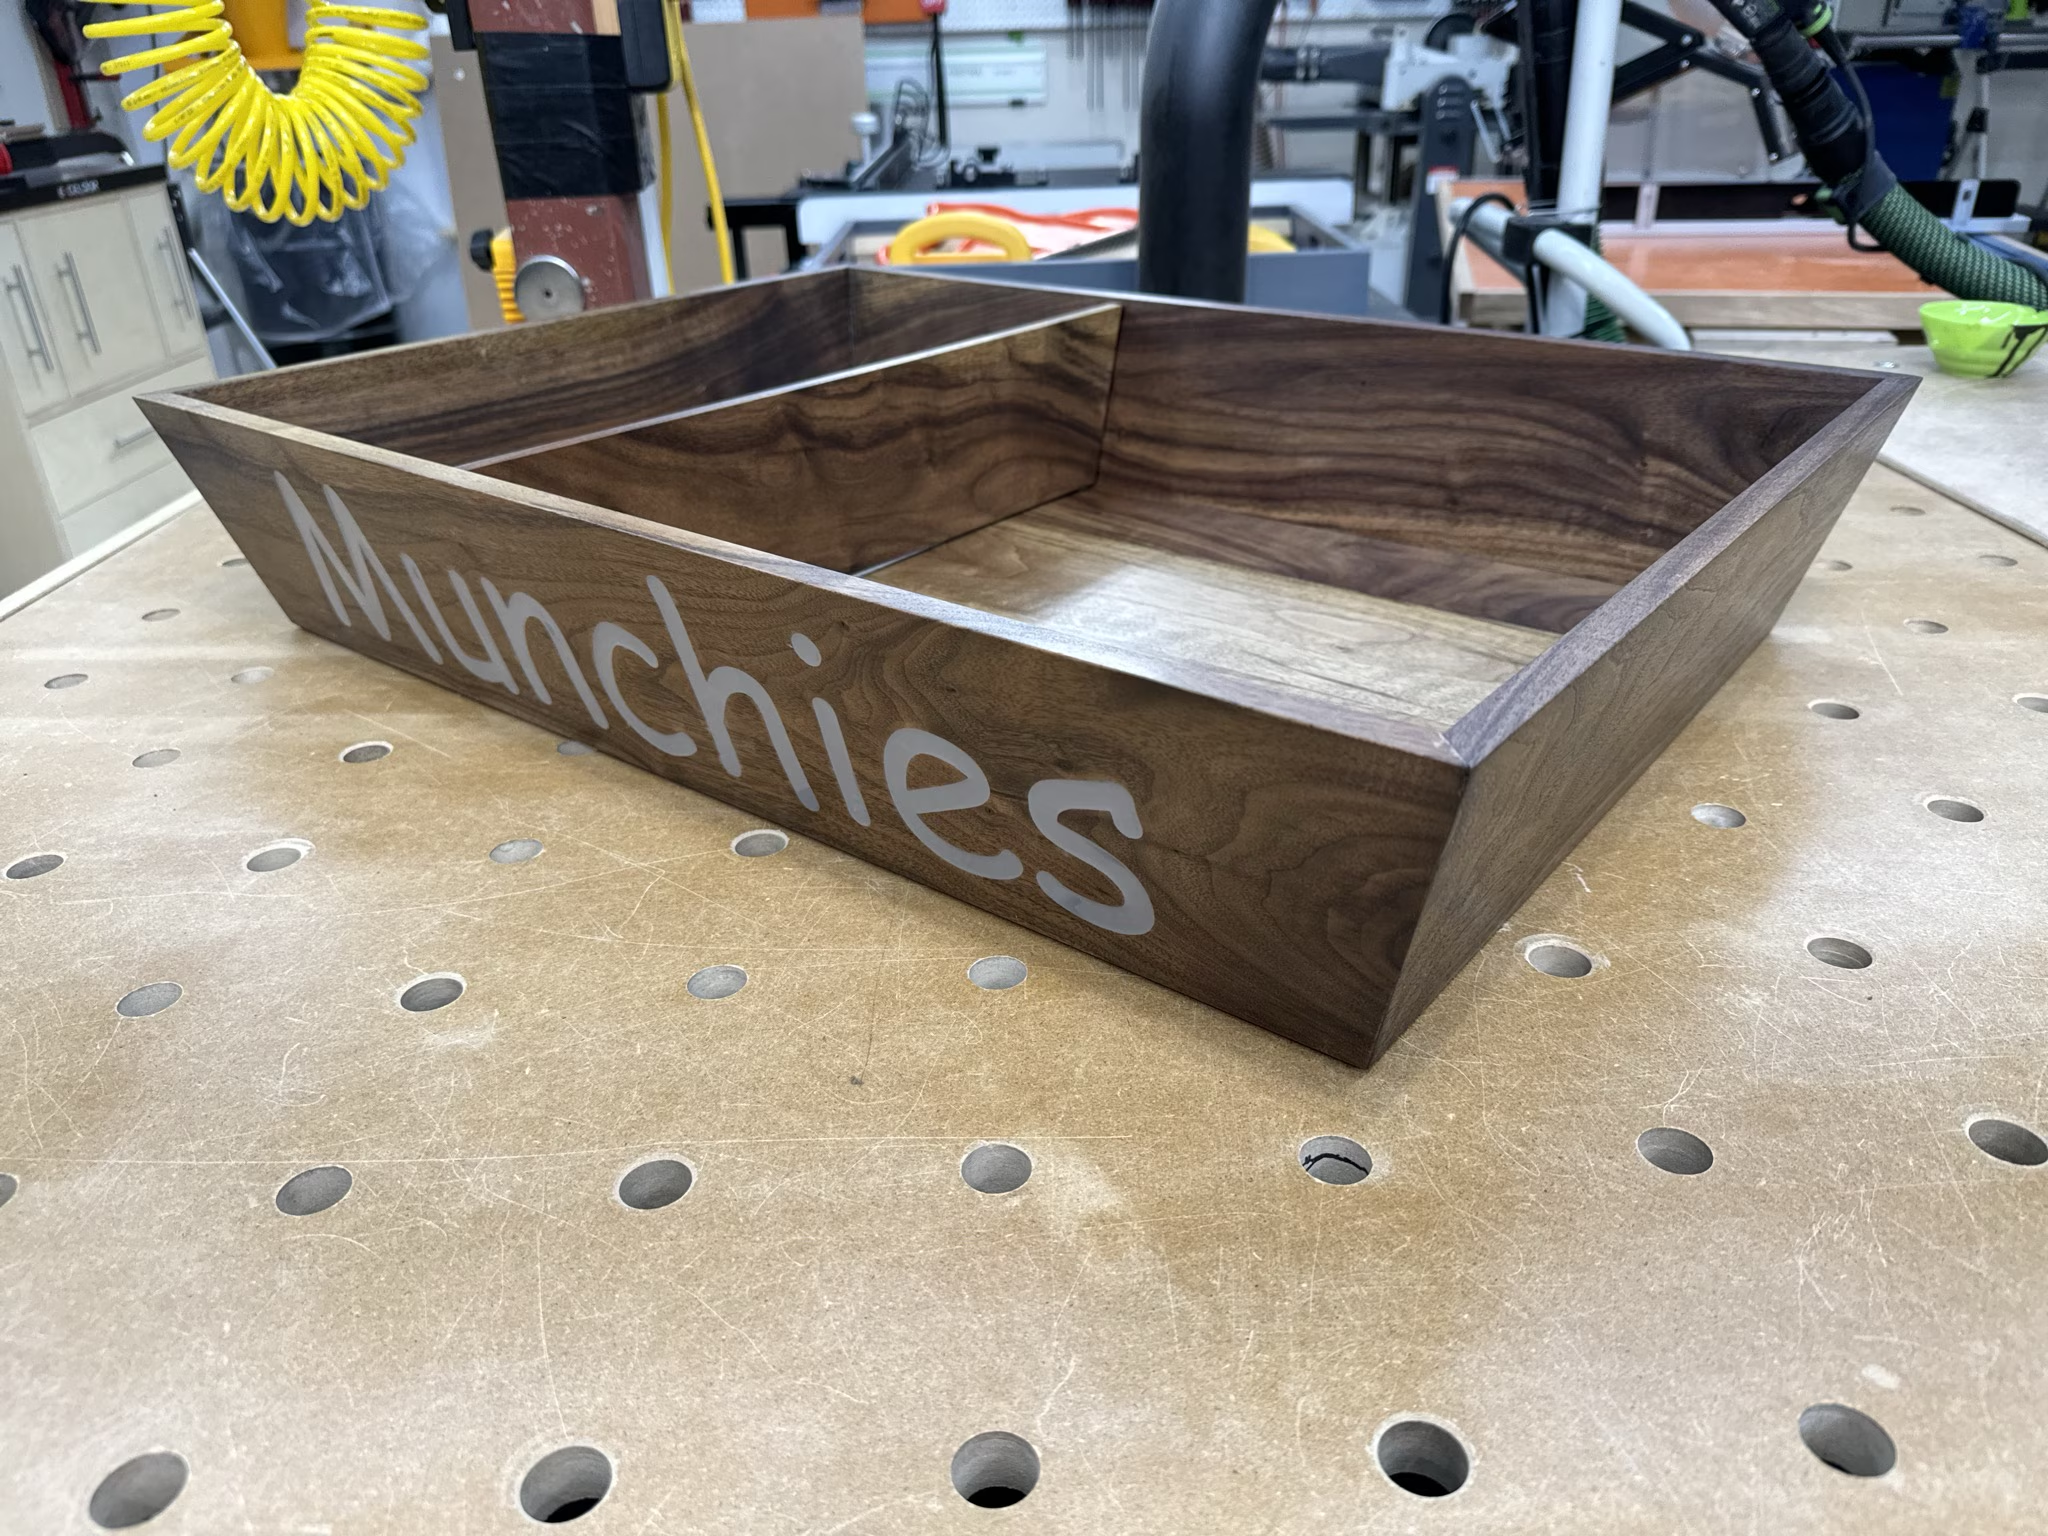
As seems to be my usual for mitres these days, I used the Festool Domino to add strength to the mitre and make it easy to glue up. You have to use the really small 4 mm Dominos, but even then, you also have to be careful that you don’t blow through the opposite side when cutting your Domino hole. Because that looks downright messy and non-pretty.
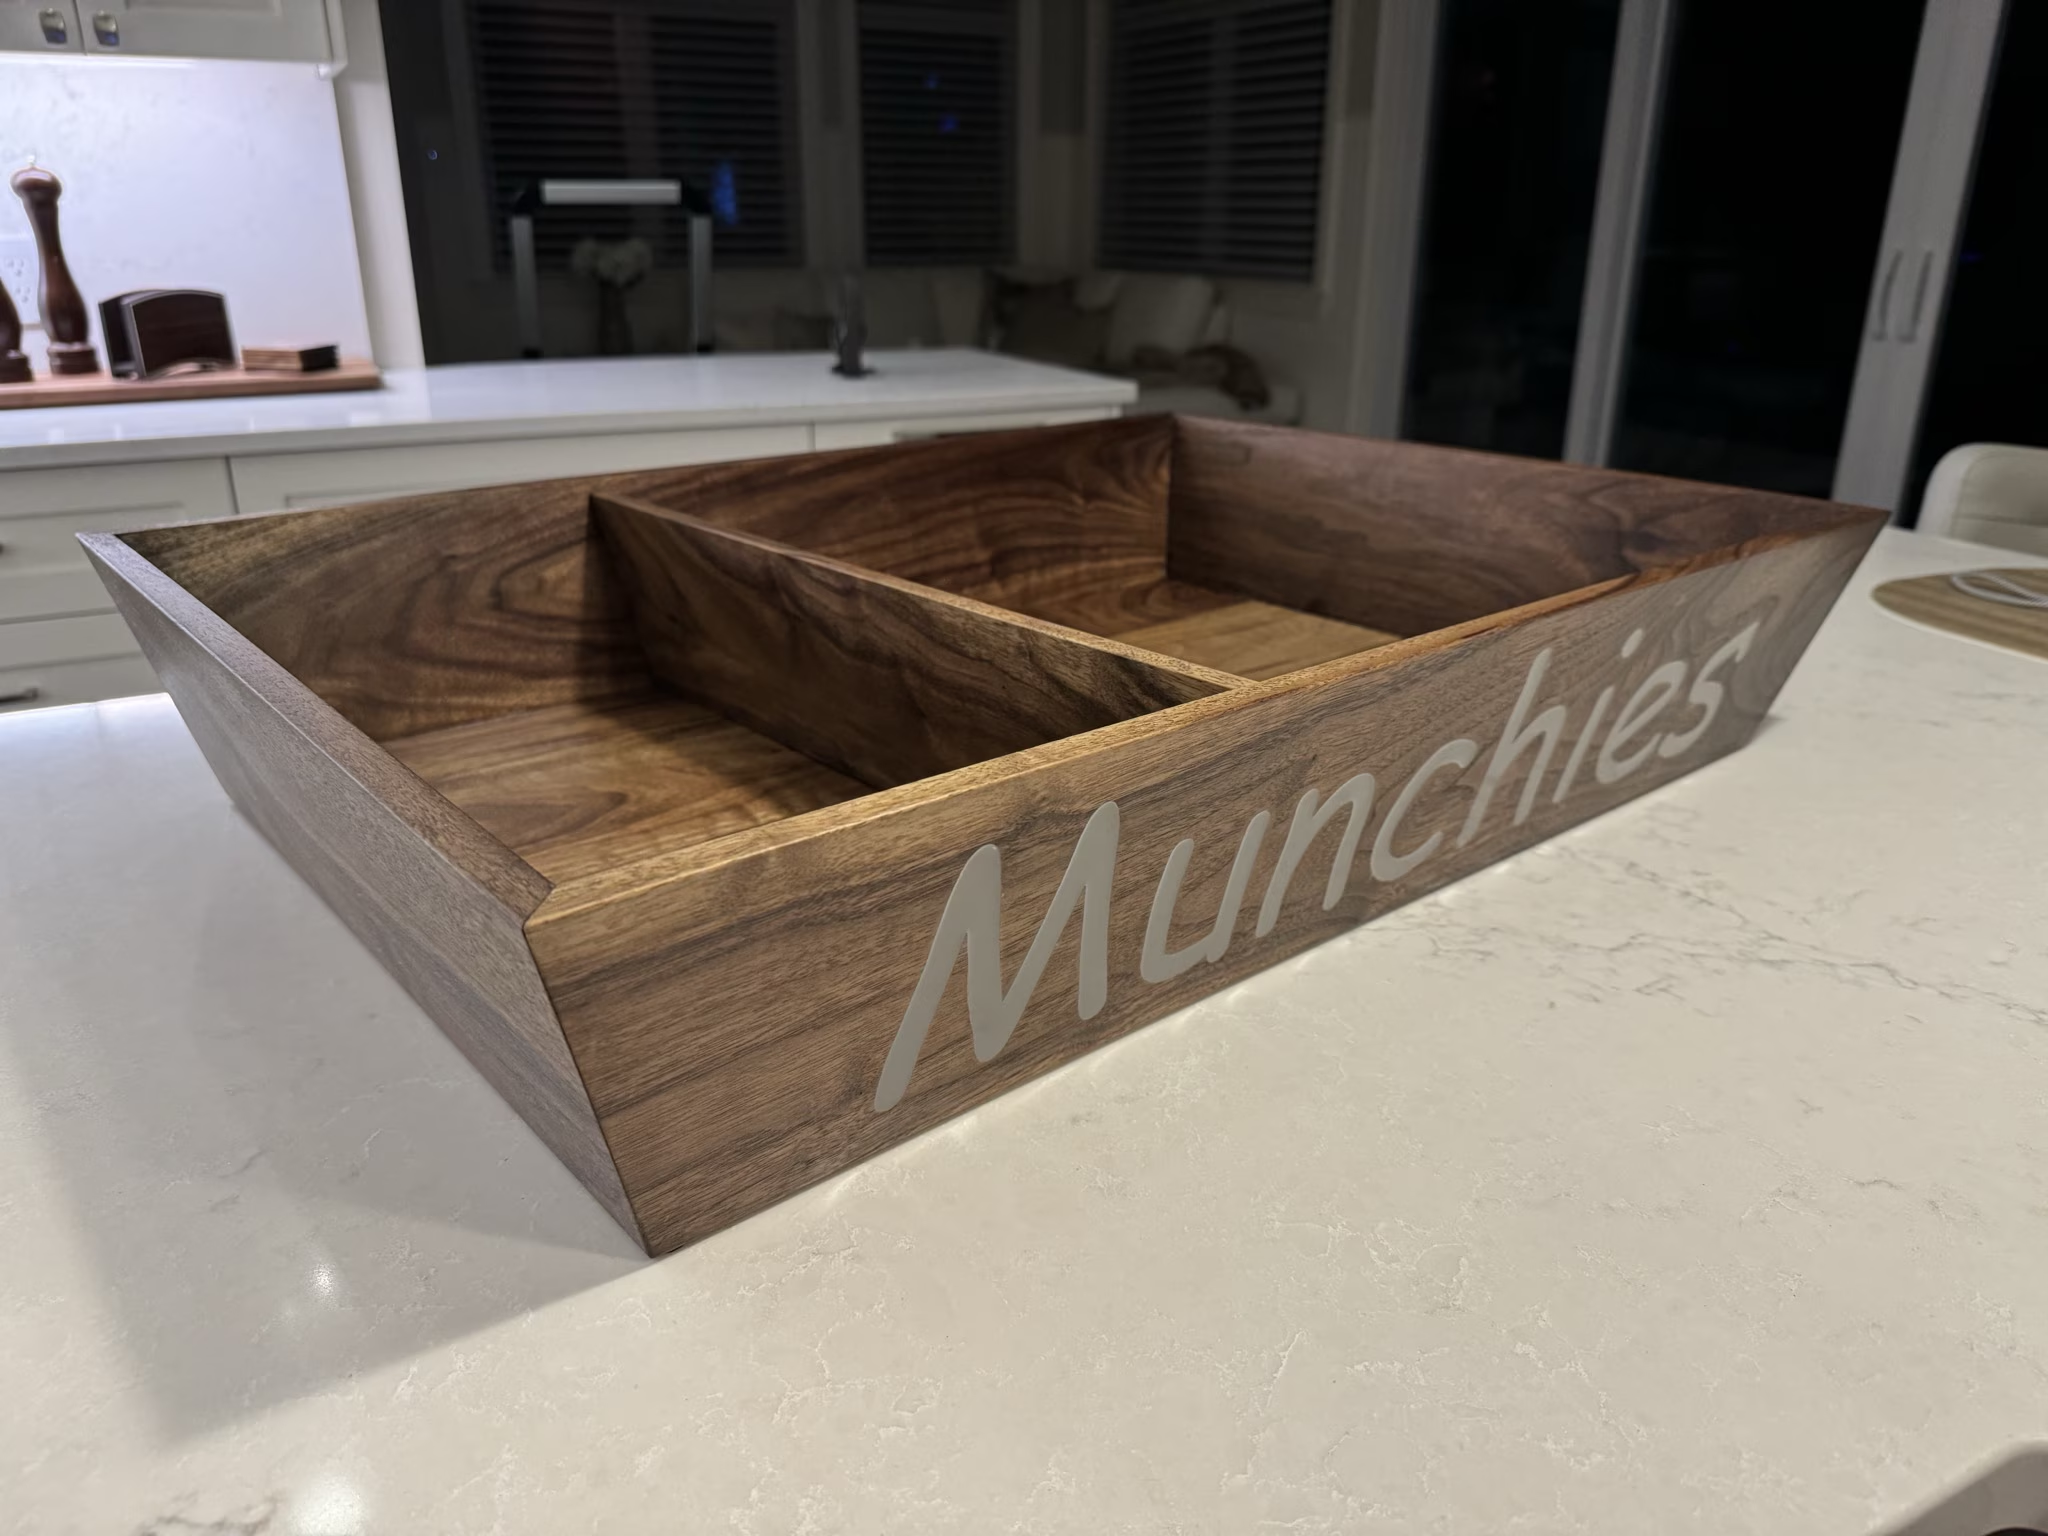
Crazy Angles
It was a fun build. While the angles were indeed odd, it was a lot of fun to see it come together.
In Production
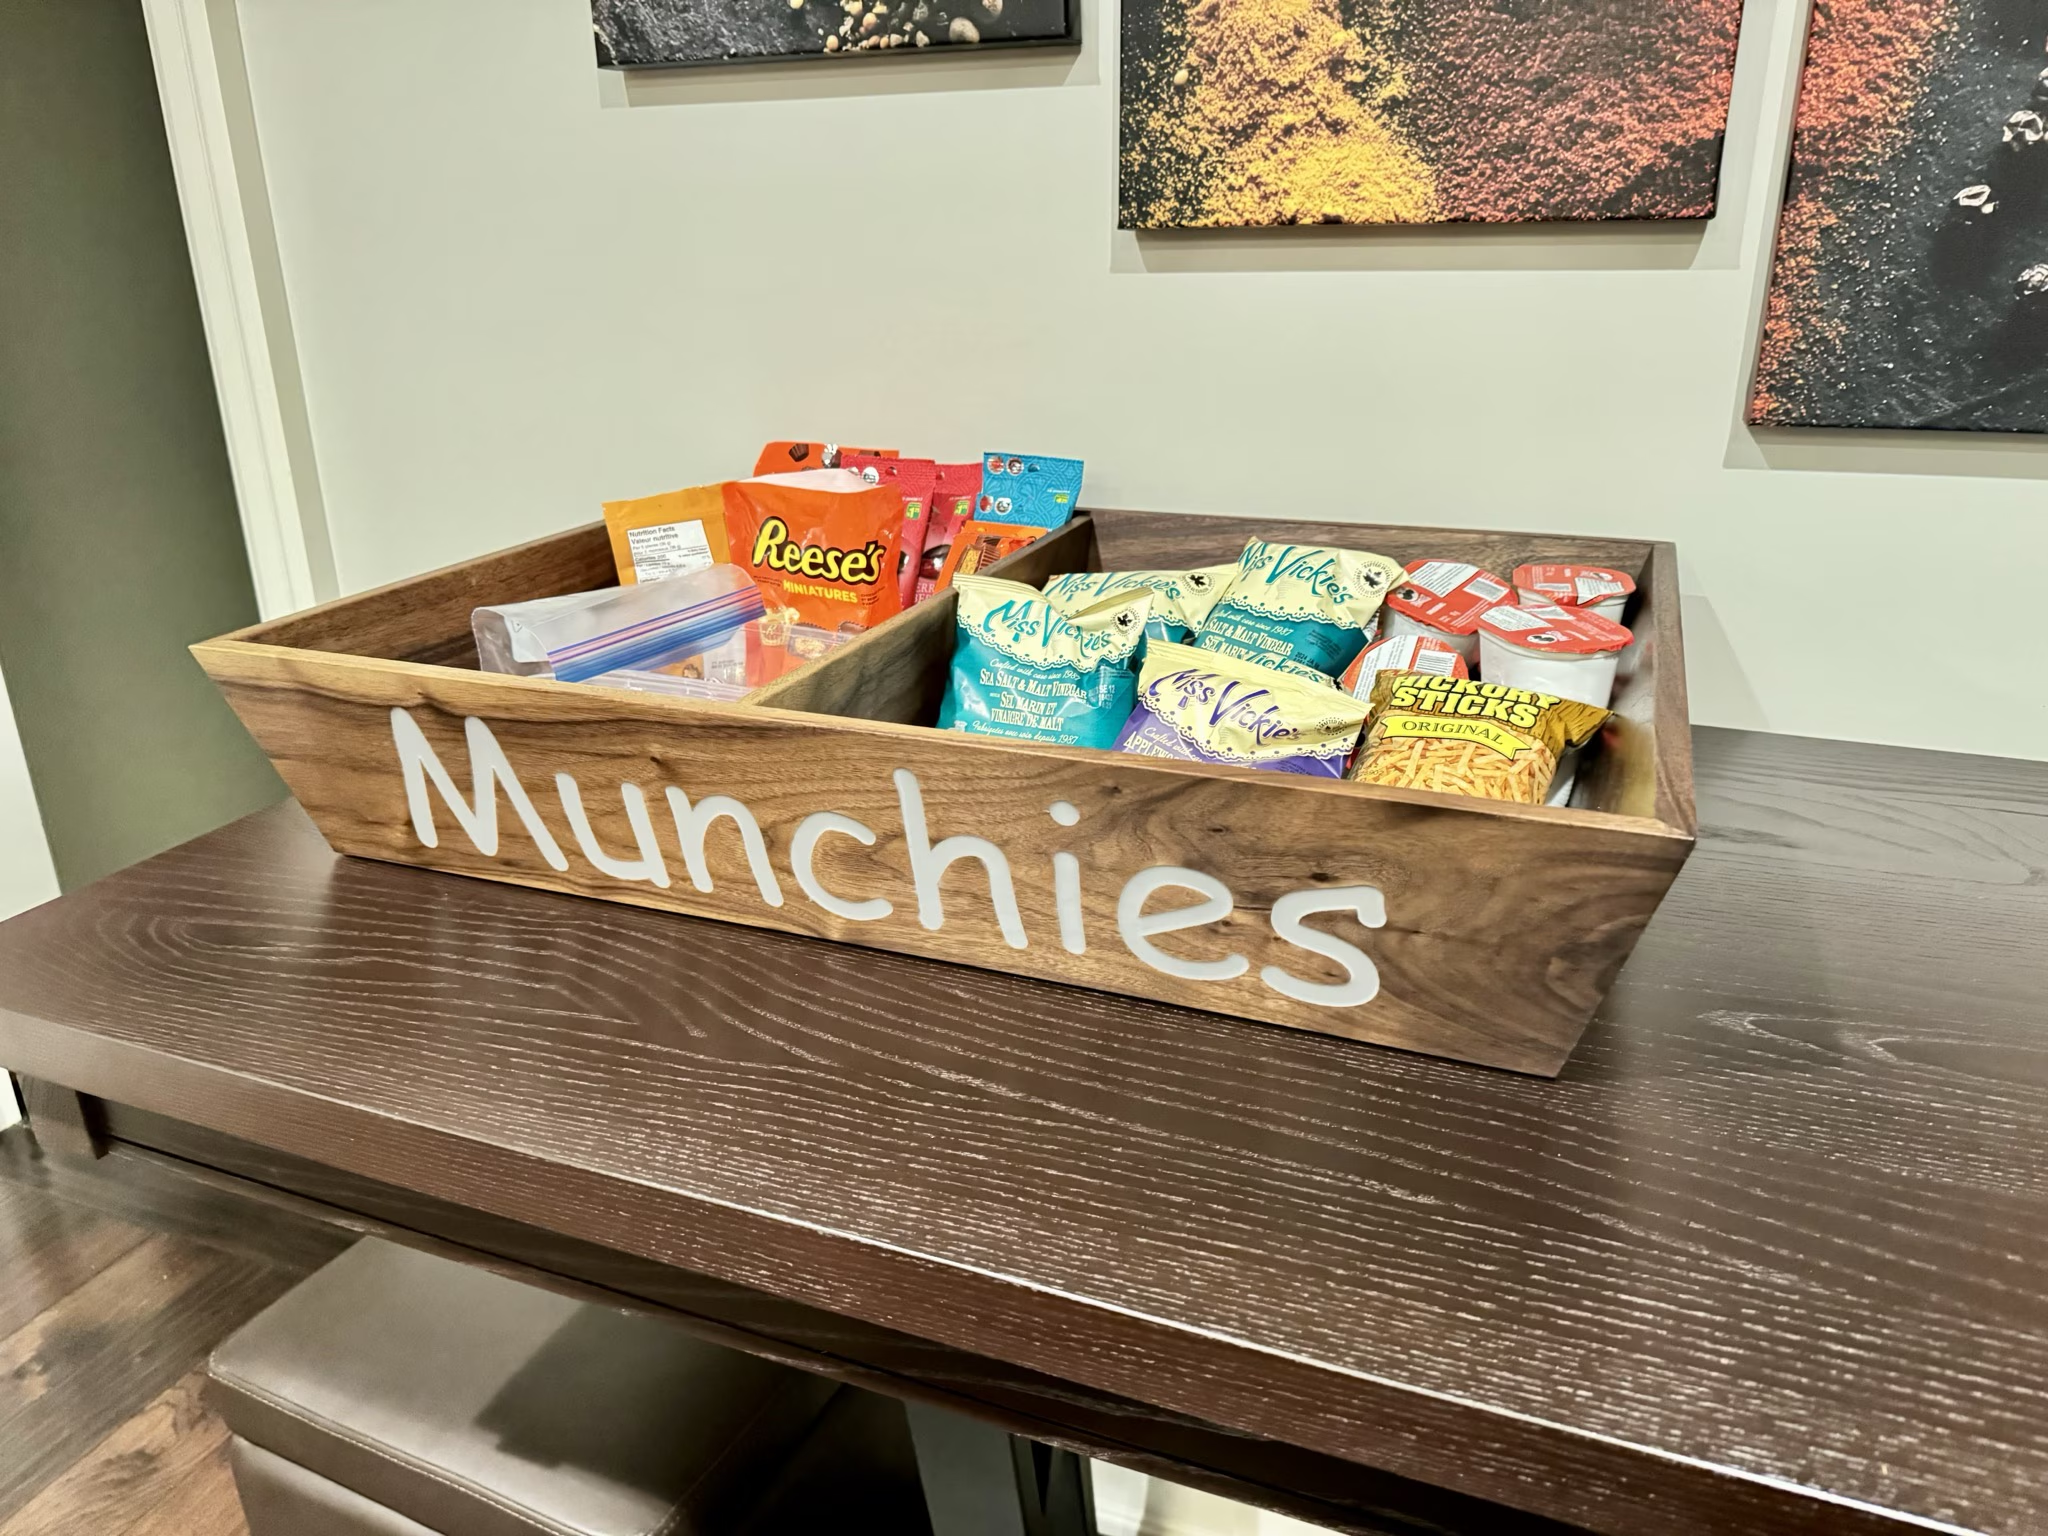
A tray full of munchies in its new home, which is normally resting upon the extension table from the previous post.
Materials
- Walnut from KJP Select Hardwoods
- Grey epoxy by Chill Epoxy
- Shaper Origin for the lettering
- Festool Domino for mitre joinery