Console Delivery and Installation
Part 2 of the console project: delivery to the west coast and installation in Evan’s place
Background
This is the second post in the console series. Part one was all about the design and creation of the console; you can check it out here. In this episode, we dive into the creation of the crate needed to ship the console 2,500 km from Ottawa to Evan’s place in New Westminster.
This was not trivial, as the crates had to be strong enough to survive the journey while riding in a moving van surrounded by who-knows-what.
The Build
So the first step in all this was to build the pallets upon which the crates would ship. I learned a new moving-industry term: your shipment needs to be “forkable.” This doesn’t show up in a lot of dictionaries.
Forkable: An item is forkable if it has enough clearance underneath for forklift forks and is strong enough to withstand lifting.
So these were built to that spec.
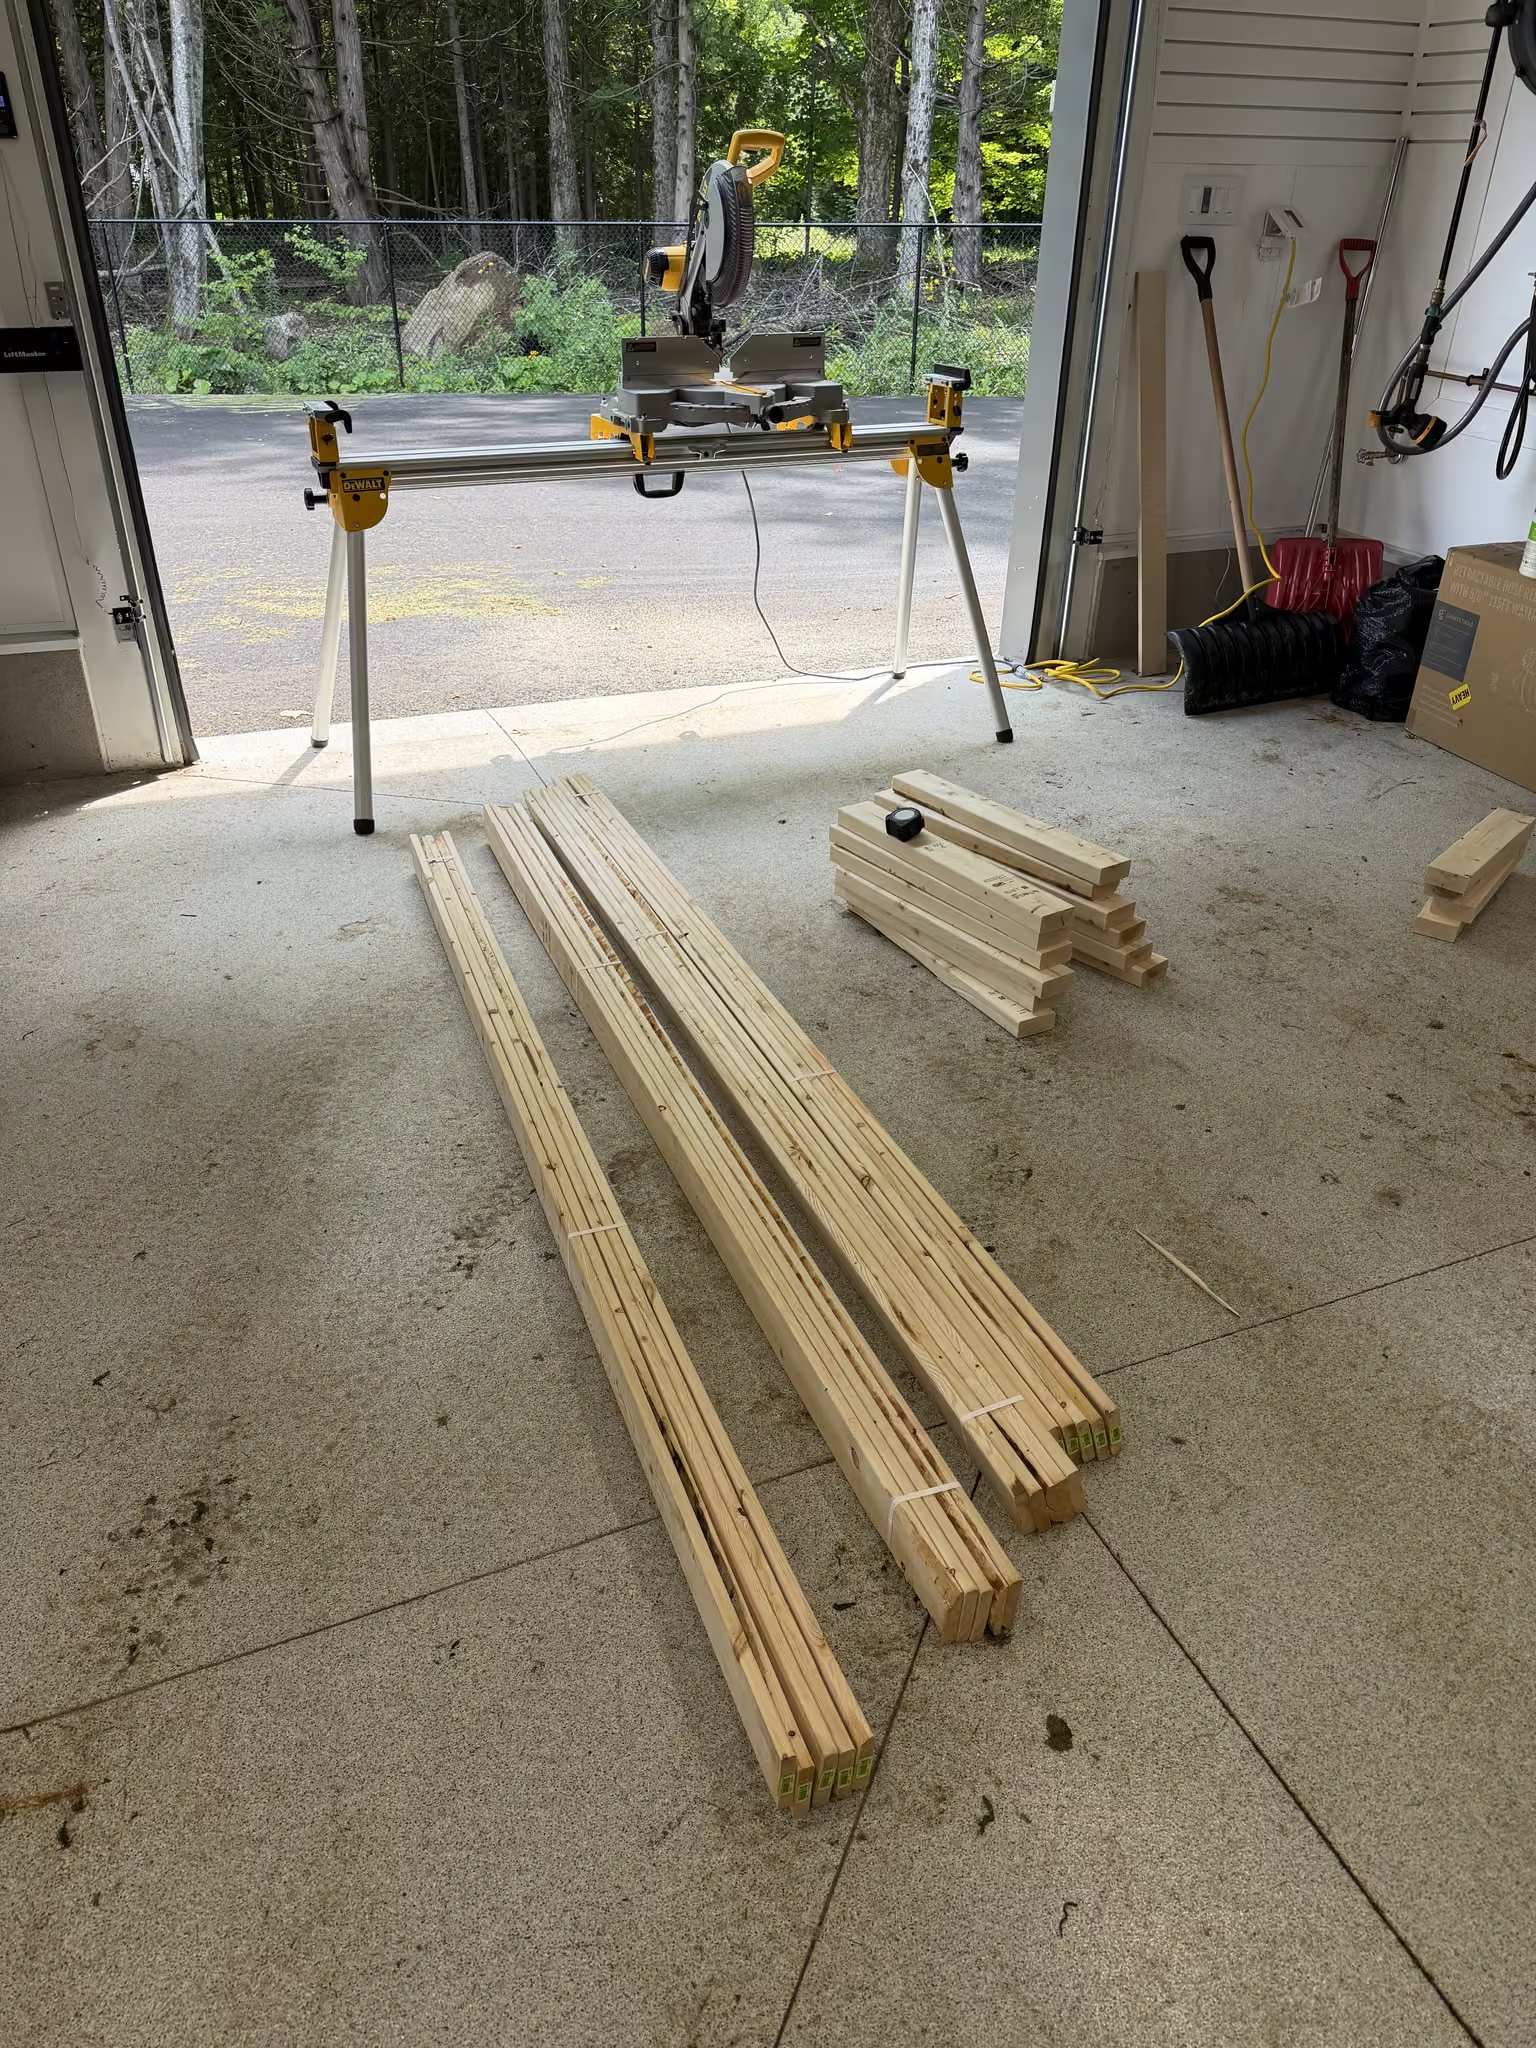
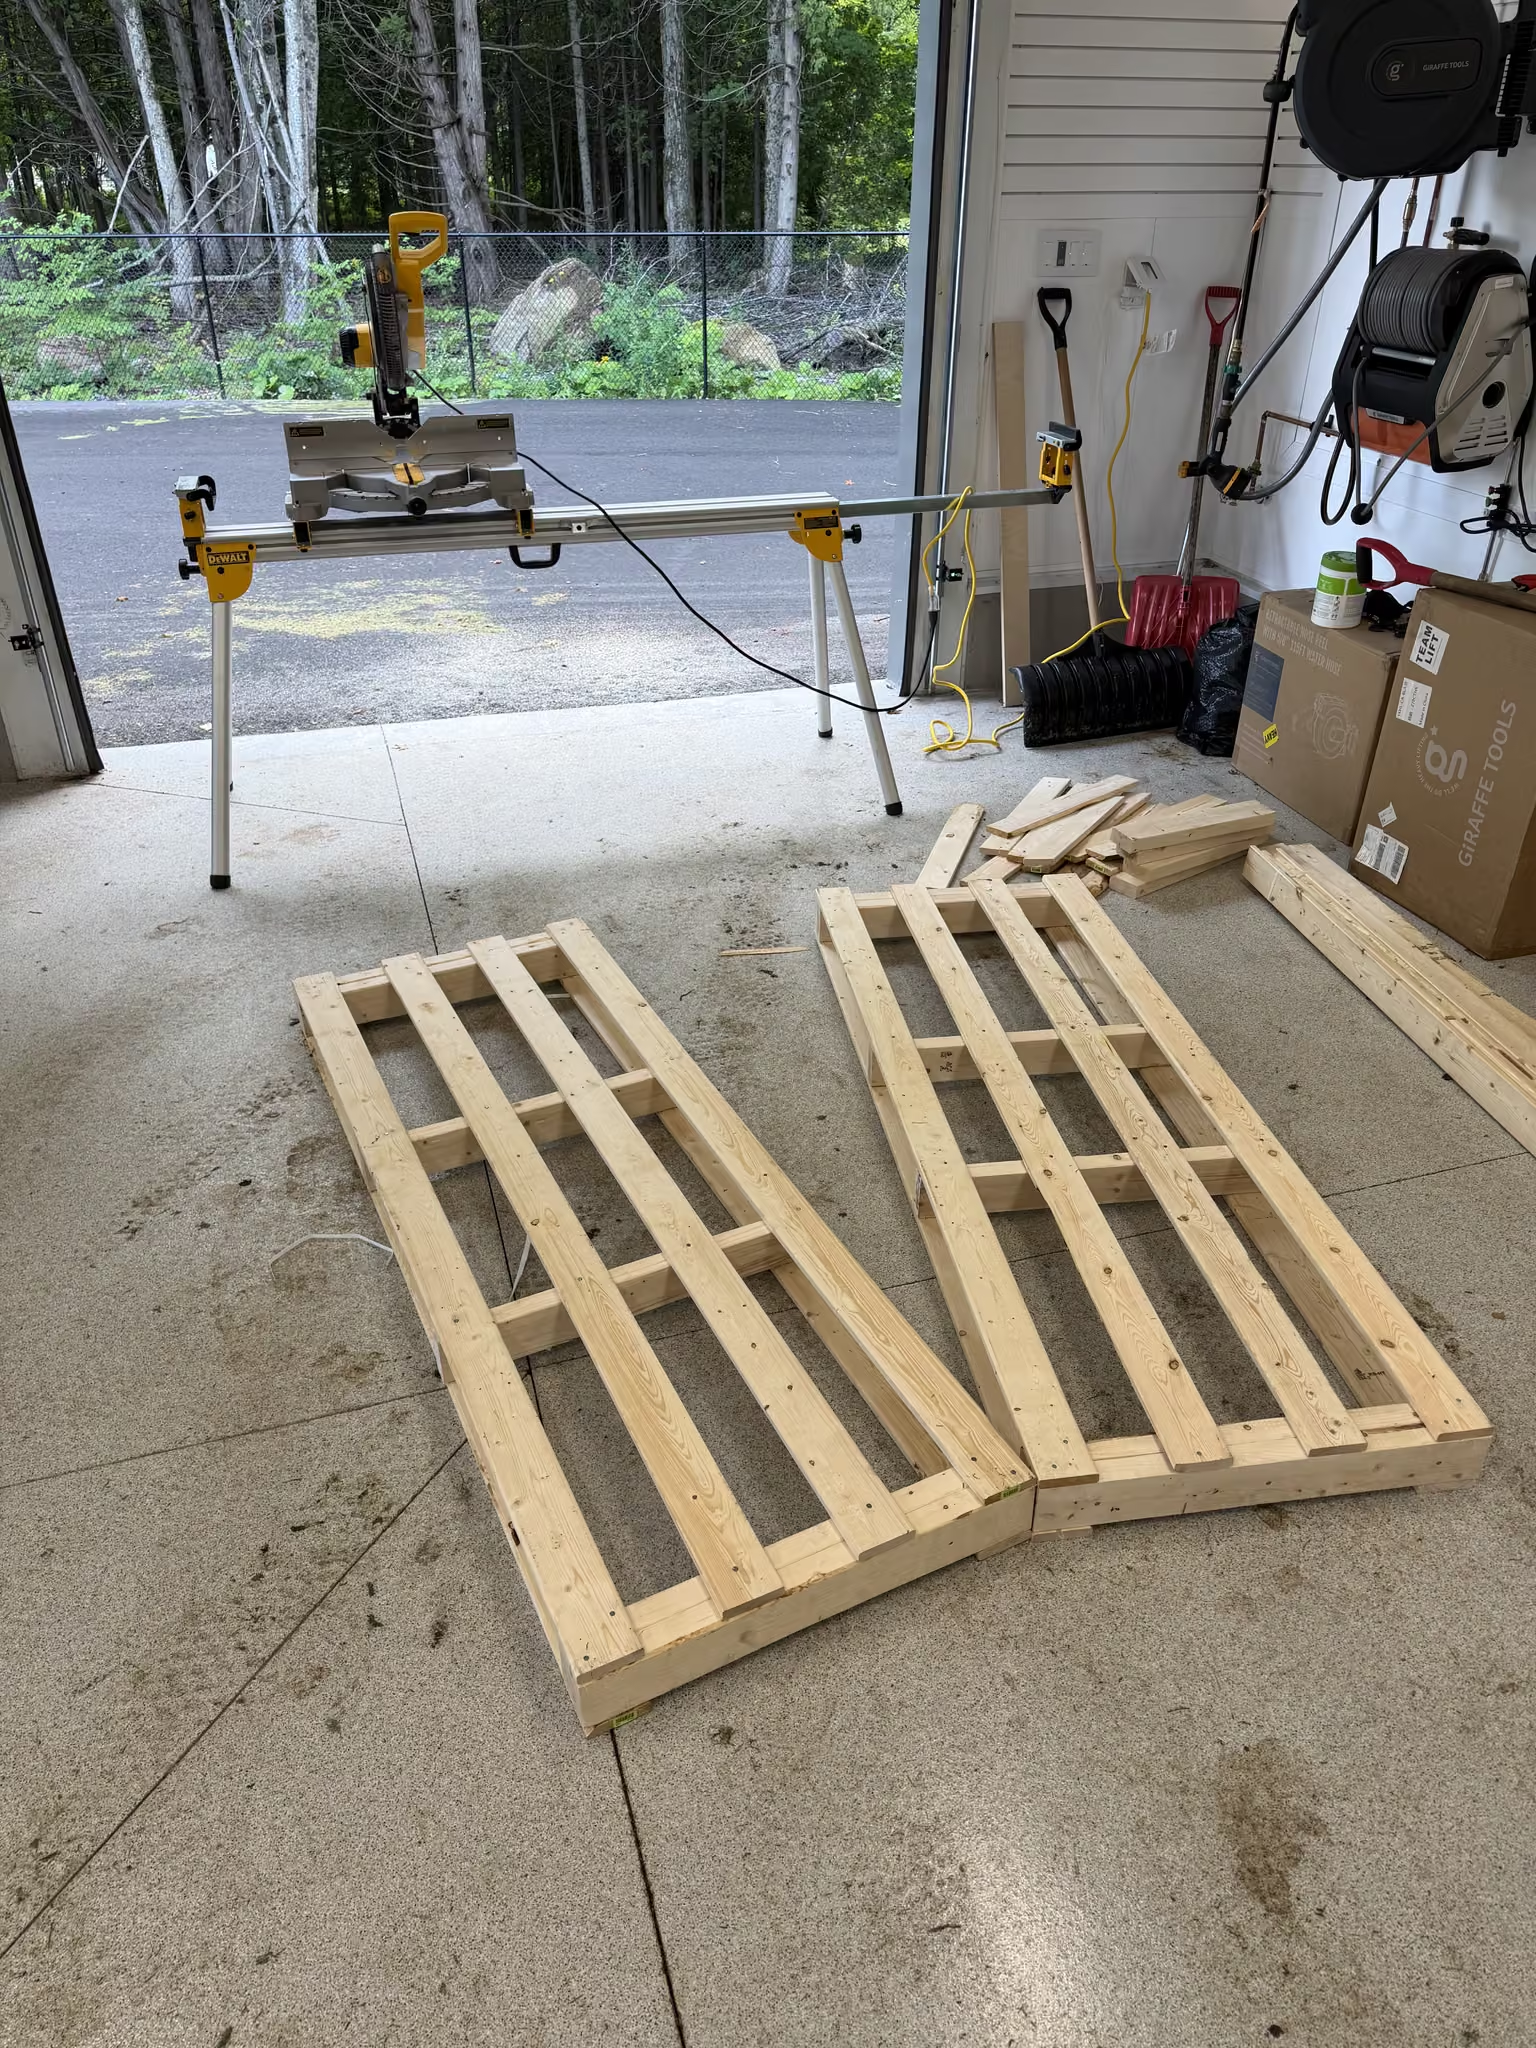
Bonus: I got to build these in the new garage, my first woodworking project out there. Nice setup: I didn’t need to worry about sawdust; I just opened the doors and let it fly into the woods.
The Crate Frame
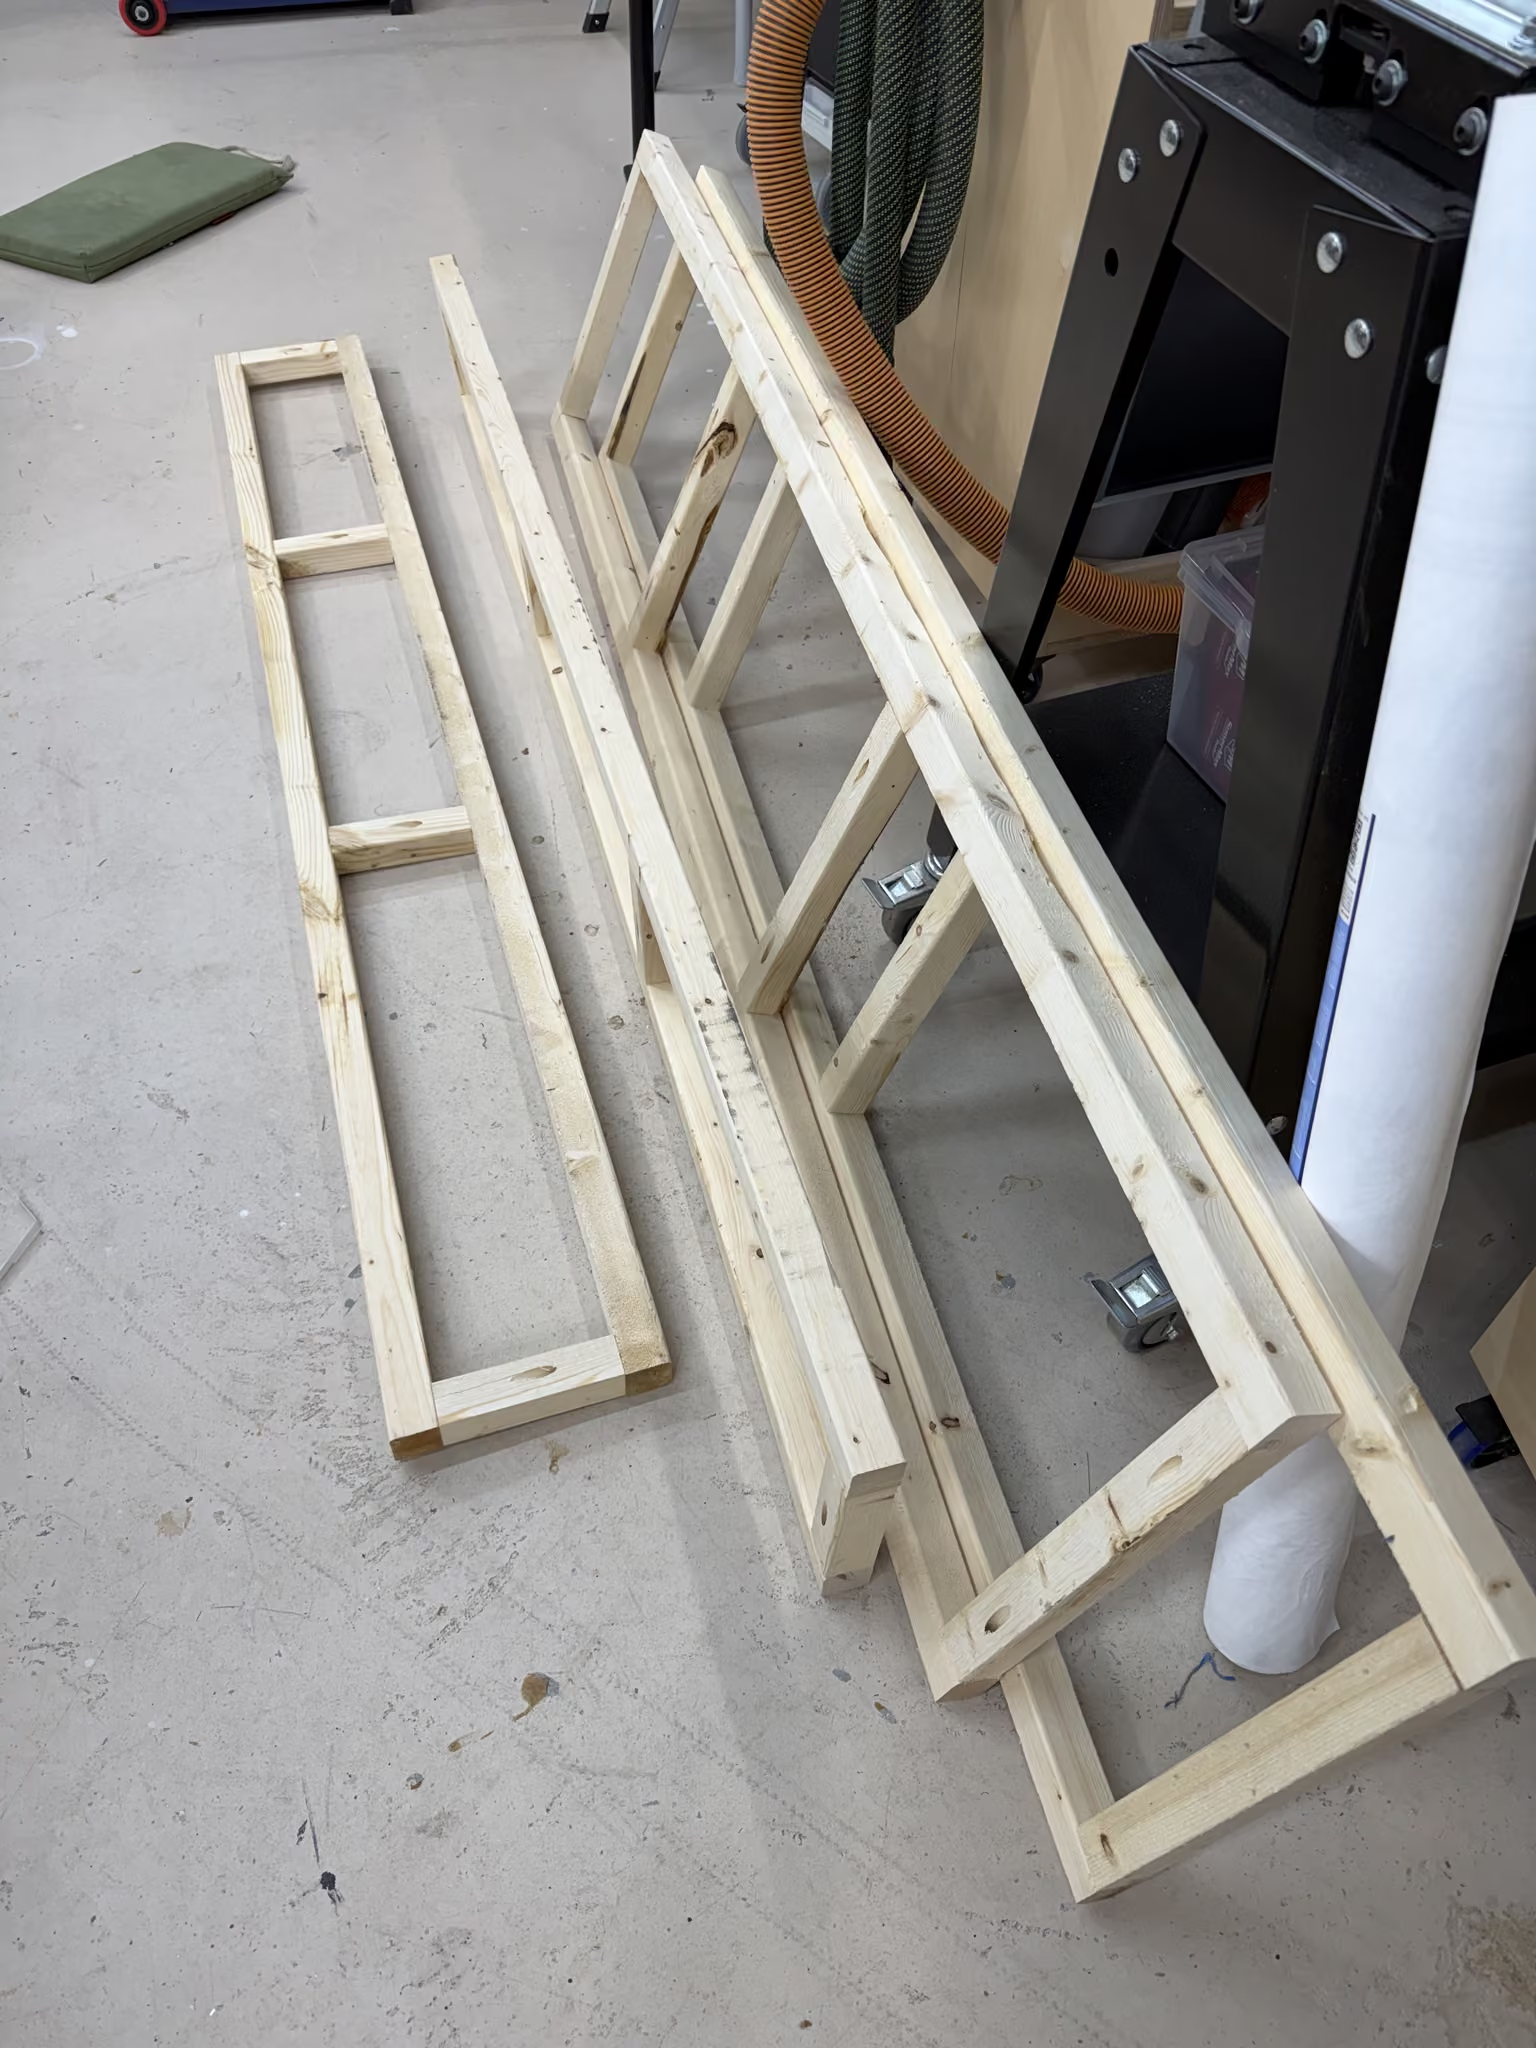
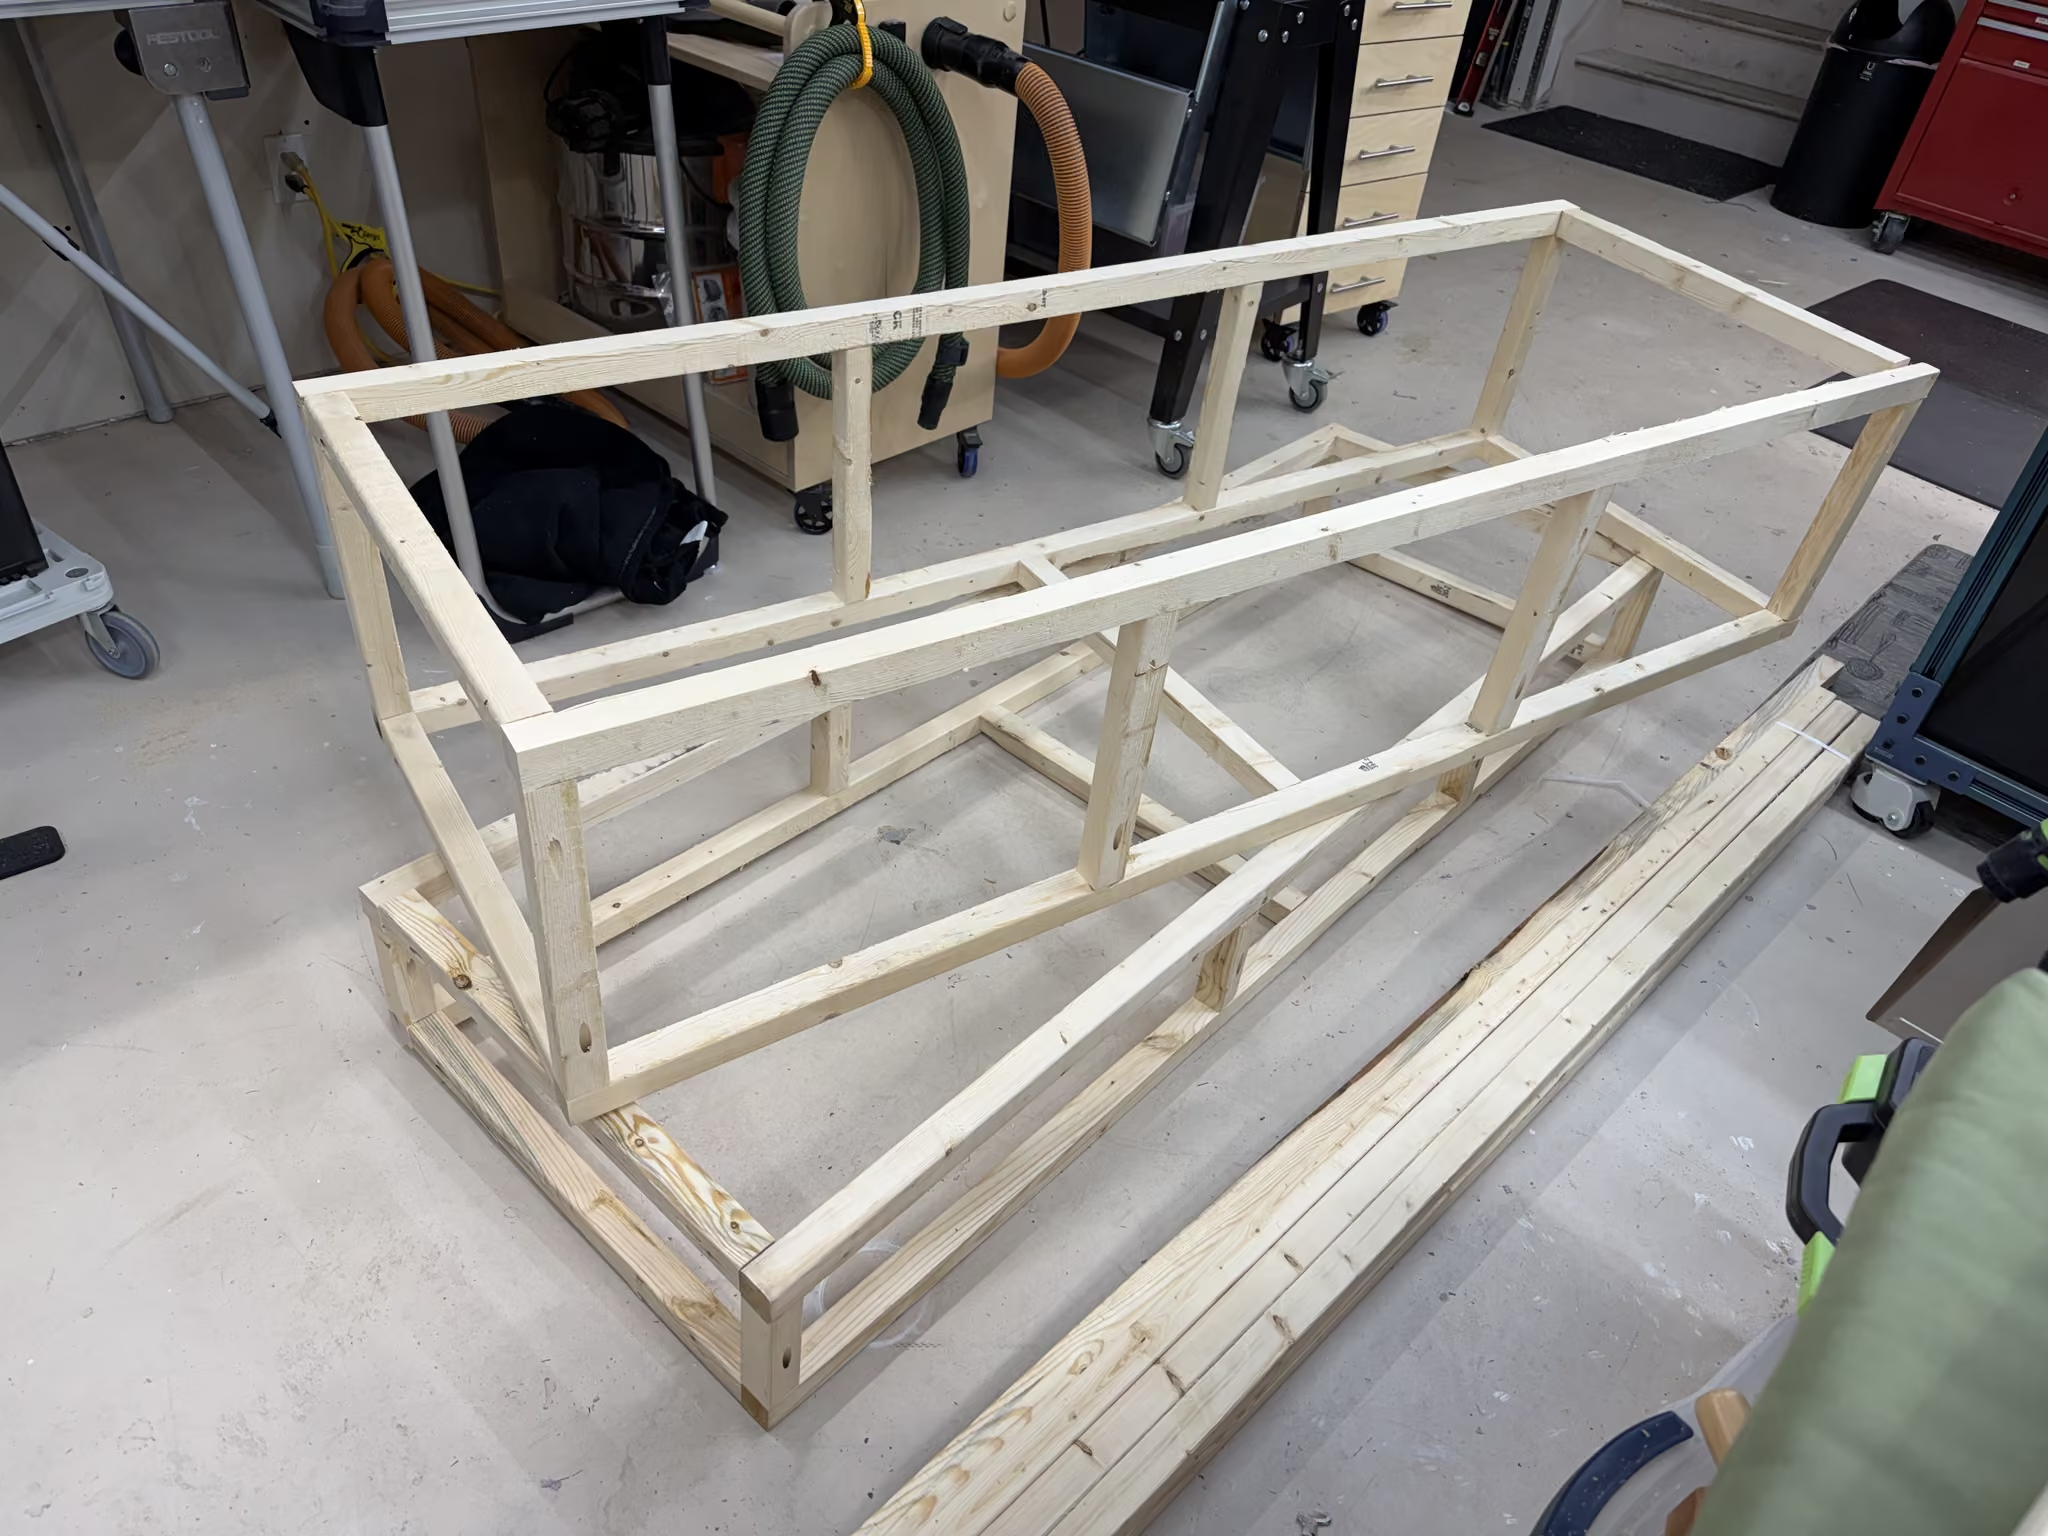
The crate frame, which would have plywood strapped to it, was made with 2x2s. Making it out of 2x4s seemed a bit extreme. It turned out that the 2x2s were more than strong enough, and they helped keep the weight down.
Plywood Wrap
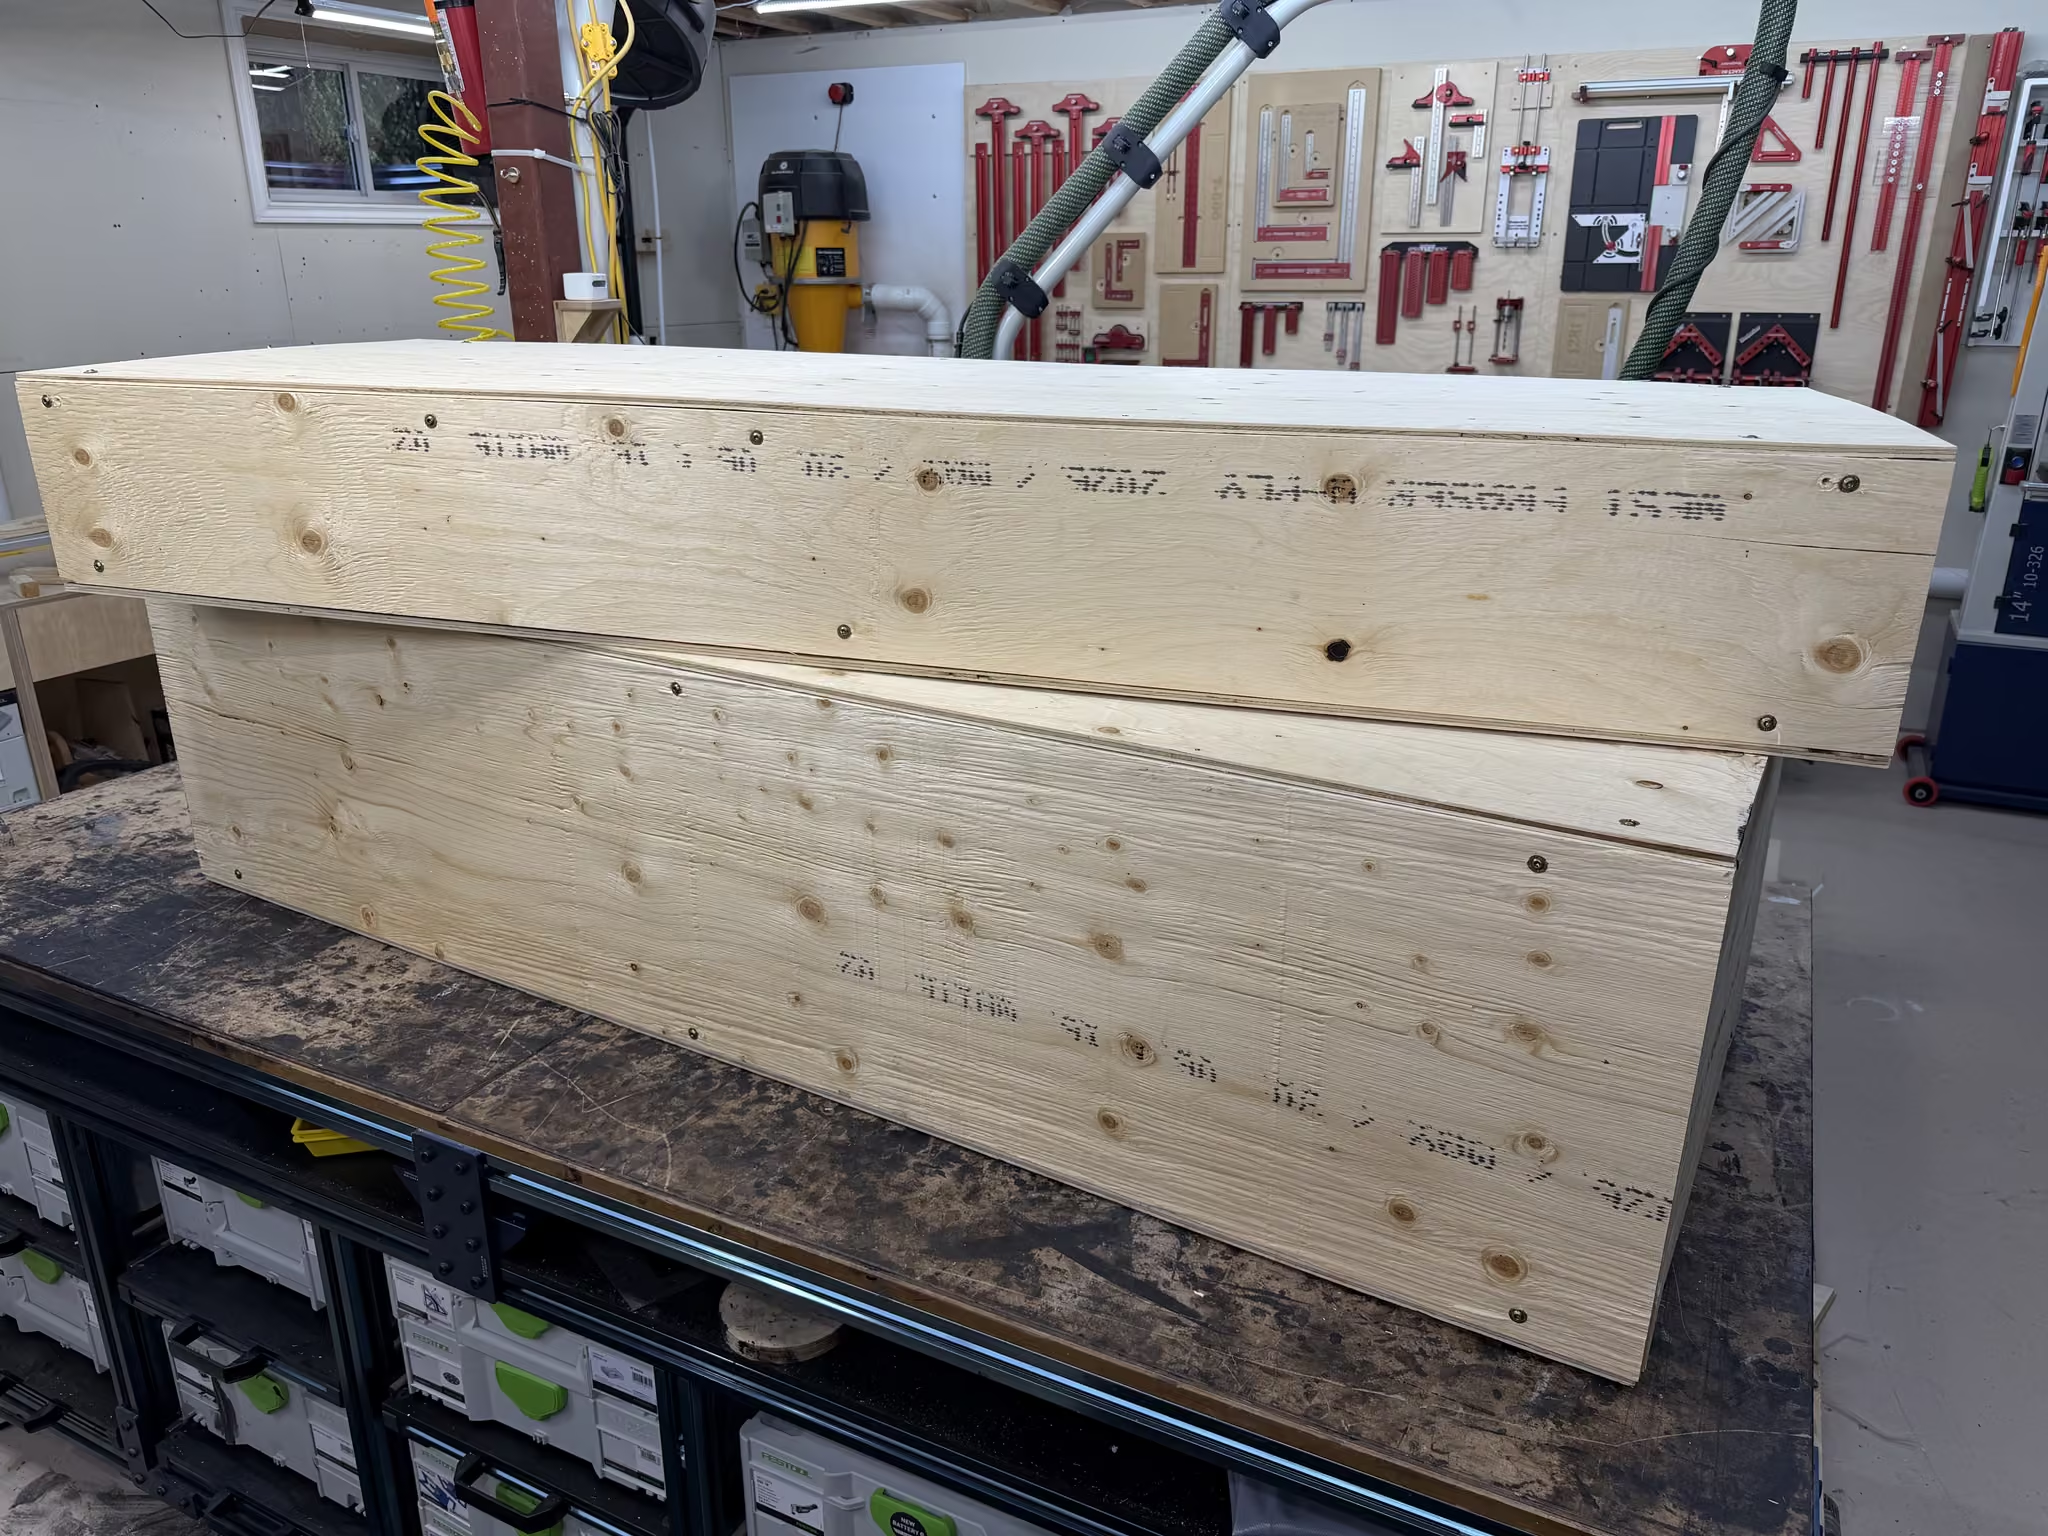
Plywood was wrapped around the frame. Normally, I will go for the good plywood at KJP (now called The Wood Vault), but this is throwaway stuff. So the 9 mm-thick stuff from the big-box store fit the bill nicely here.
This is a pic of the crates in “dry-fit” mode, there is nothing inside.
Foam Padding
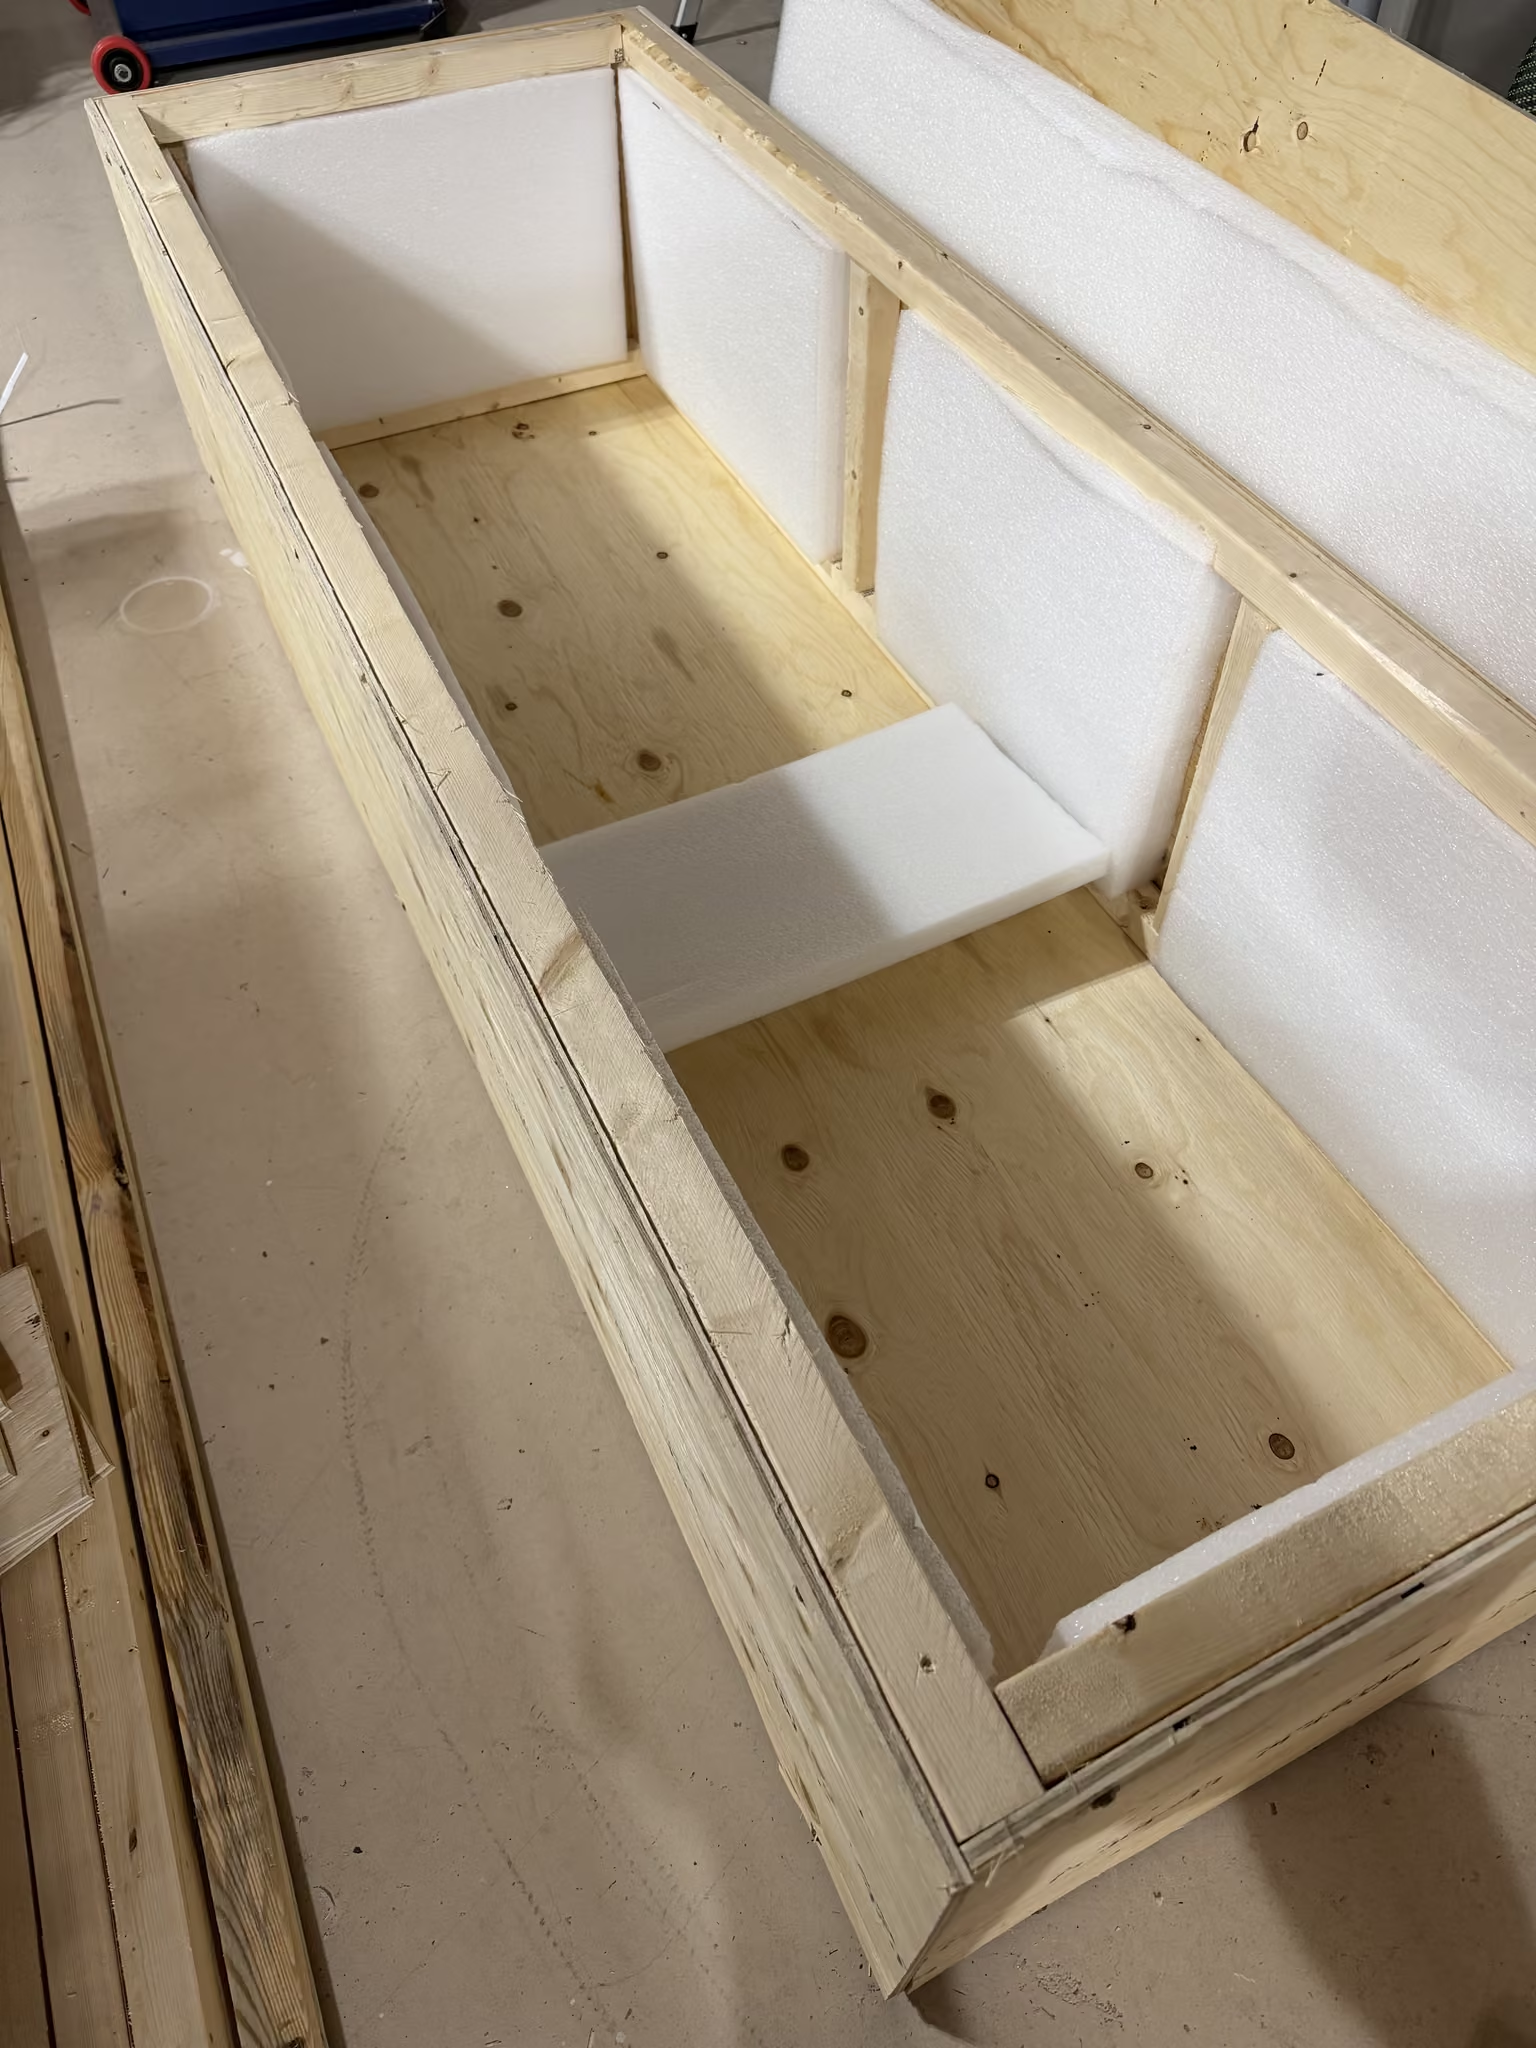
So I took the empty crates apart again and lined them everywhere with solid foam.
You do not want to hear the story about how I fit two giant 4 ft x 9 ft, 2 in.-thick foam sheets into my car. I am not entirely sure it was legal, so I cannot speak any further on that issue.
Tyvek
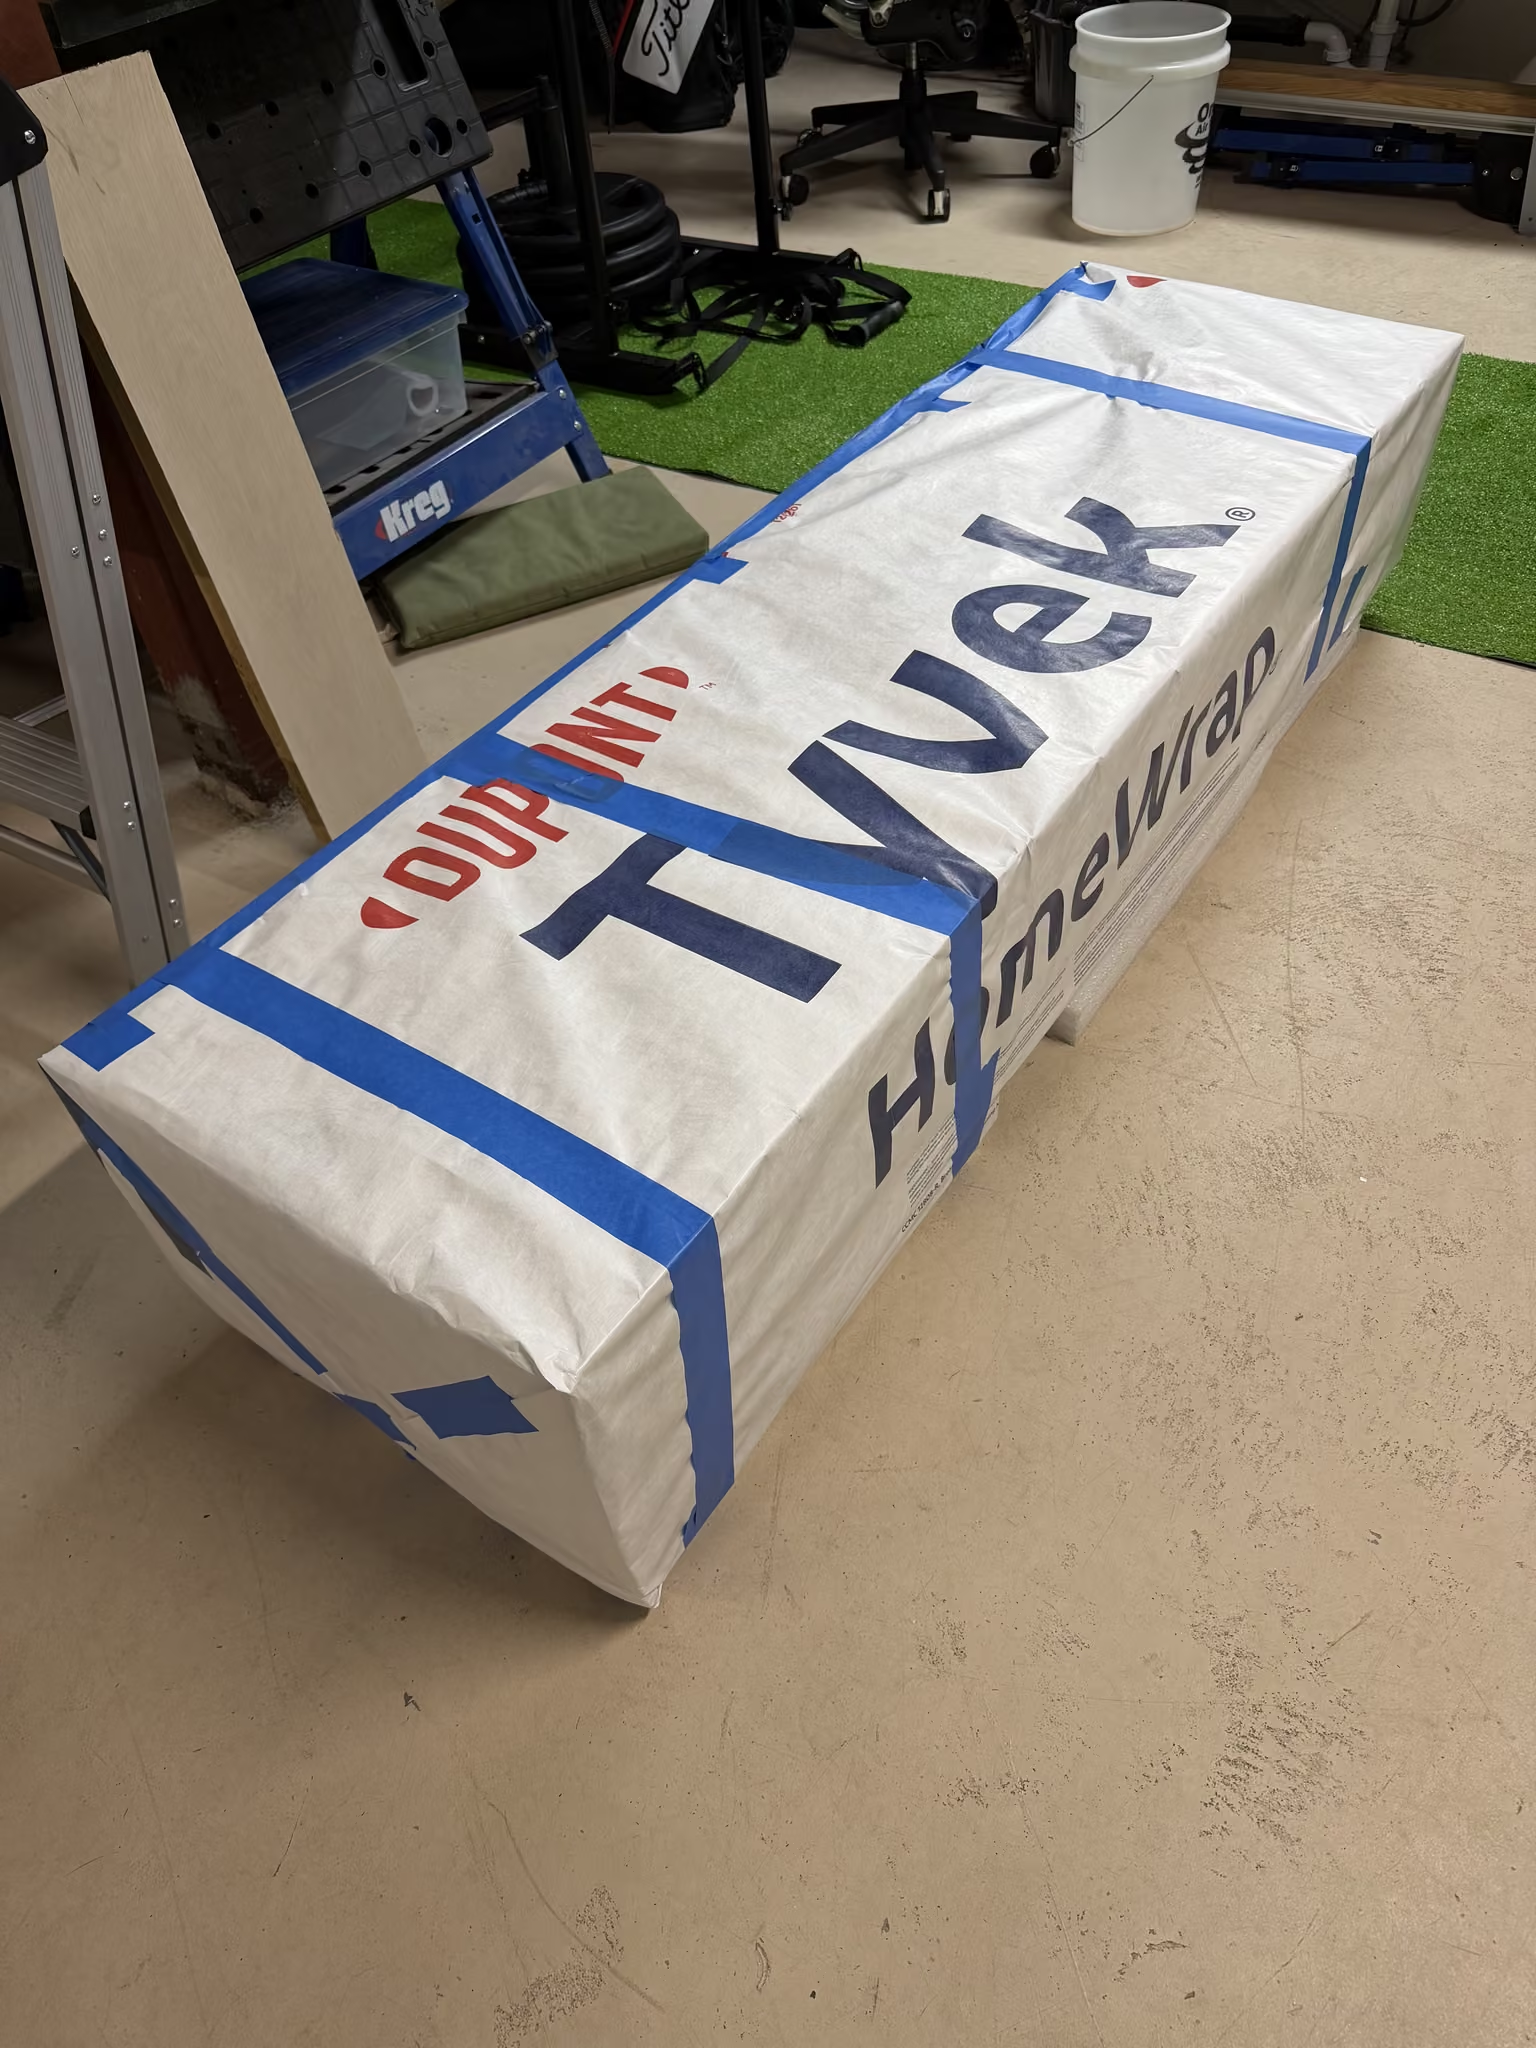
Before putting the pieces into the crates, I wrapped them in Tyvek, a waterproof but breathable material to add another layer of protection for the trip.
Debbie was instrumental in this part, as I cannot fold or wrap a Christmas present, let alone something this big.
Strapping
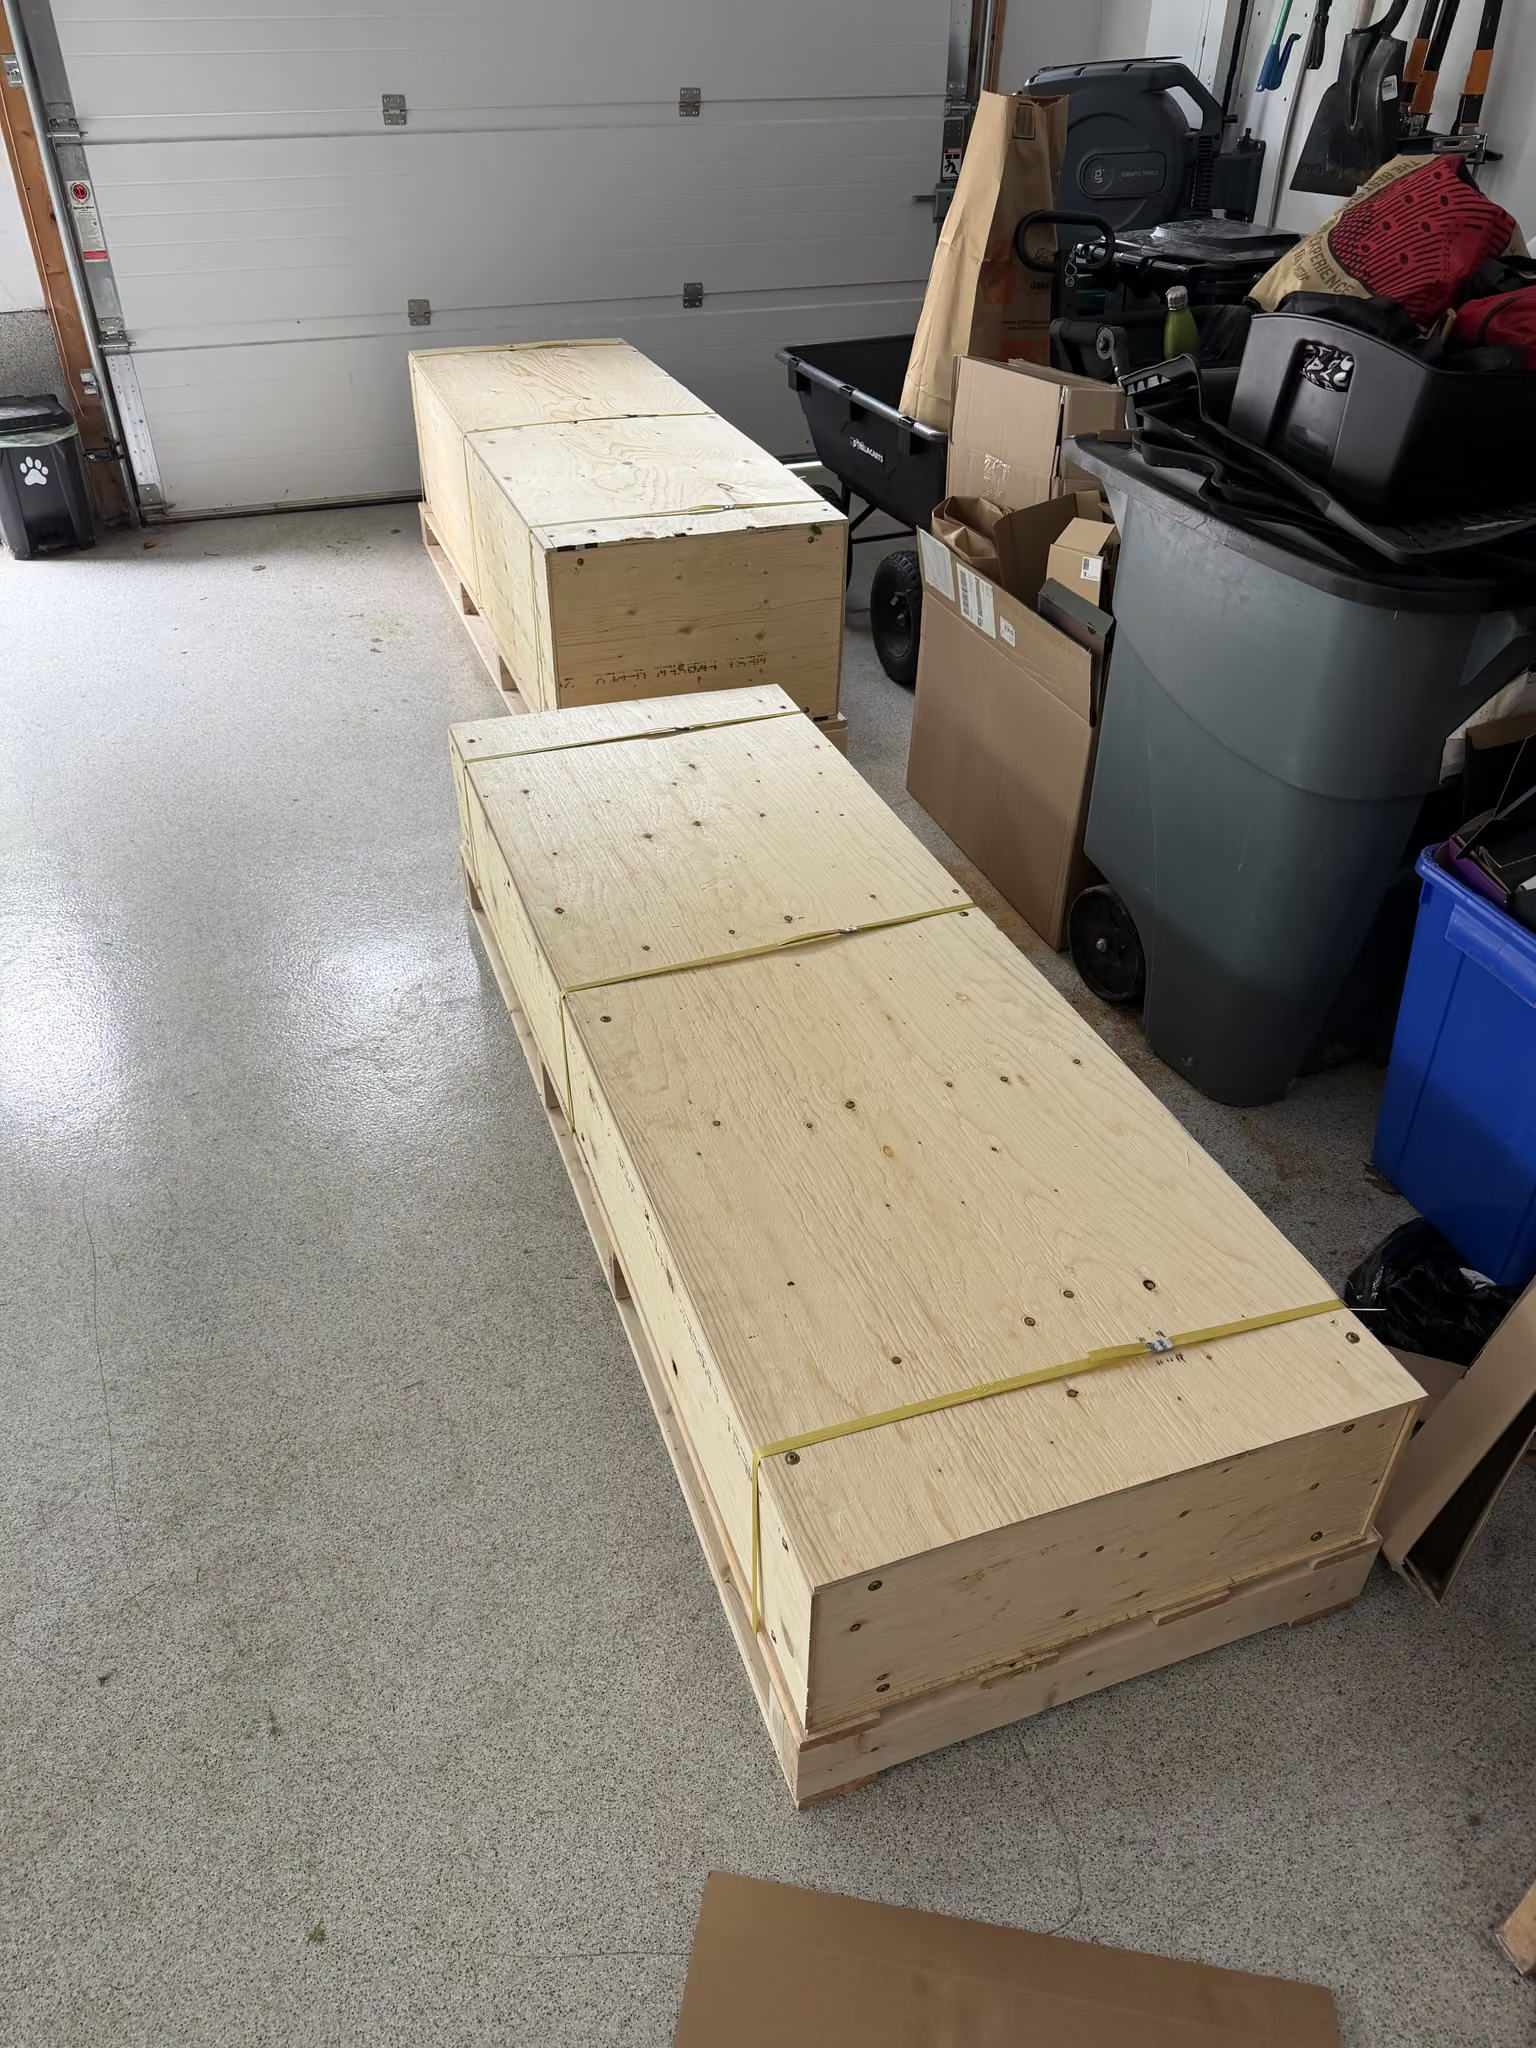
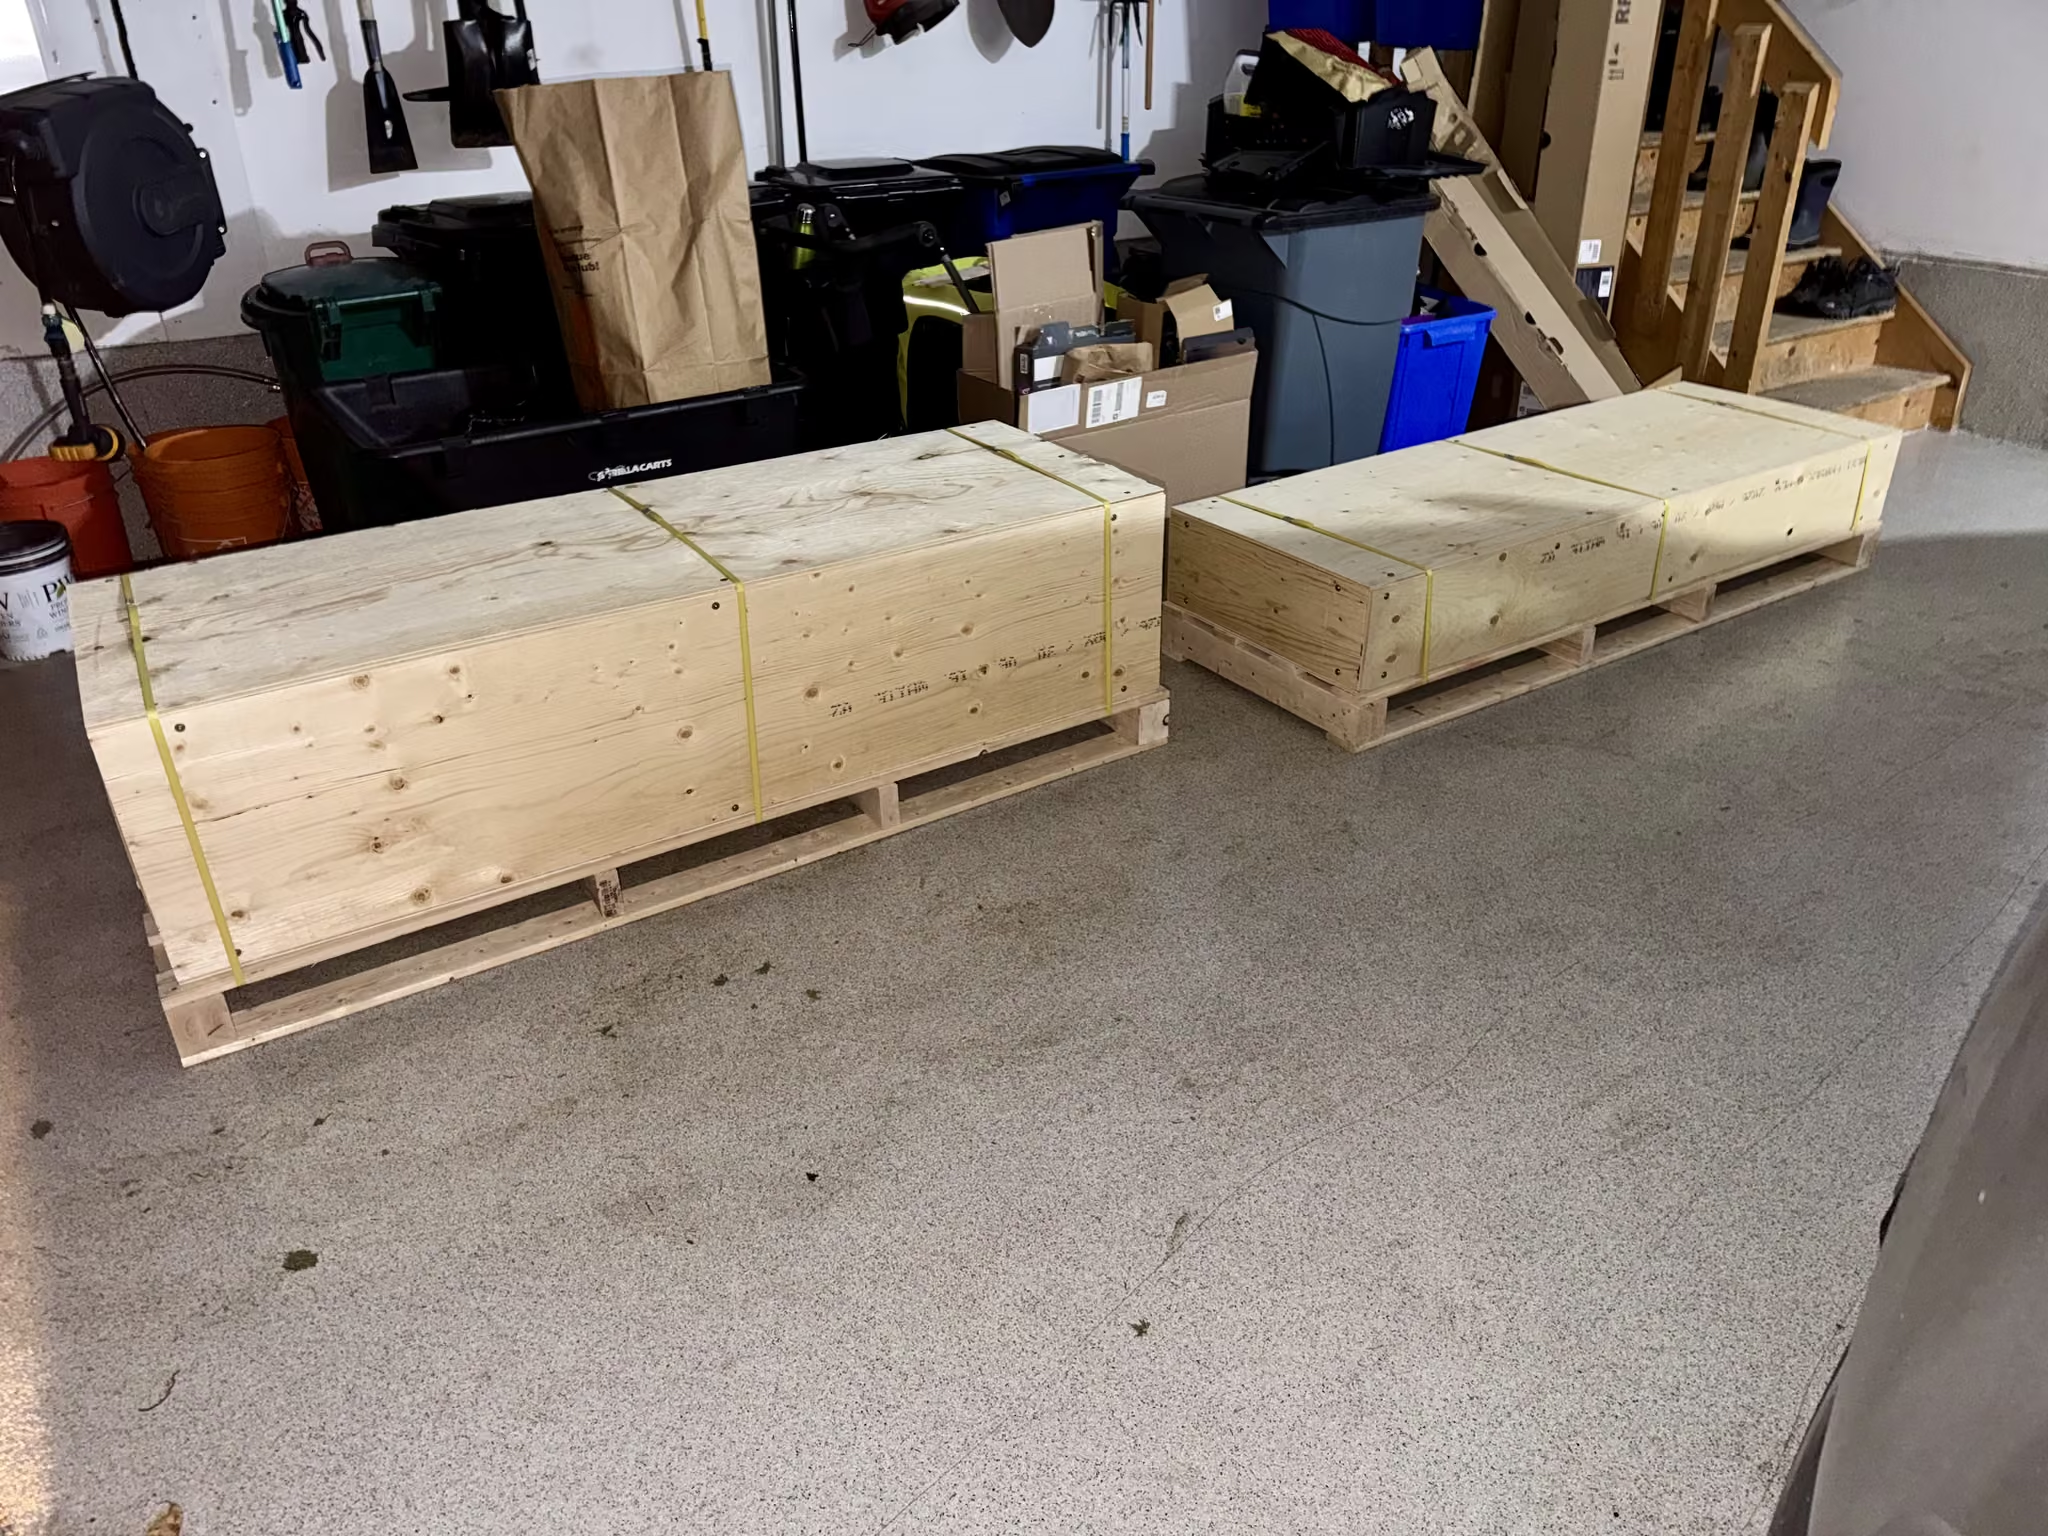
Once the pieces had been inserted into their crates, the lids were screwed on and the crates were set on top of the pallets. The crates then needed to be secured.
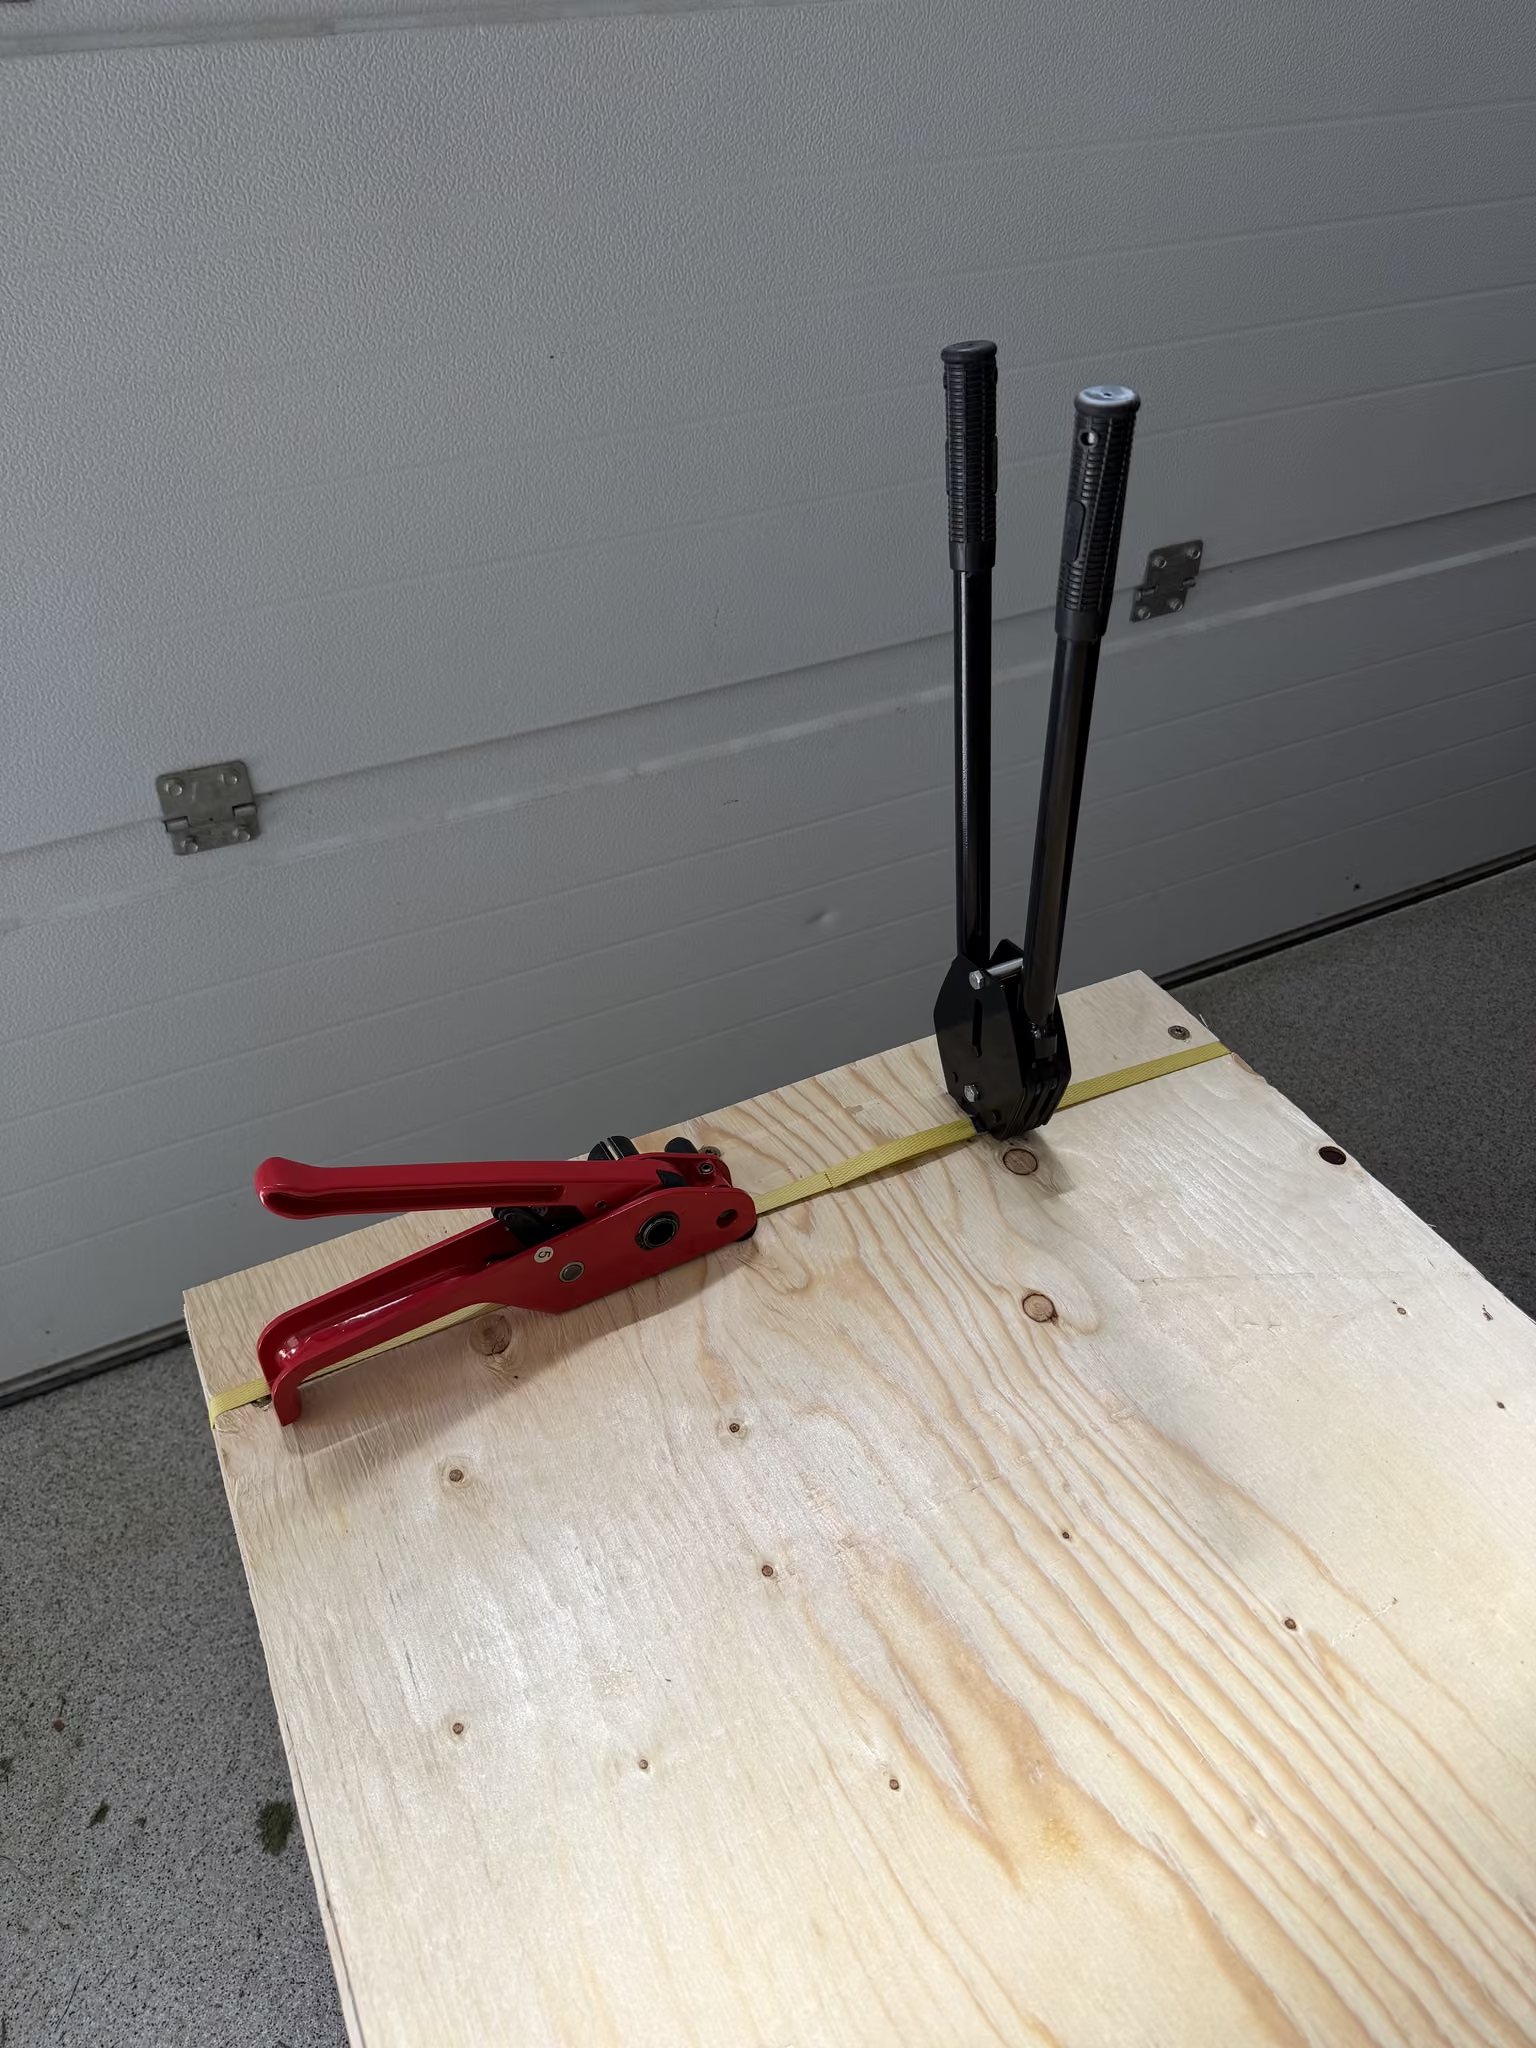
I found this strapping rig on Amazon that had the straps, buckles, tensioner, and crimper all in the same kit. It worked really well and was a lot easier than I thought it was going to be. Took me about 15 minutes for the first strap, and about three minutes for each one after that.
Strapped In
Here are some glamor shots of the crates on their pallets. These were nowhere near as large a project as the console itself, but they were a good-sized effort. So glamorous…
Shipping
So after many, many false starts (like four of them), we finally found a shipper that could do everything I wanted, namely delivering it to a home instead of just delivering to a warehouse. Great Canadian Van Lines is the company I eventually went with.
Departure
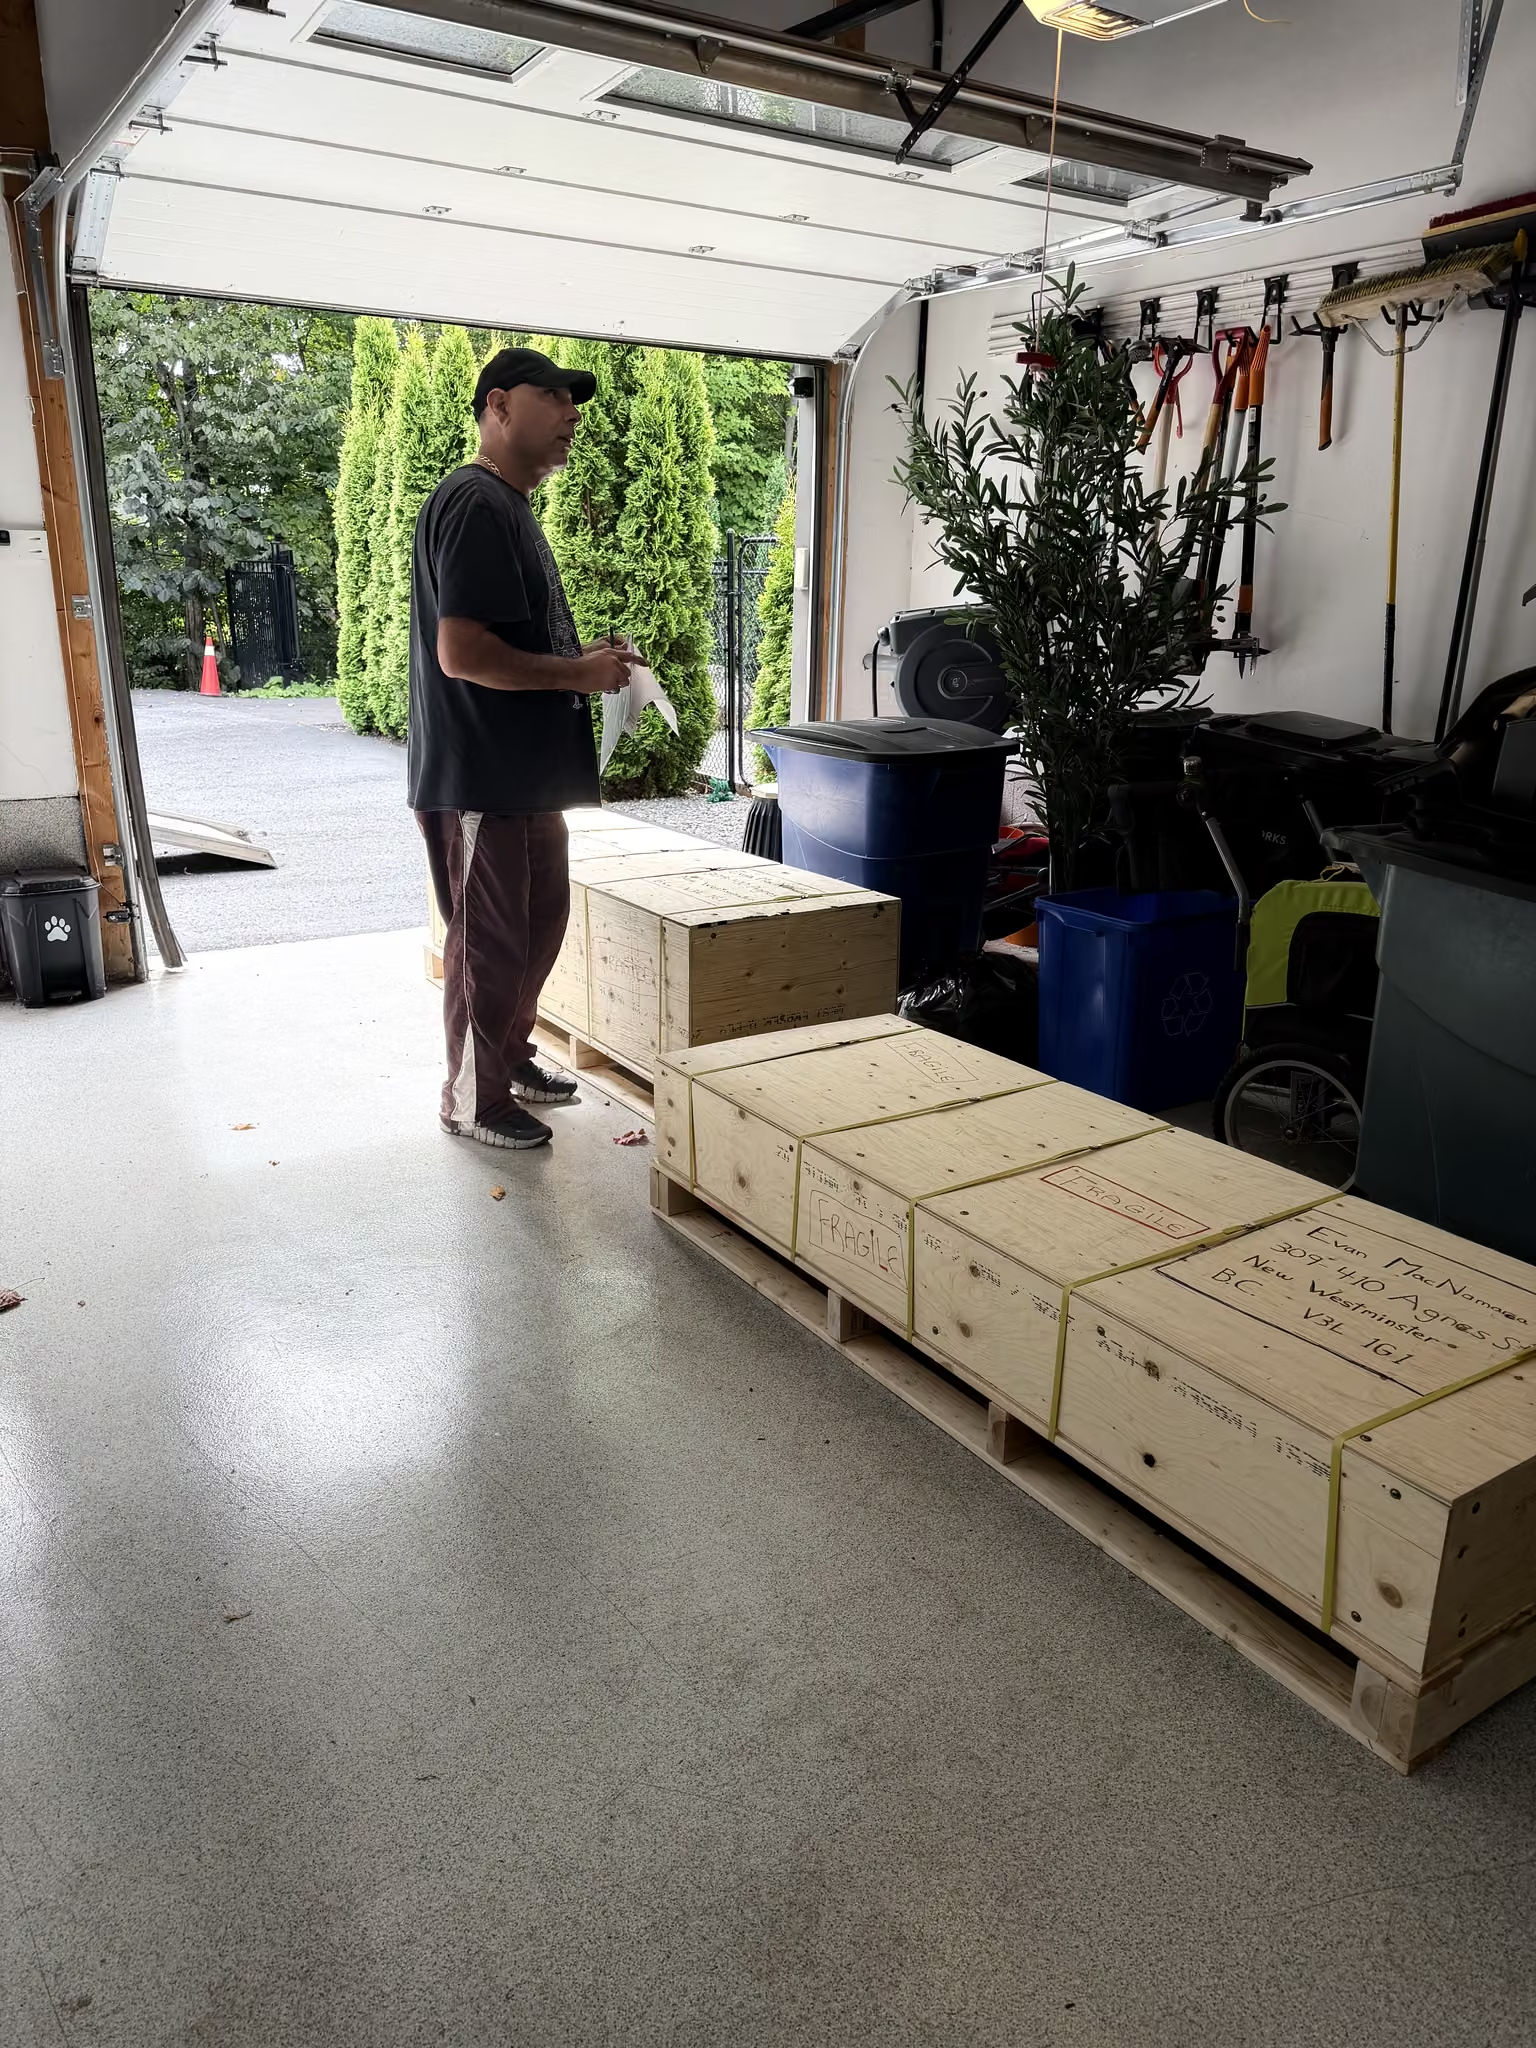
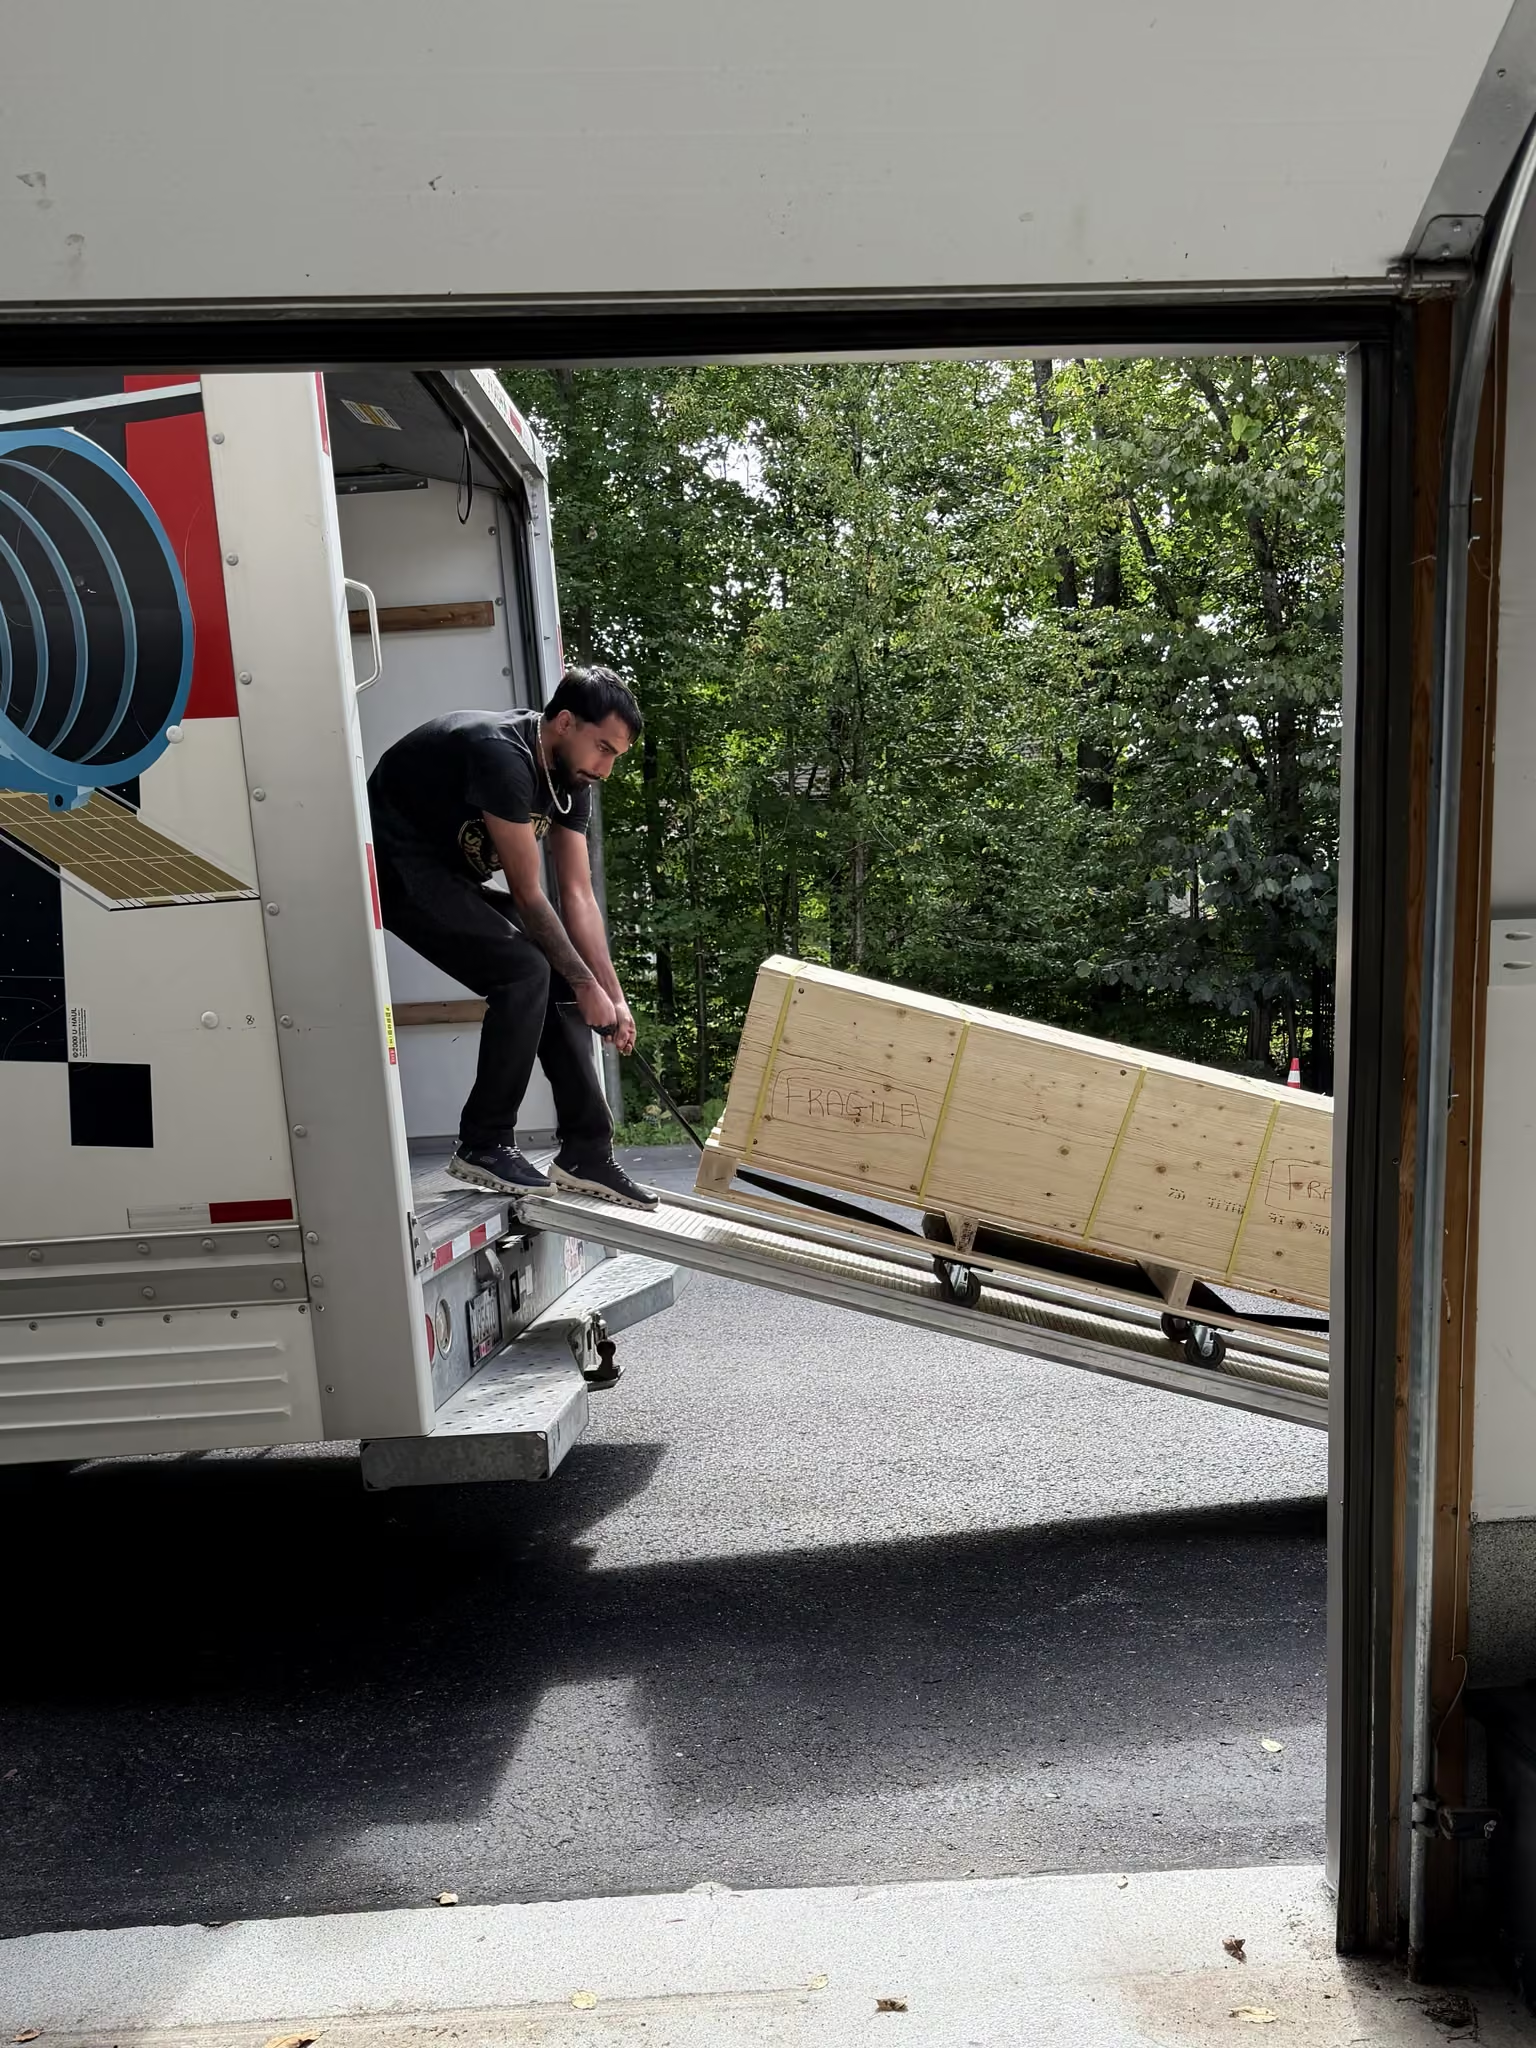
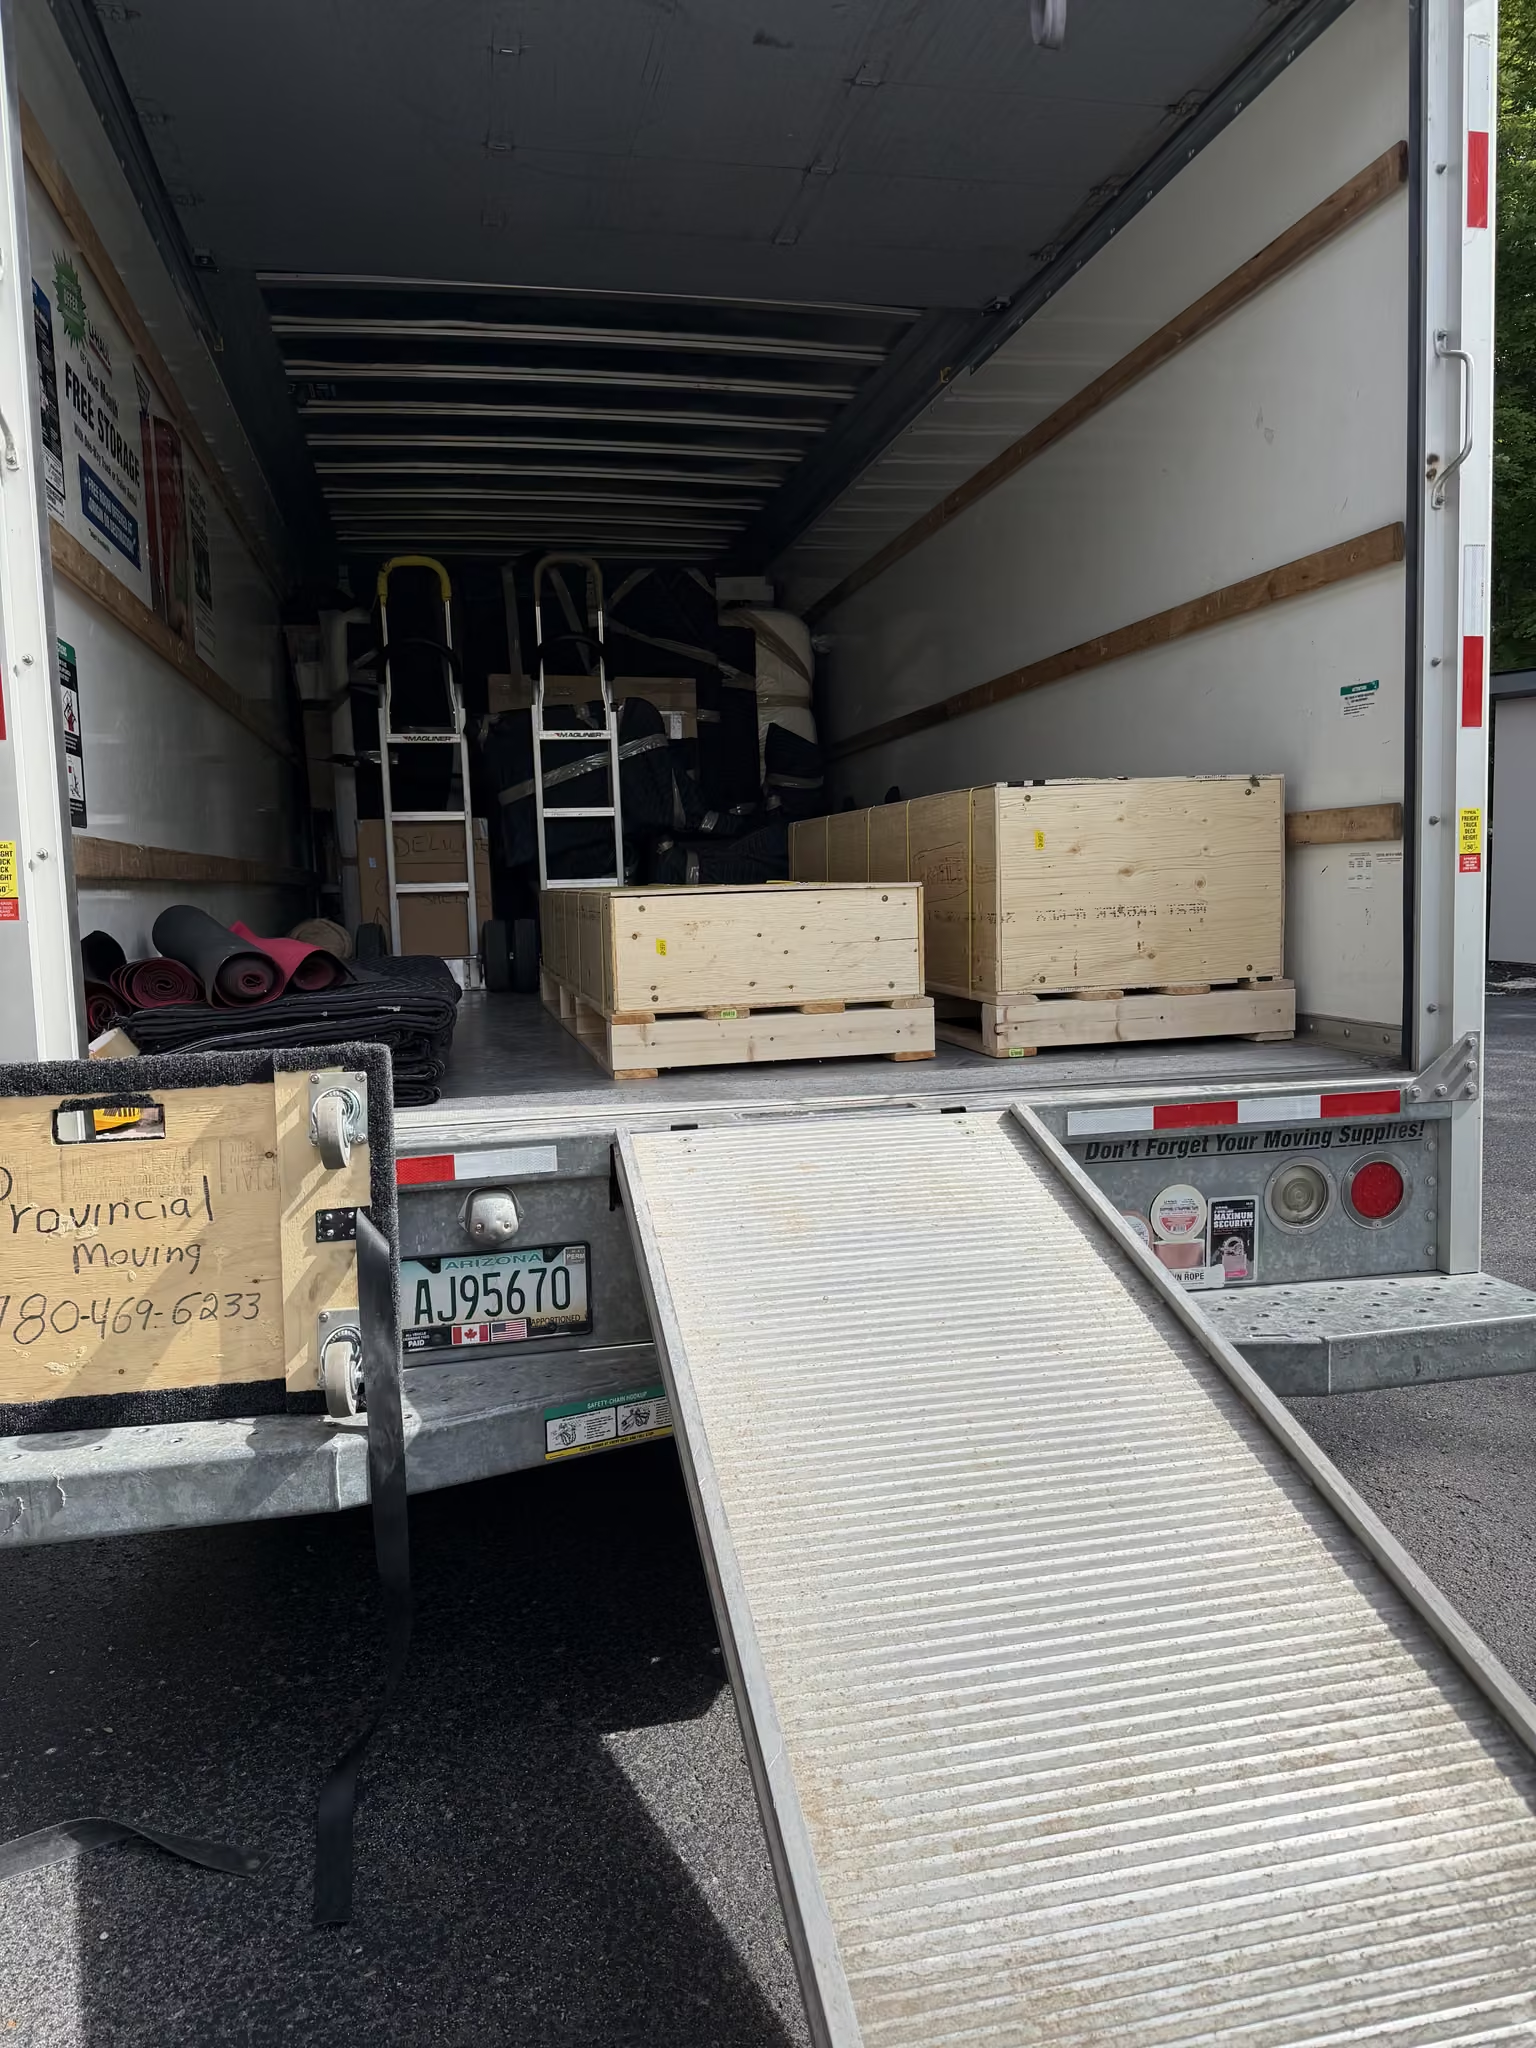
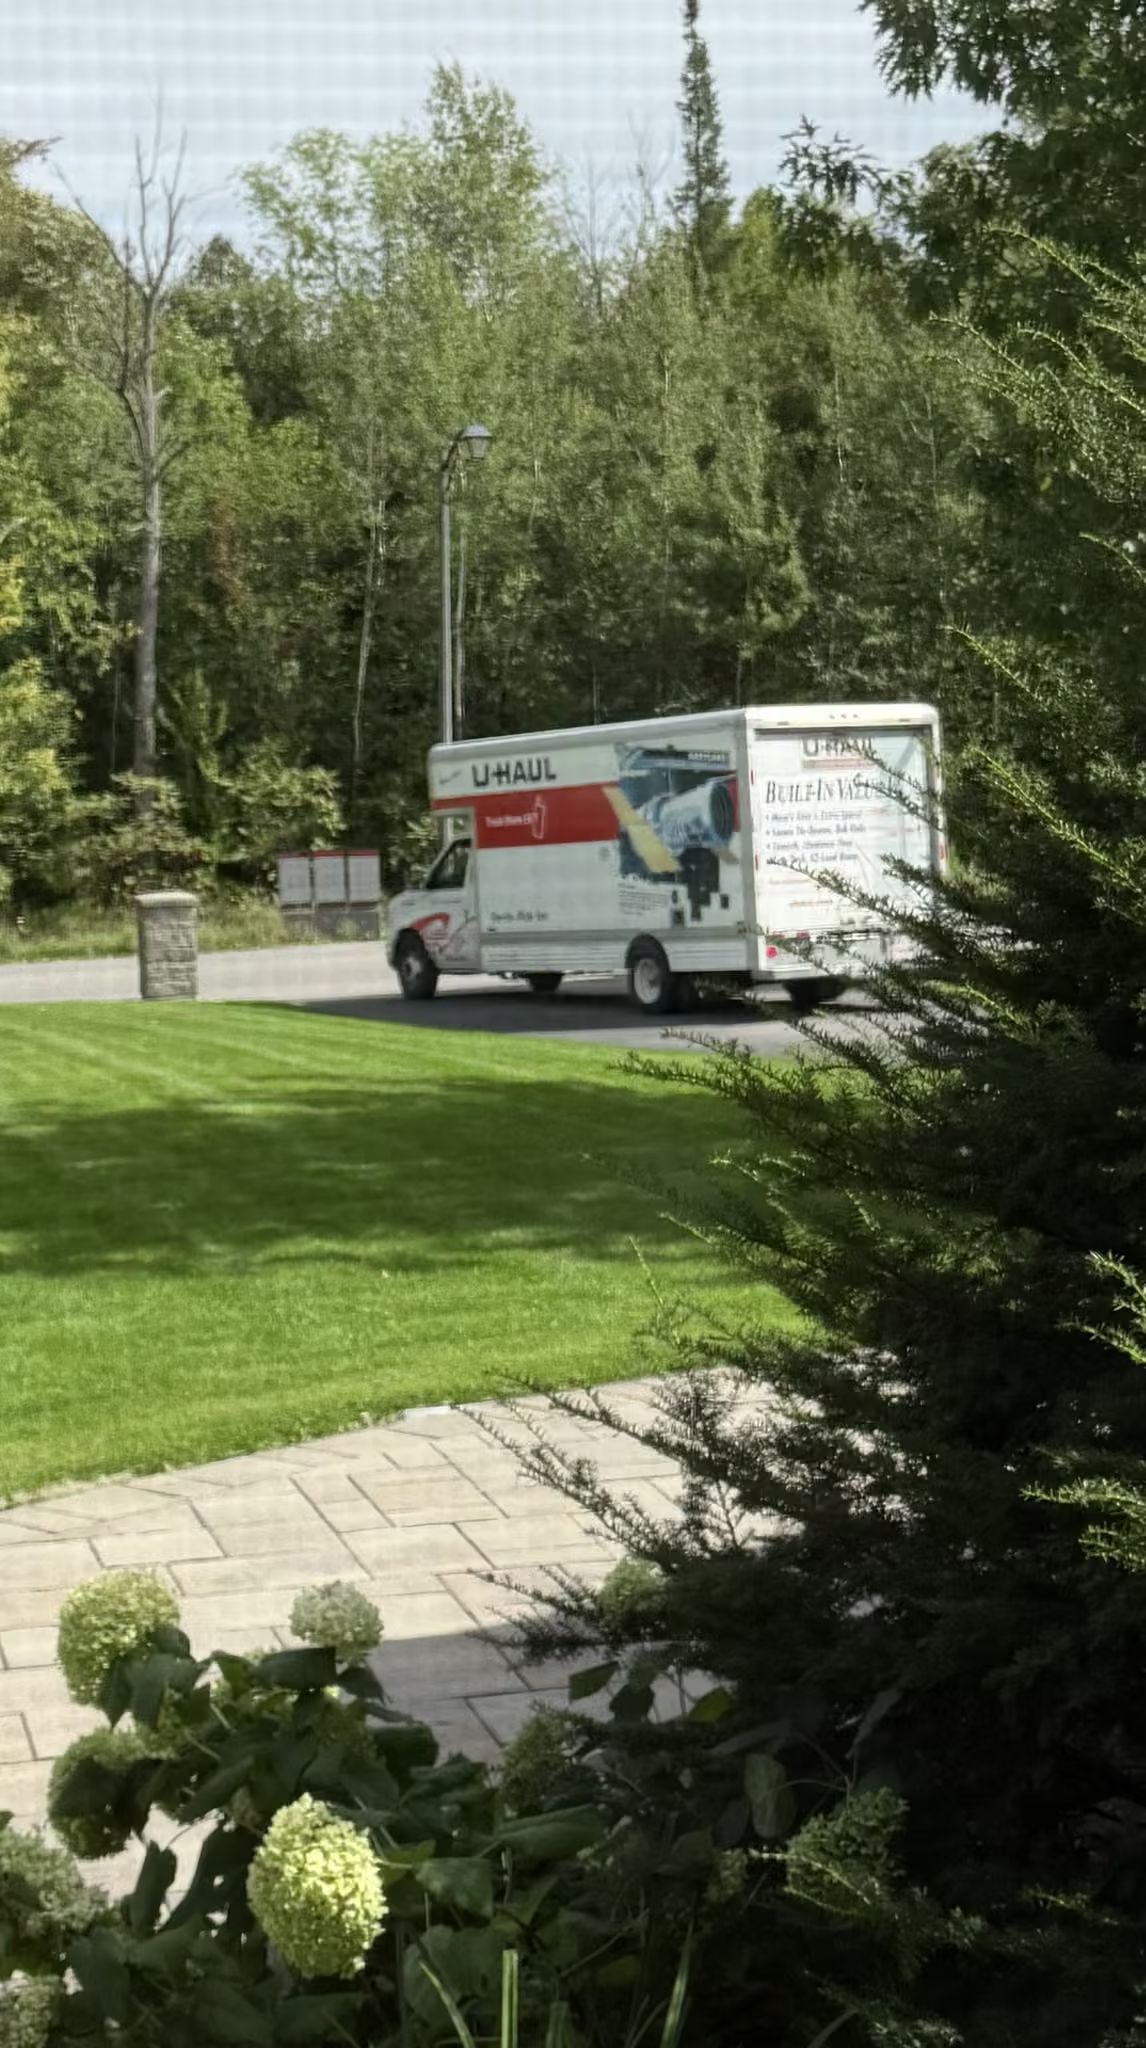
These two fine people showed up and loaded the crates into the Uhaul. Not too bad for a two-man lift. 15 minutes and they were packed up and out of here.
Next stop: New Westminster
Shipping - Arrival
Stay tuned.
A few things remain, with arrival at Evan’s place and installation being the big ones.
Materials and Tools
- Walnut and Red Oak from KJP Select Hardwoods
- Vacuum press from Vacupress