Evan's Console
Evan has a nice big-screen TV. It needed a nice console to go under it.
Background
My nephew Evan and I had been talking for a while about something I could make for his new place. He moved in a while back and, like all new homeowners, has been going from room to room, making improvements and adding new furniture here and there. A new TV console for the living room was in order. Something was definitely needed to replace the Home Depot plank-and-cinder-block contraption that I had put together for him as an emergency setup when he first moved in.
An Internet Search
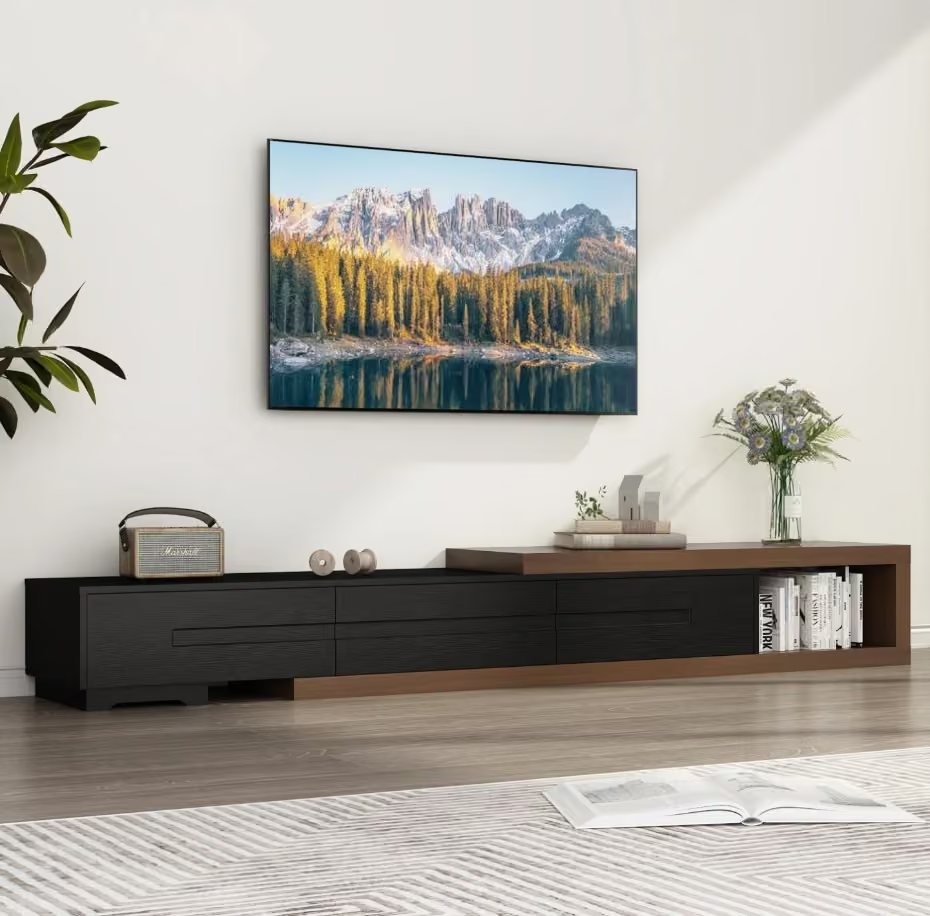
After scouring the internet, Evan found a couple of designs that he liked, and we eventually settled on this one.
I love the fact that it has two different types of wood; they give the piece a lot of interest.
It has an outer carcass made of walnut, giving it a nice, warm brown vibe. The inner carcass is made of stained wood—I’m not sure what kind is shown in the picture—but I chose red oak for my version.
SketchUp
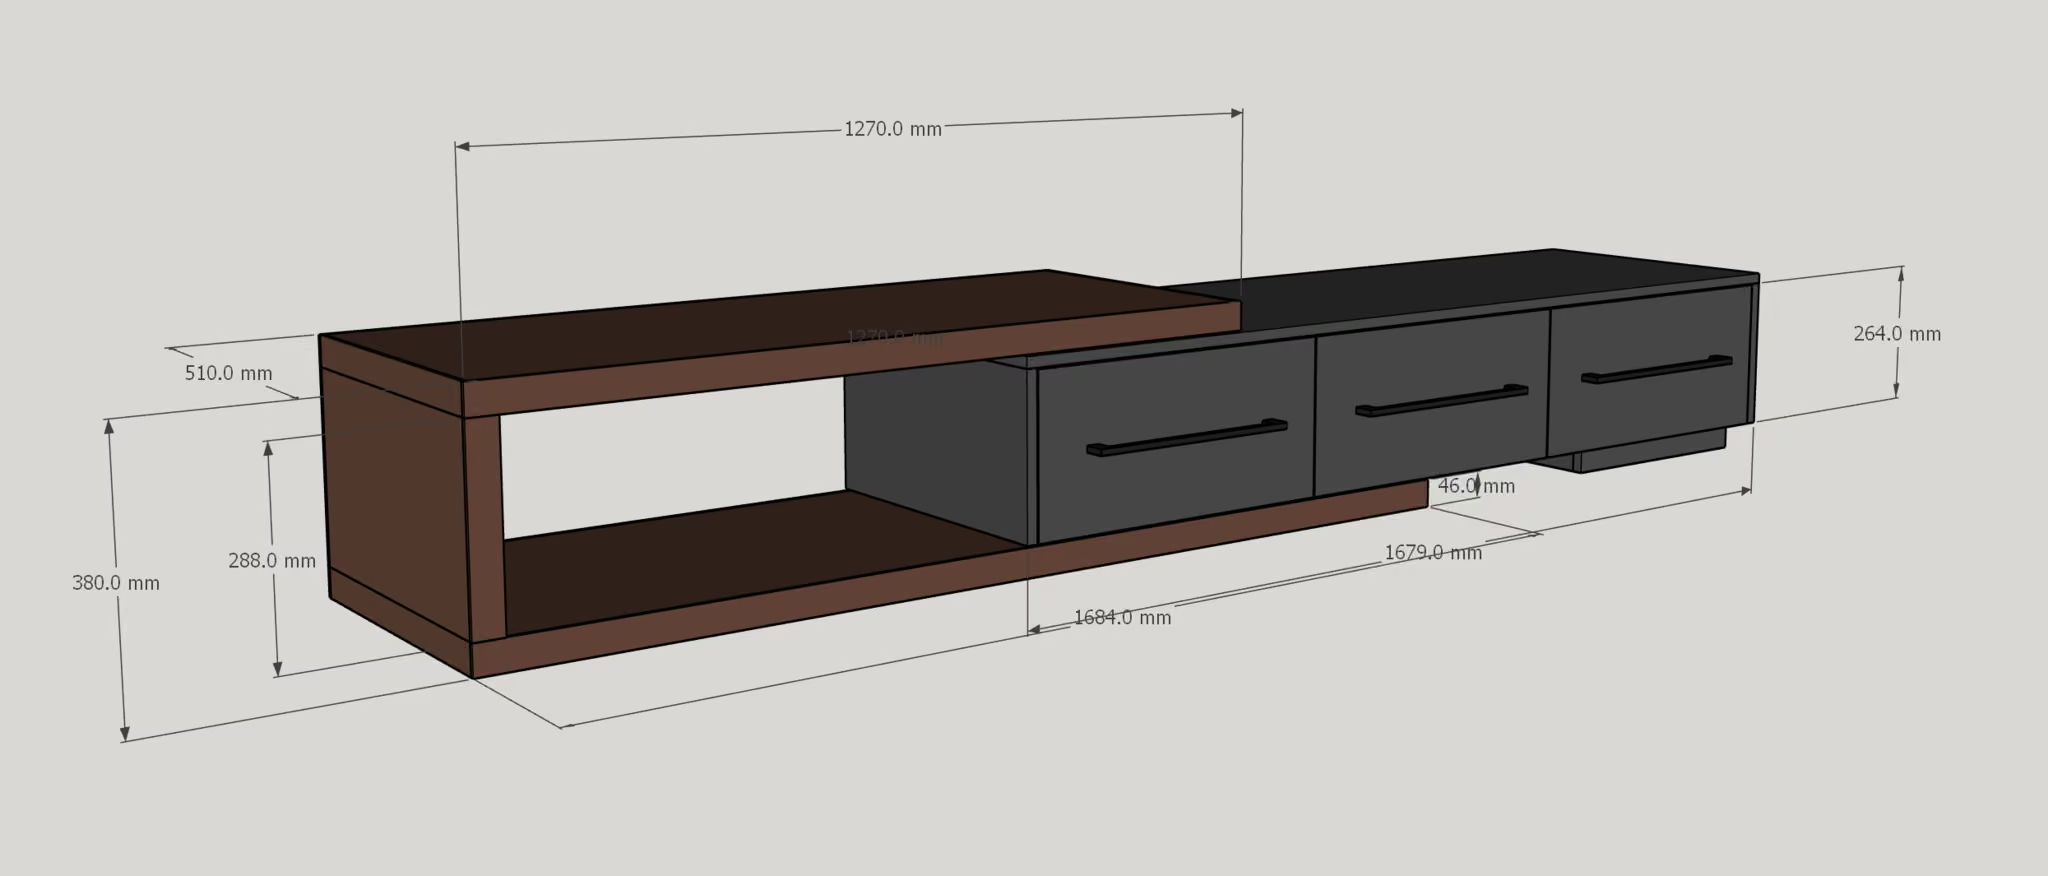
There is always the ubiquitous SketchUp model to be found in my projects.
A little bit of planning—or, in this case, a lot of planning—can go a long way toward making sure that projects come out right.
The Build
Next came the construction. This was probably one of the longer projects I have done, partly because it was complex, partly because it involved some things I had never tried before, and partly because there was a setback or two along the way. This is called “foreshadowing.”
Standard Red Oak
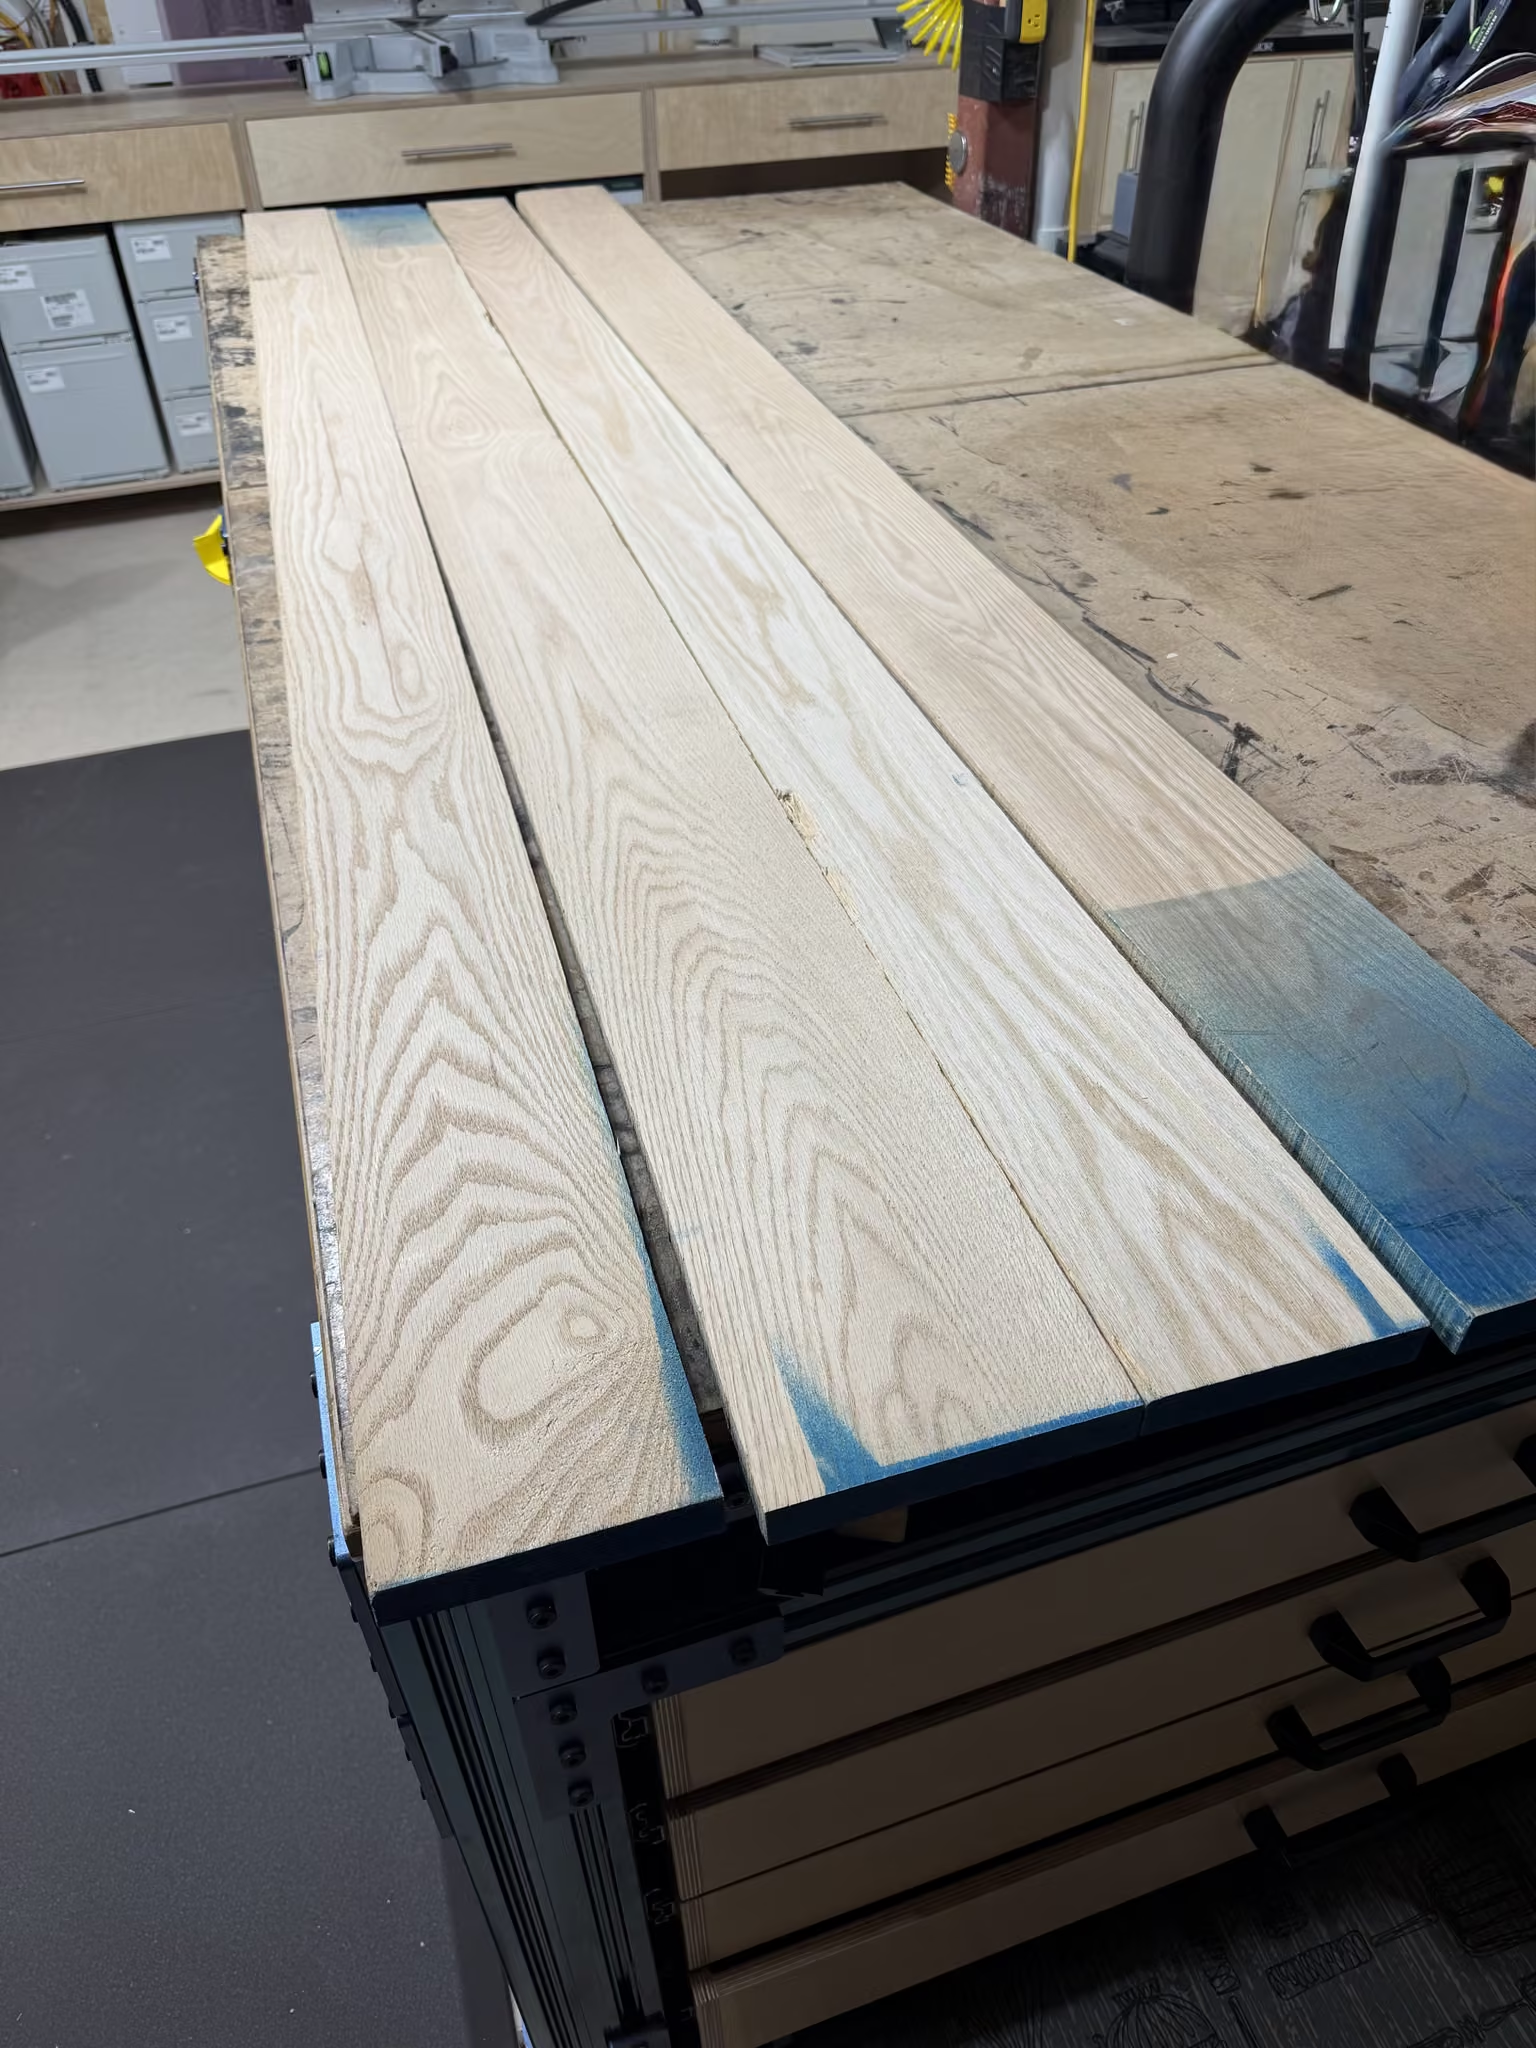
I had some red oak in my timber collection, so I used that. The nice thing about using existing stock is that you don’t have to wait for it to dry out or anything—you can just take it off the shelf and use it!
A lot of woodworkers, along with other humans, do not like red oak. I get it: it has been overdone quite a bit, so you see it anywhere and everywhere. If you are going to leave it that dull, muddy brown, with red overtones showing through, then it might be a problem. But I find that when you stain it a darker colour—say, black or, in this case, charcoal grey—the open grain really has a nice pop to it. It almost sparkles, certainly much more than white oak or other closed-grain hardwoods. You be the judge.
Oak Panels
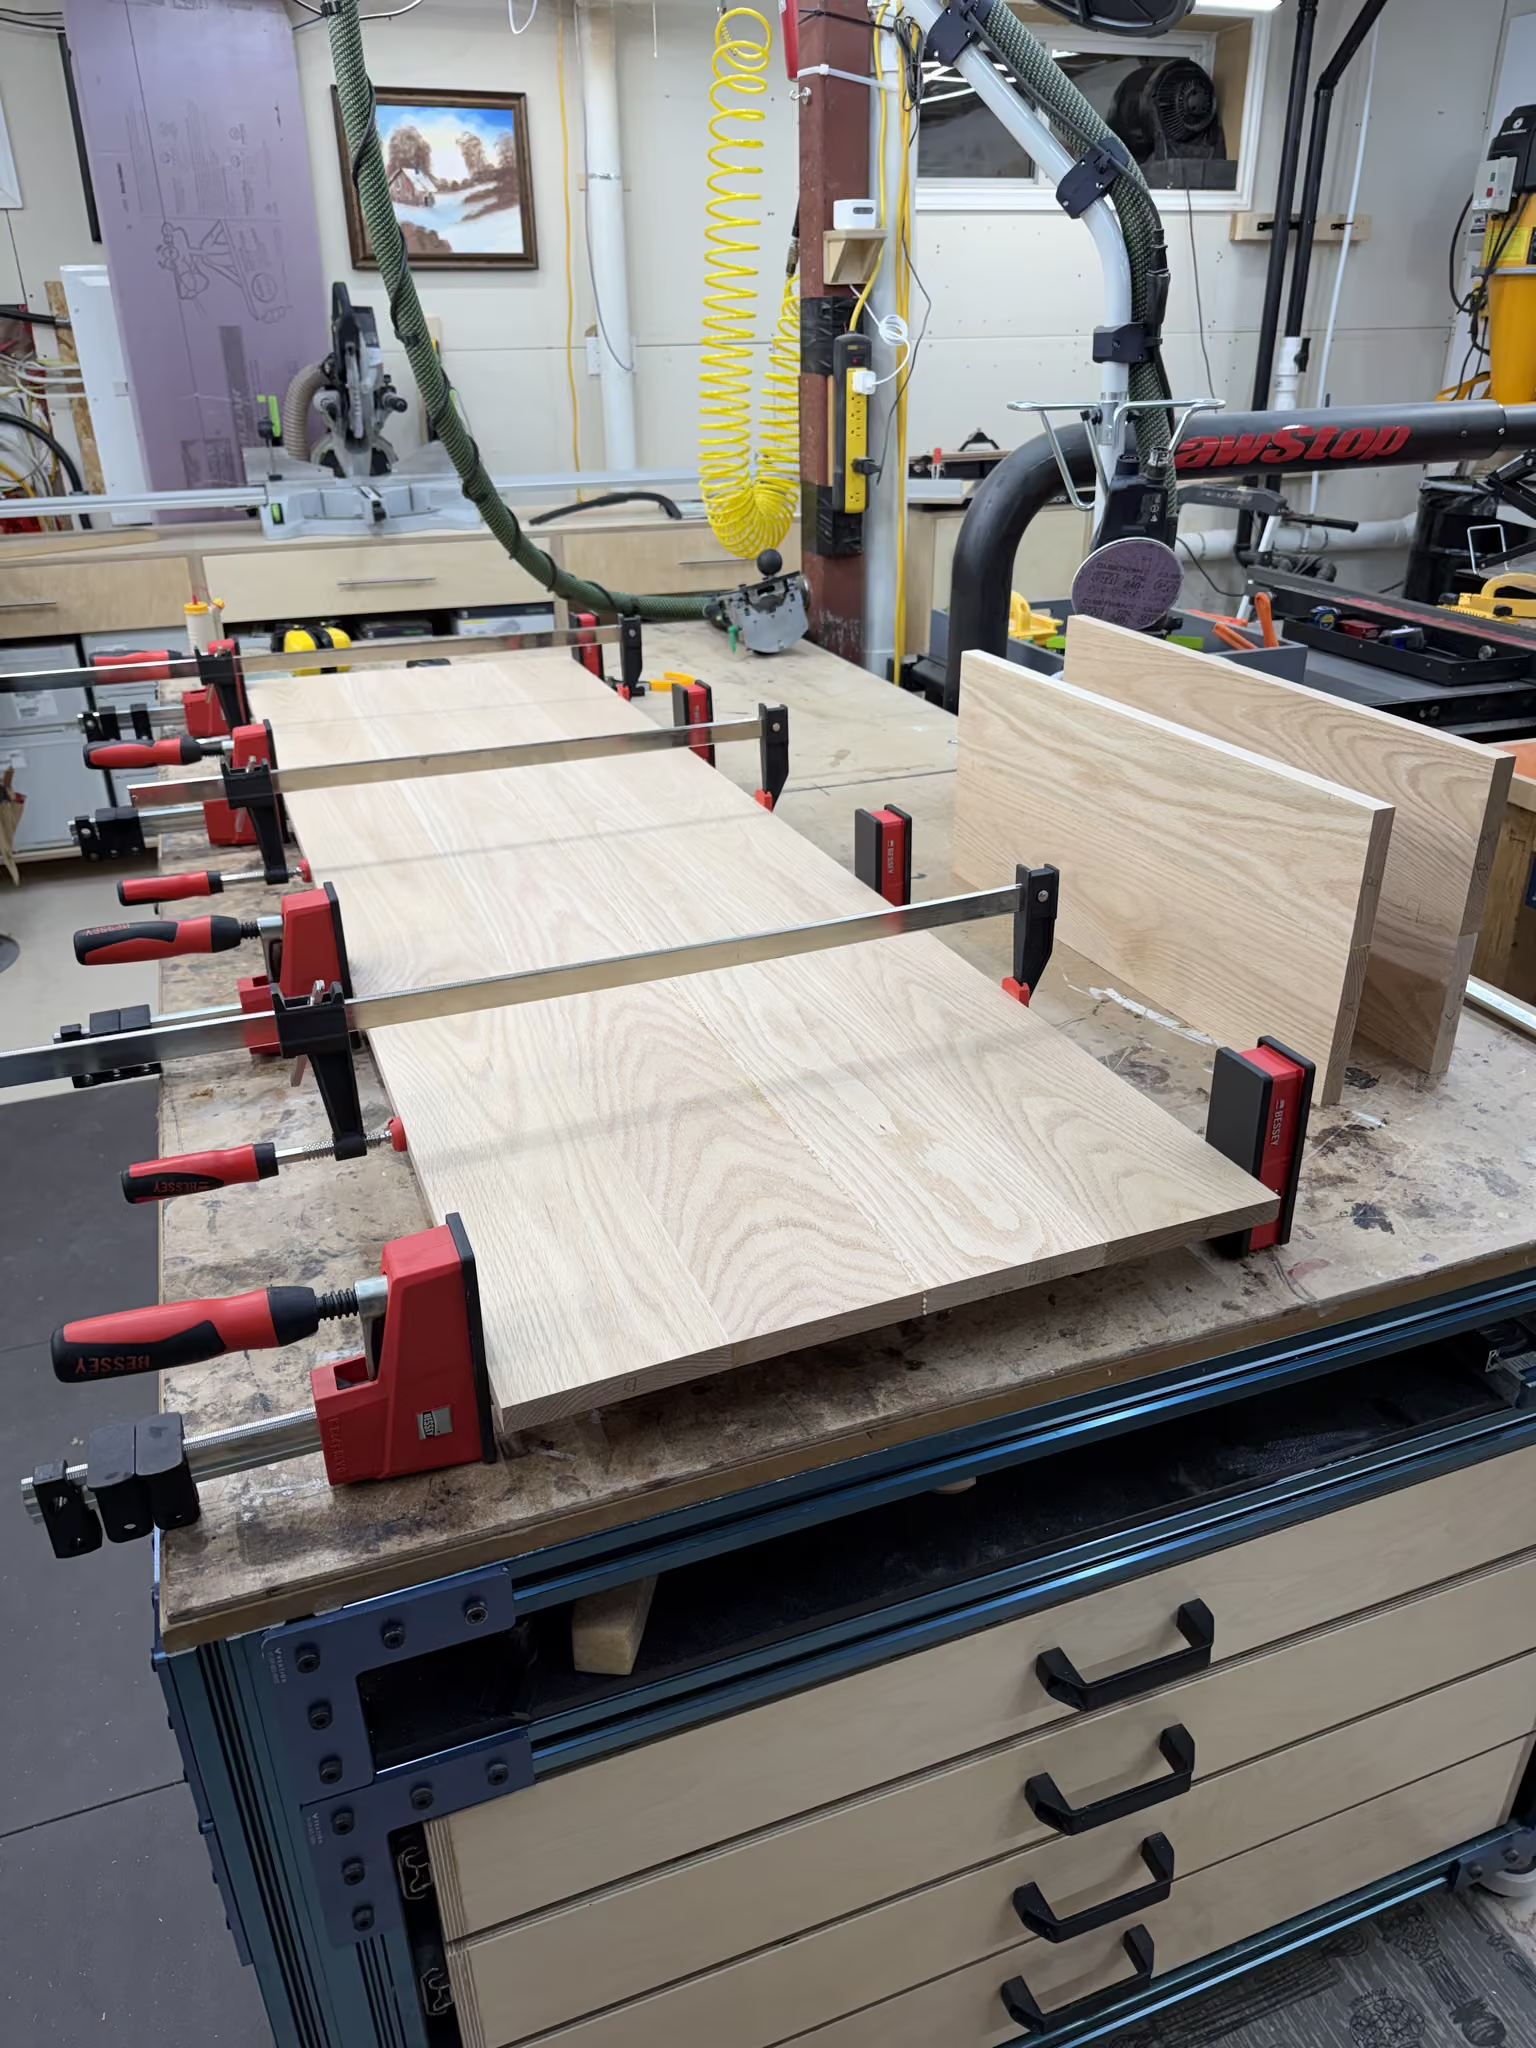
The way I like to make panels is to make them as wide as I can, leave the boards a little thicker than the final spec, and send them through the planer after the glue has dried. This saves a lot of sanding and makes the final product super smooth.
Unfortunately, these panels were about 50 cm (20 inches) wide, which is too wide for my planer, so I had to do them in groups.
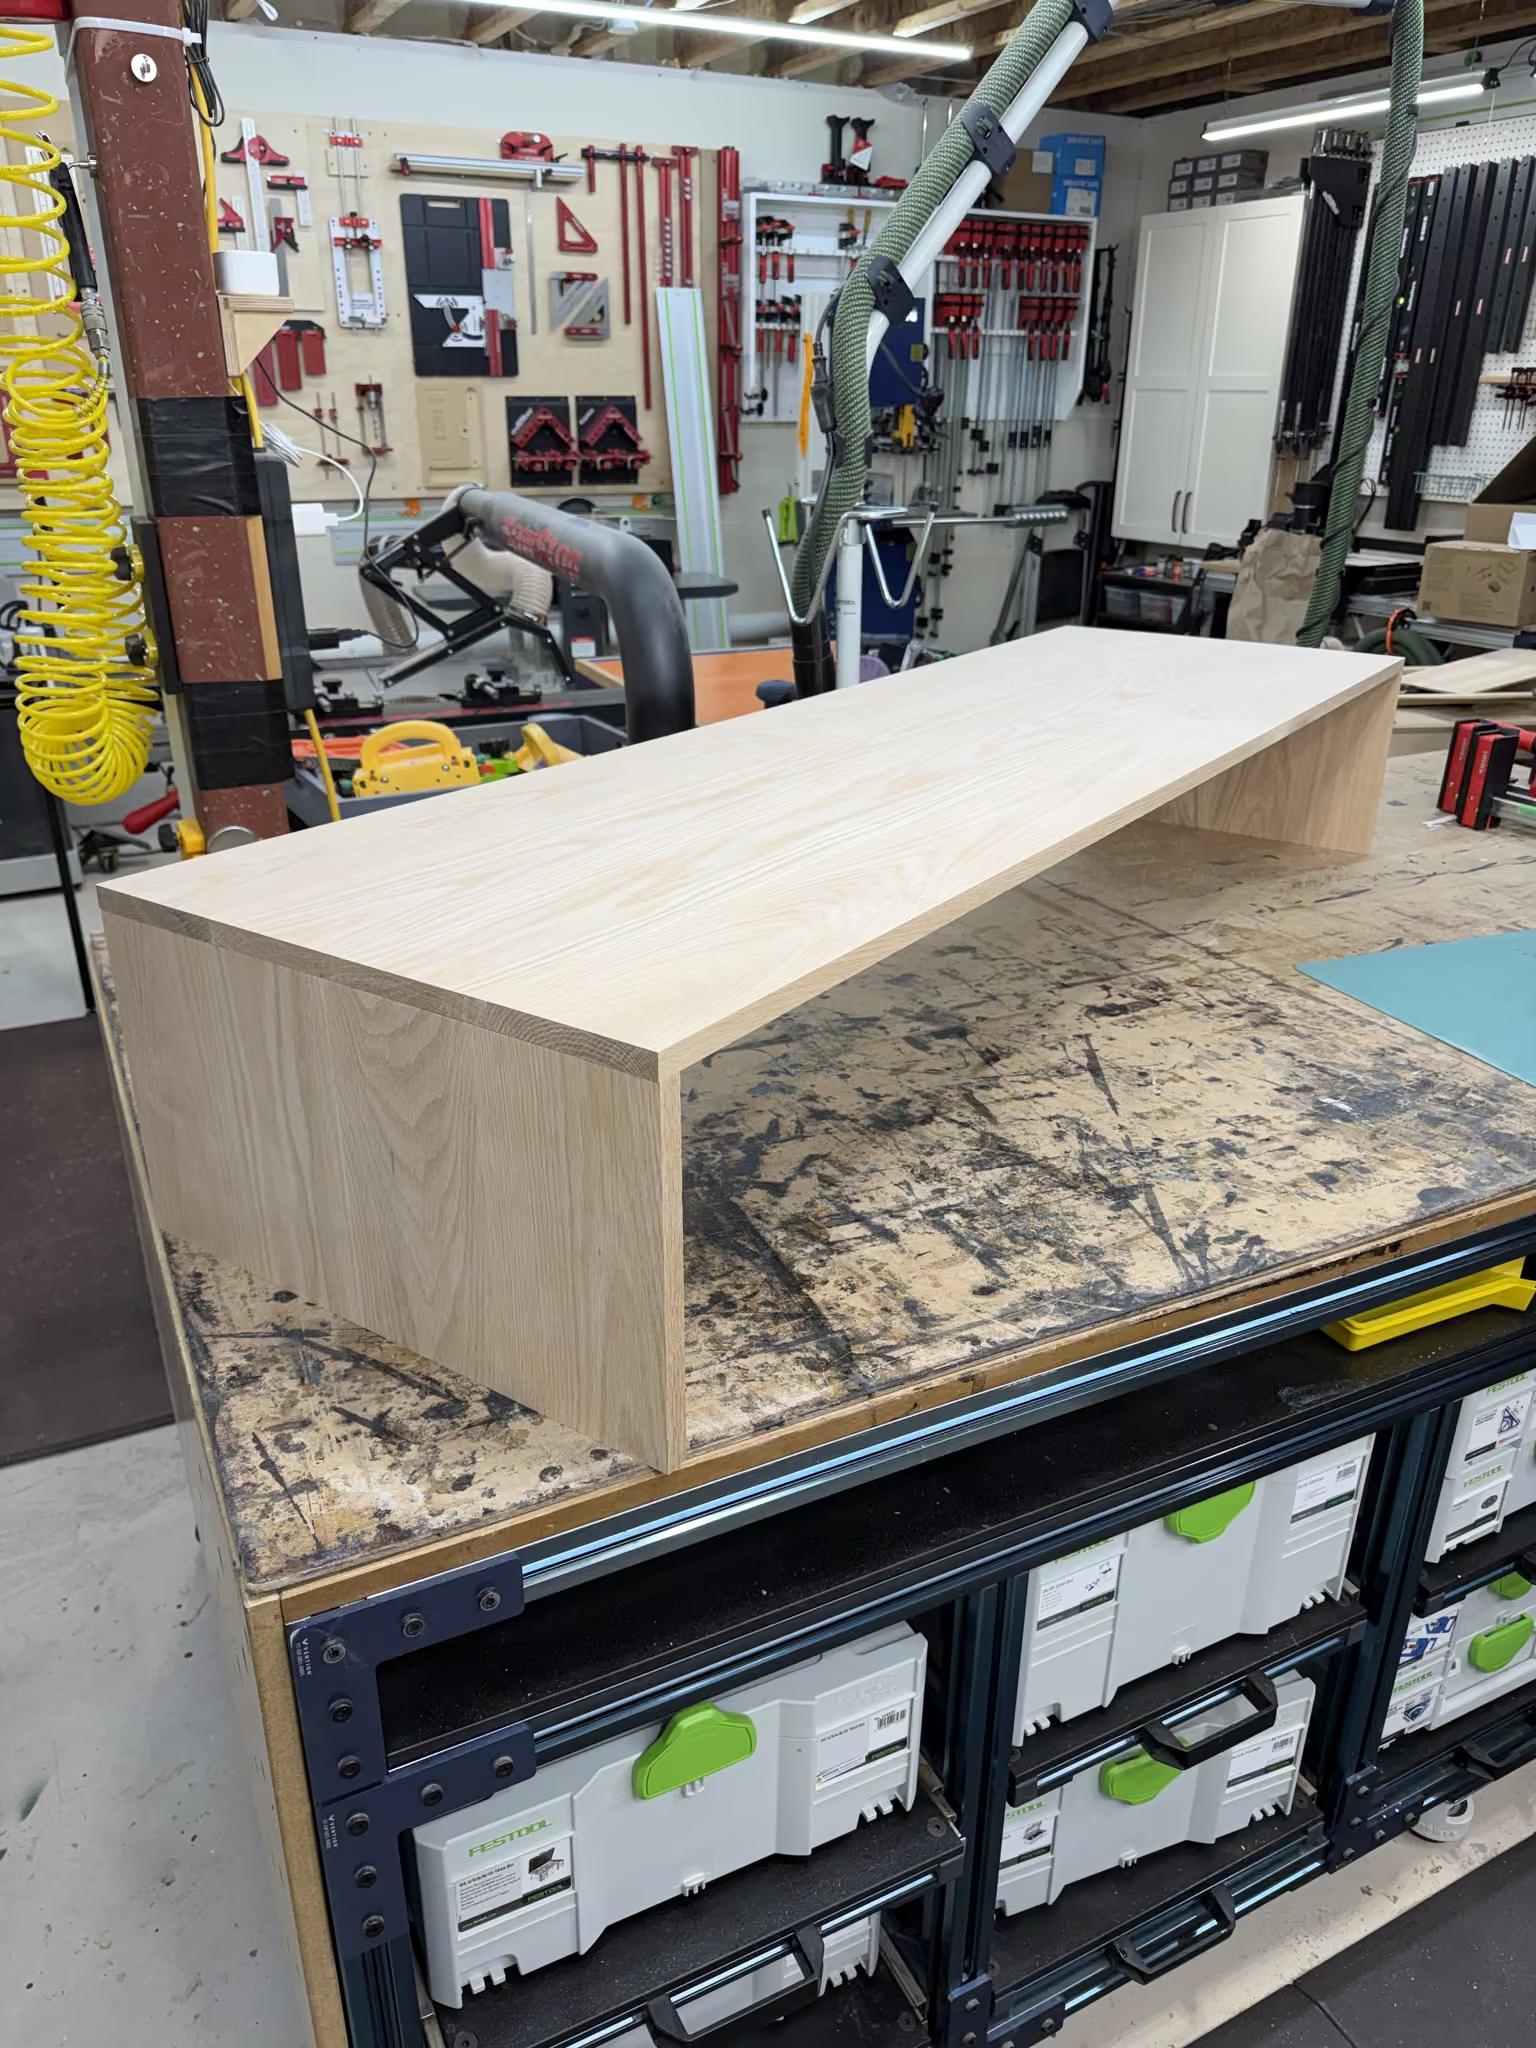
Top and Sides
It can be a little tricky to glue things up when there is no supporting piece underneath against which to apply pressure, but it worked.
The top and sides of the inner carcass are shown assembled in this pic.
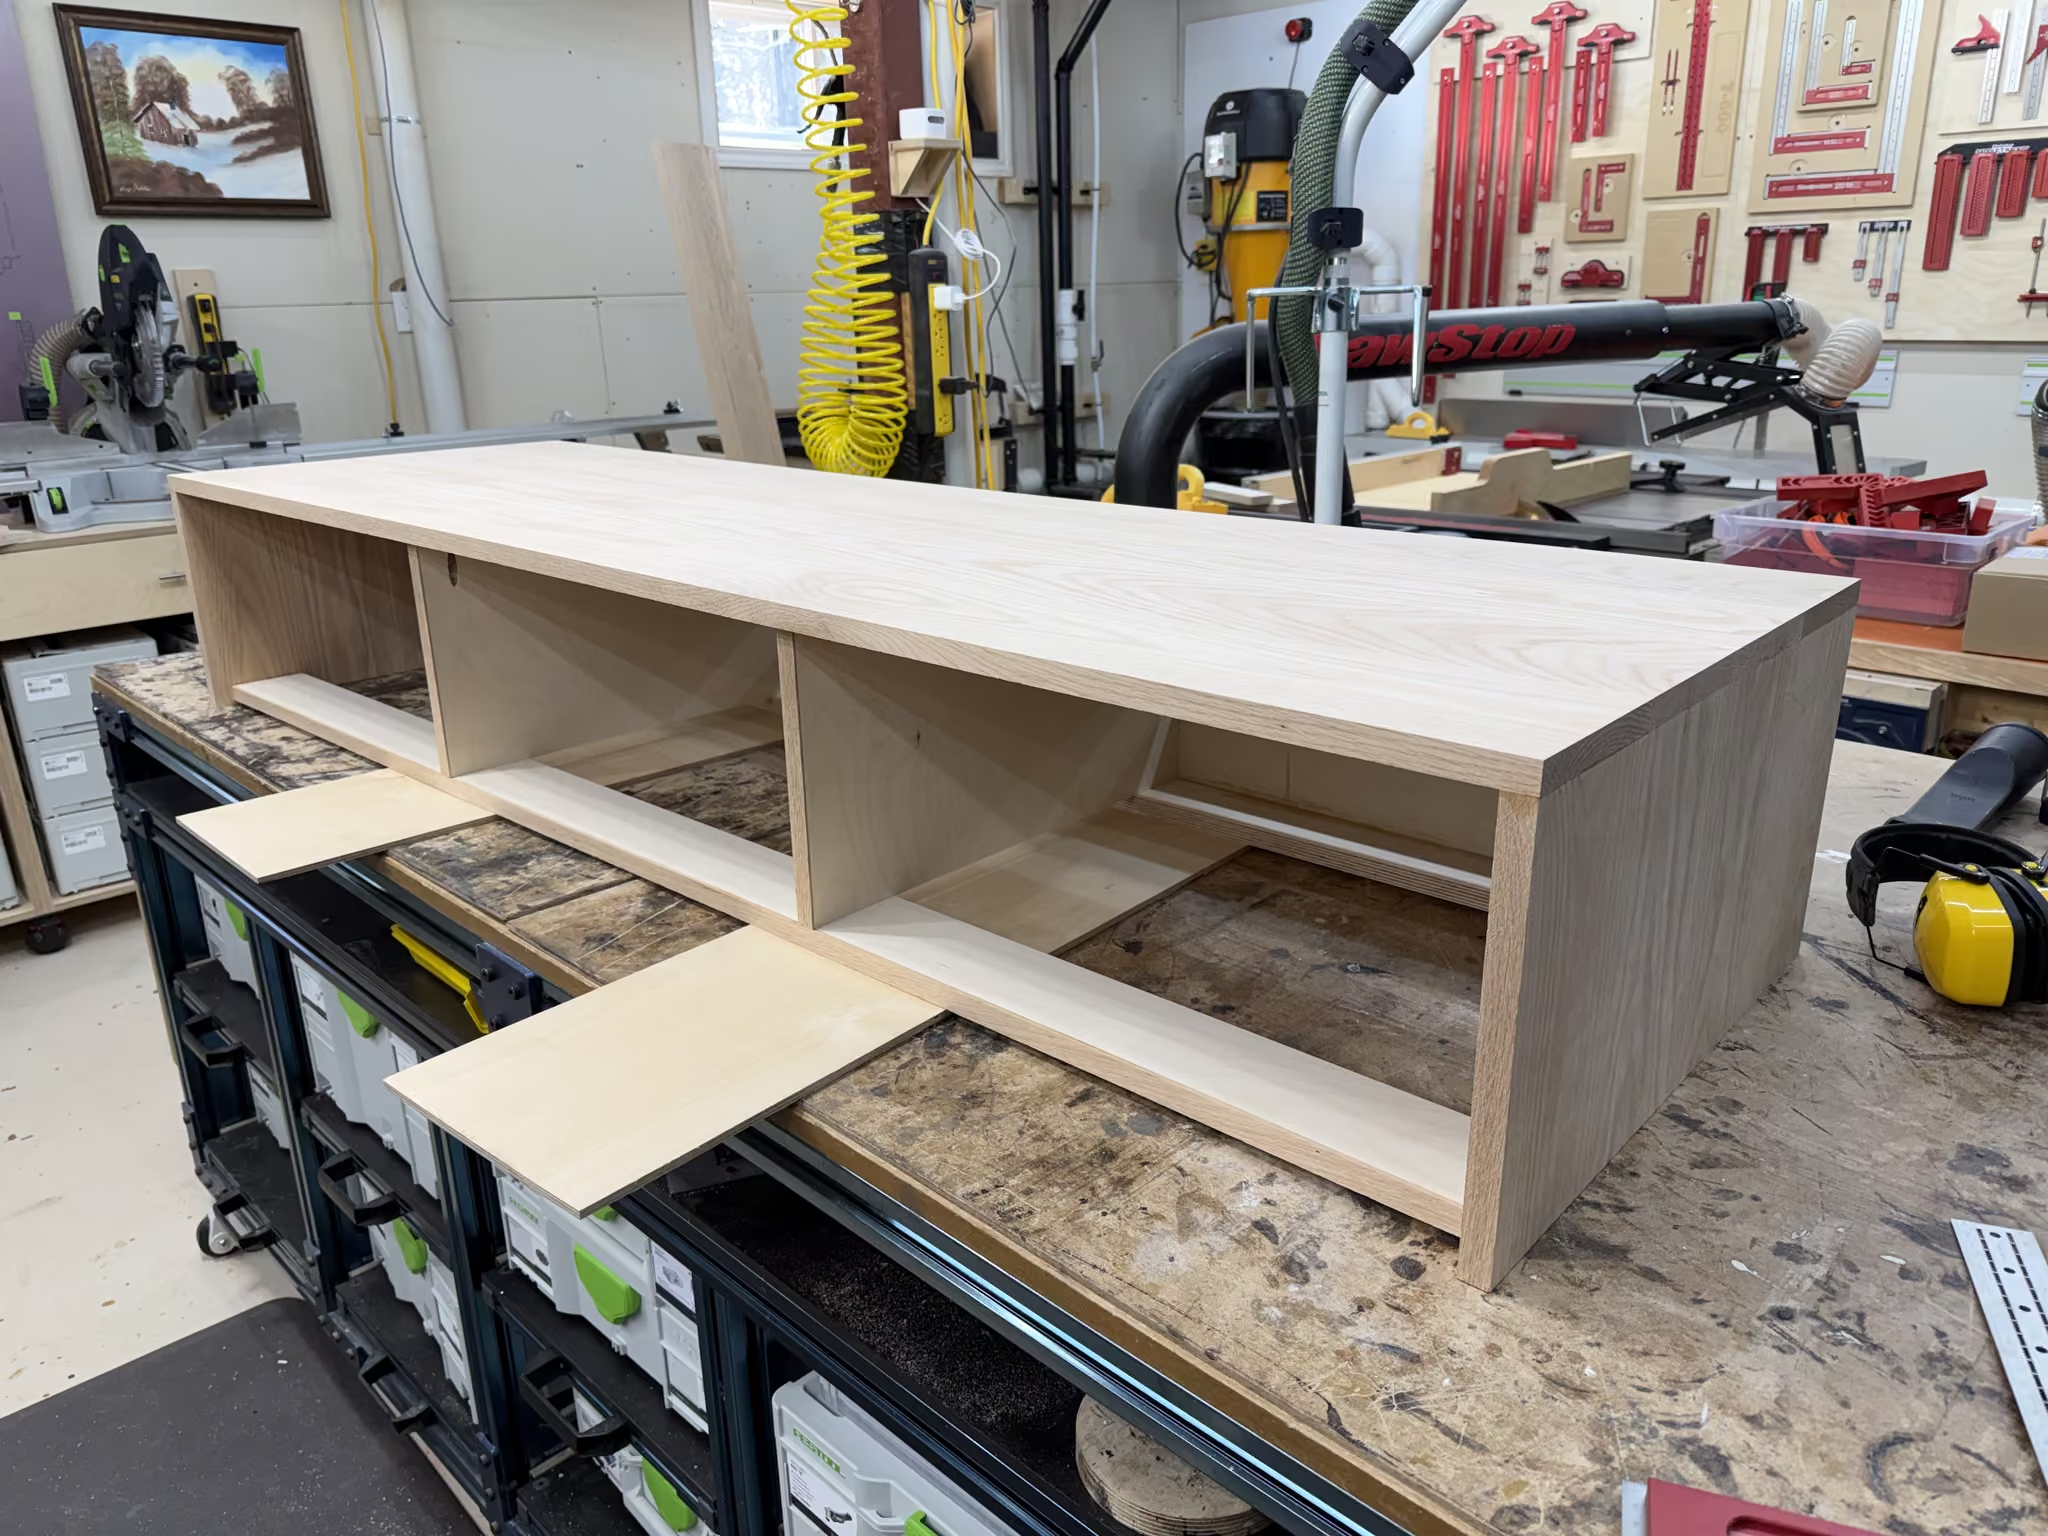
Stretchers and Dividers
Trying to keep the weight down, I opted for four stretchers on the inner carcass, two on the bottom and two on the back.
Then I installed the drawer dividers by mounting them to the oak top and the bottom stretchers.
The front stretcher on the bottom and the drawer divider had to be edge-banded with custom (homemade) red oak bands. Although not easily visible, these pieces can be seen when the drawers are open.
Arrrrrgggggghhhh…
WARNING: The following images may be disturbing to some woodworkers. Reader discretion is advised.
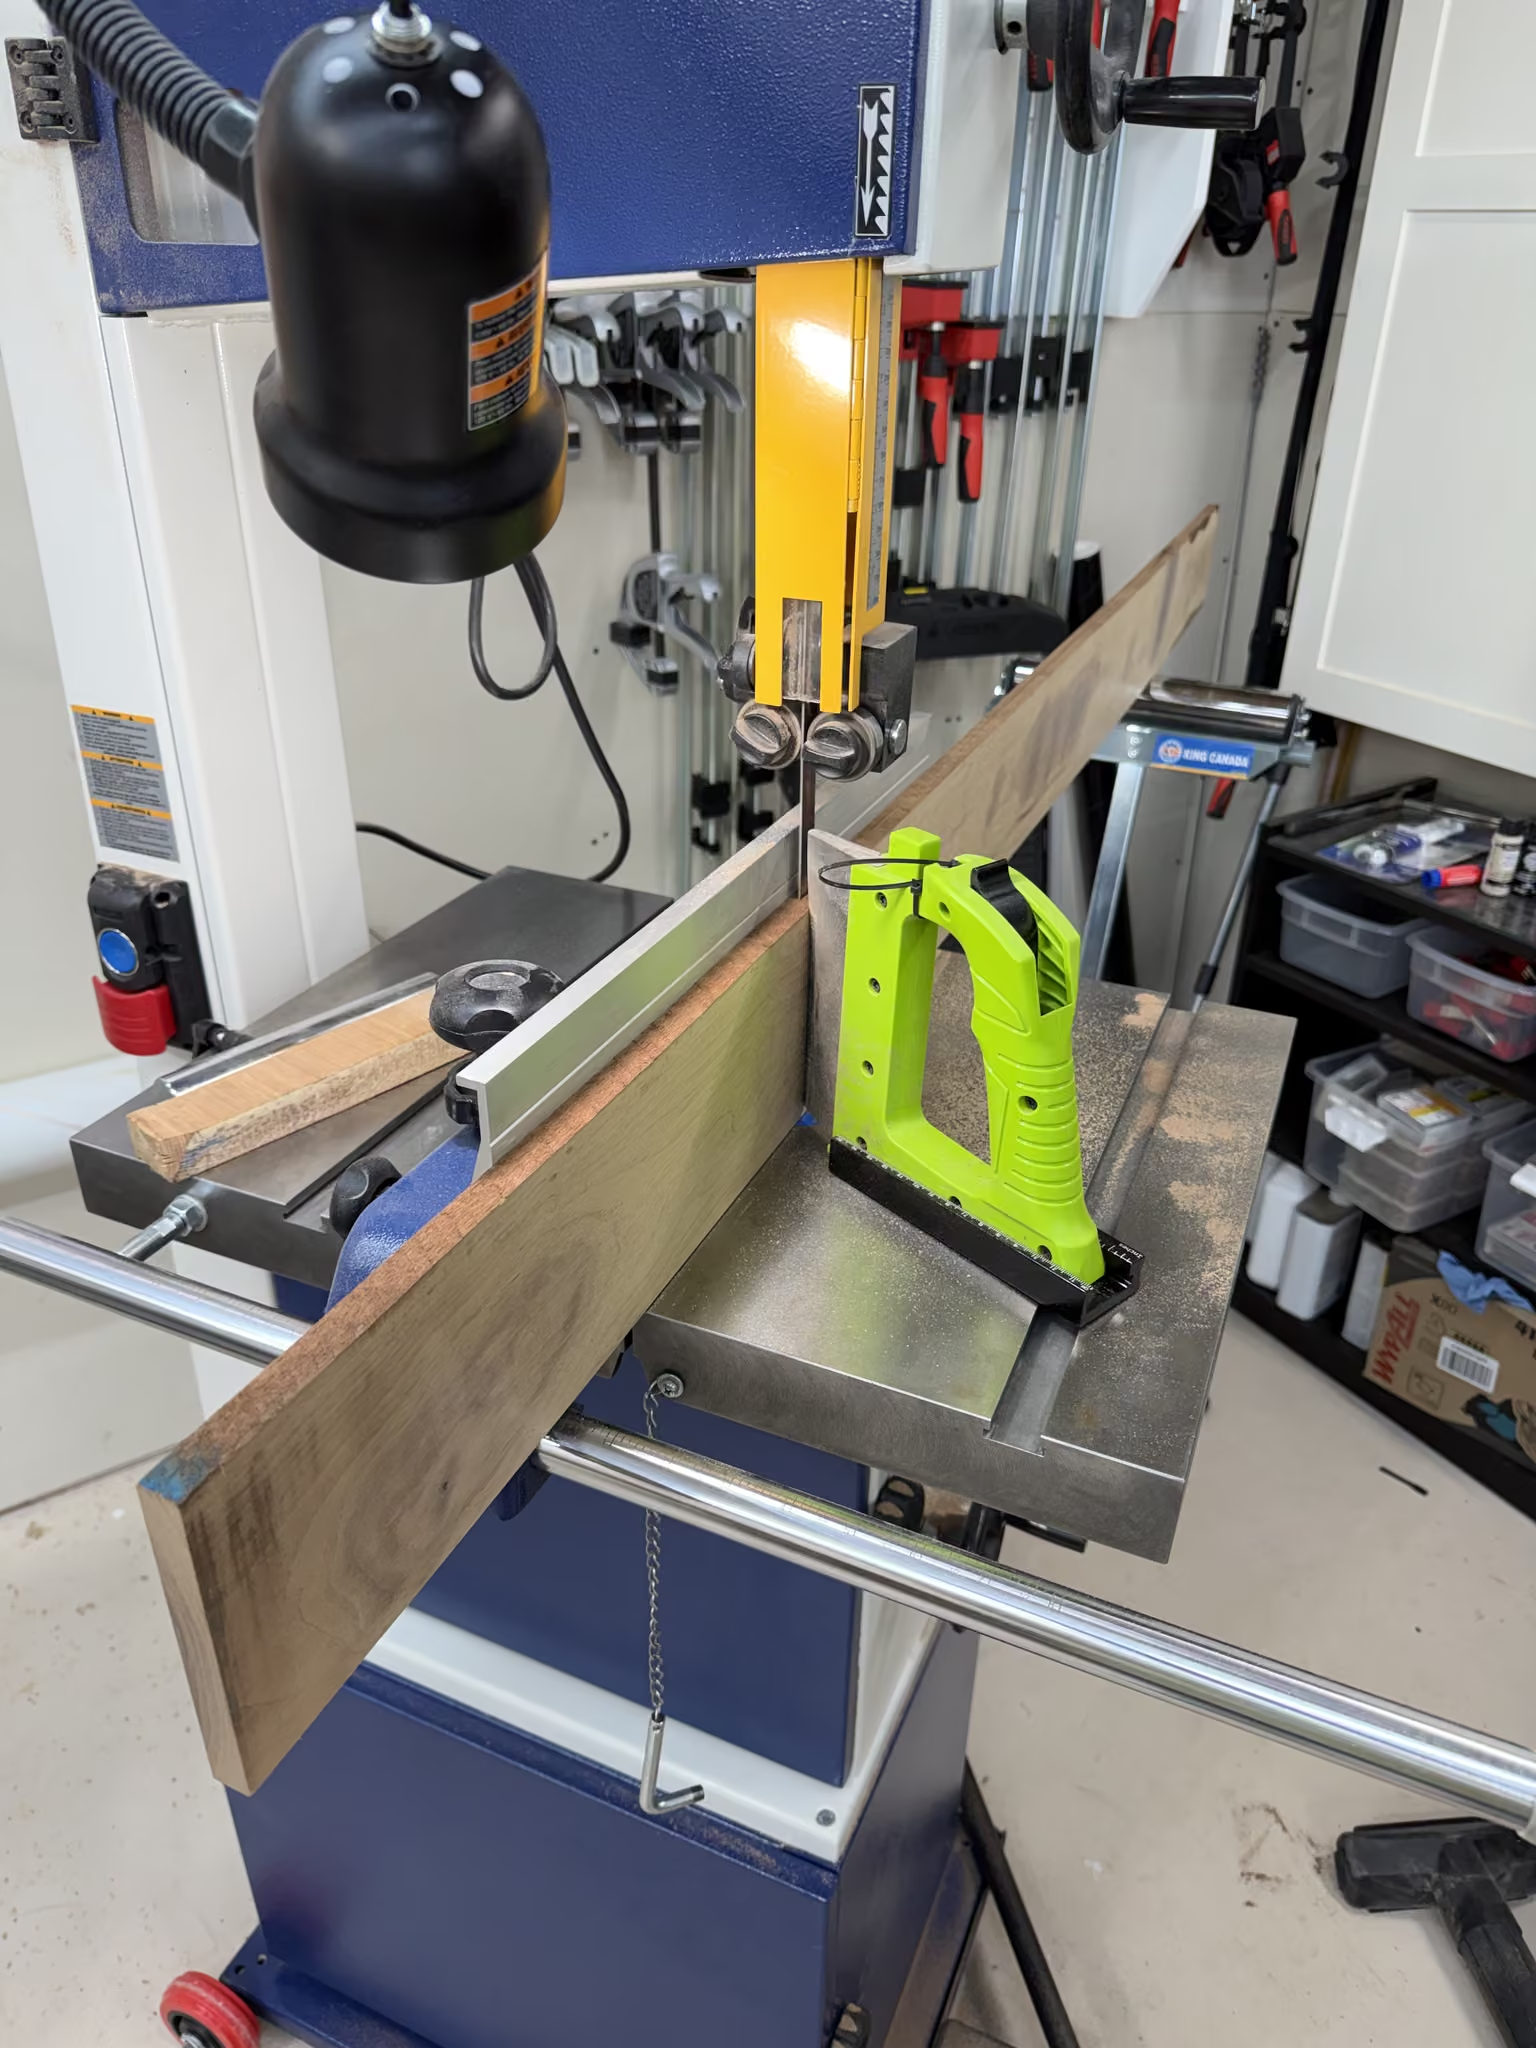
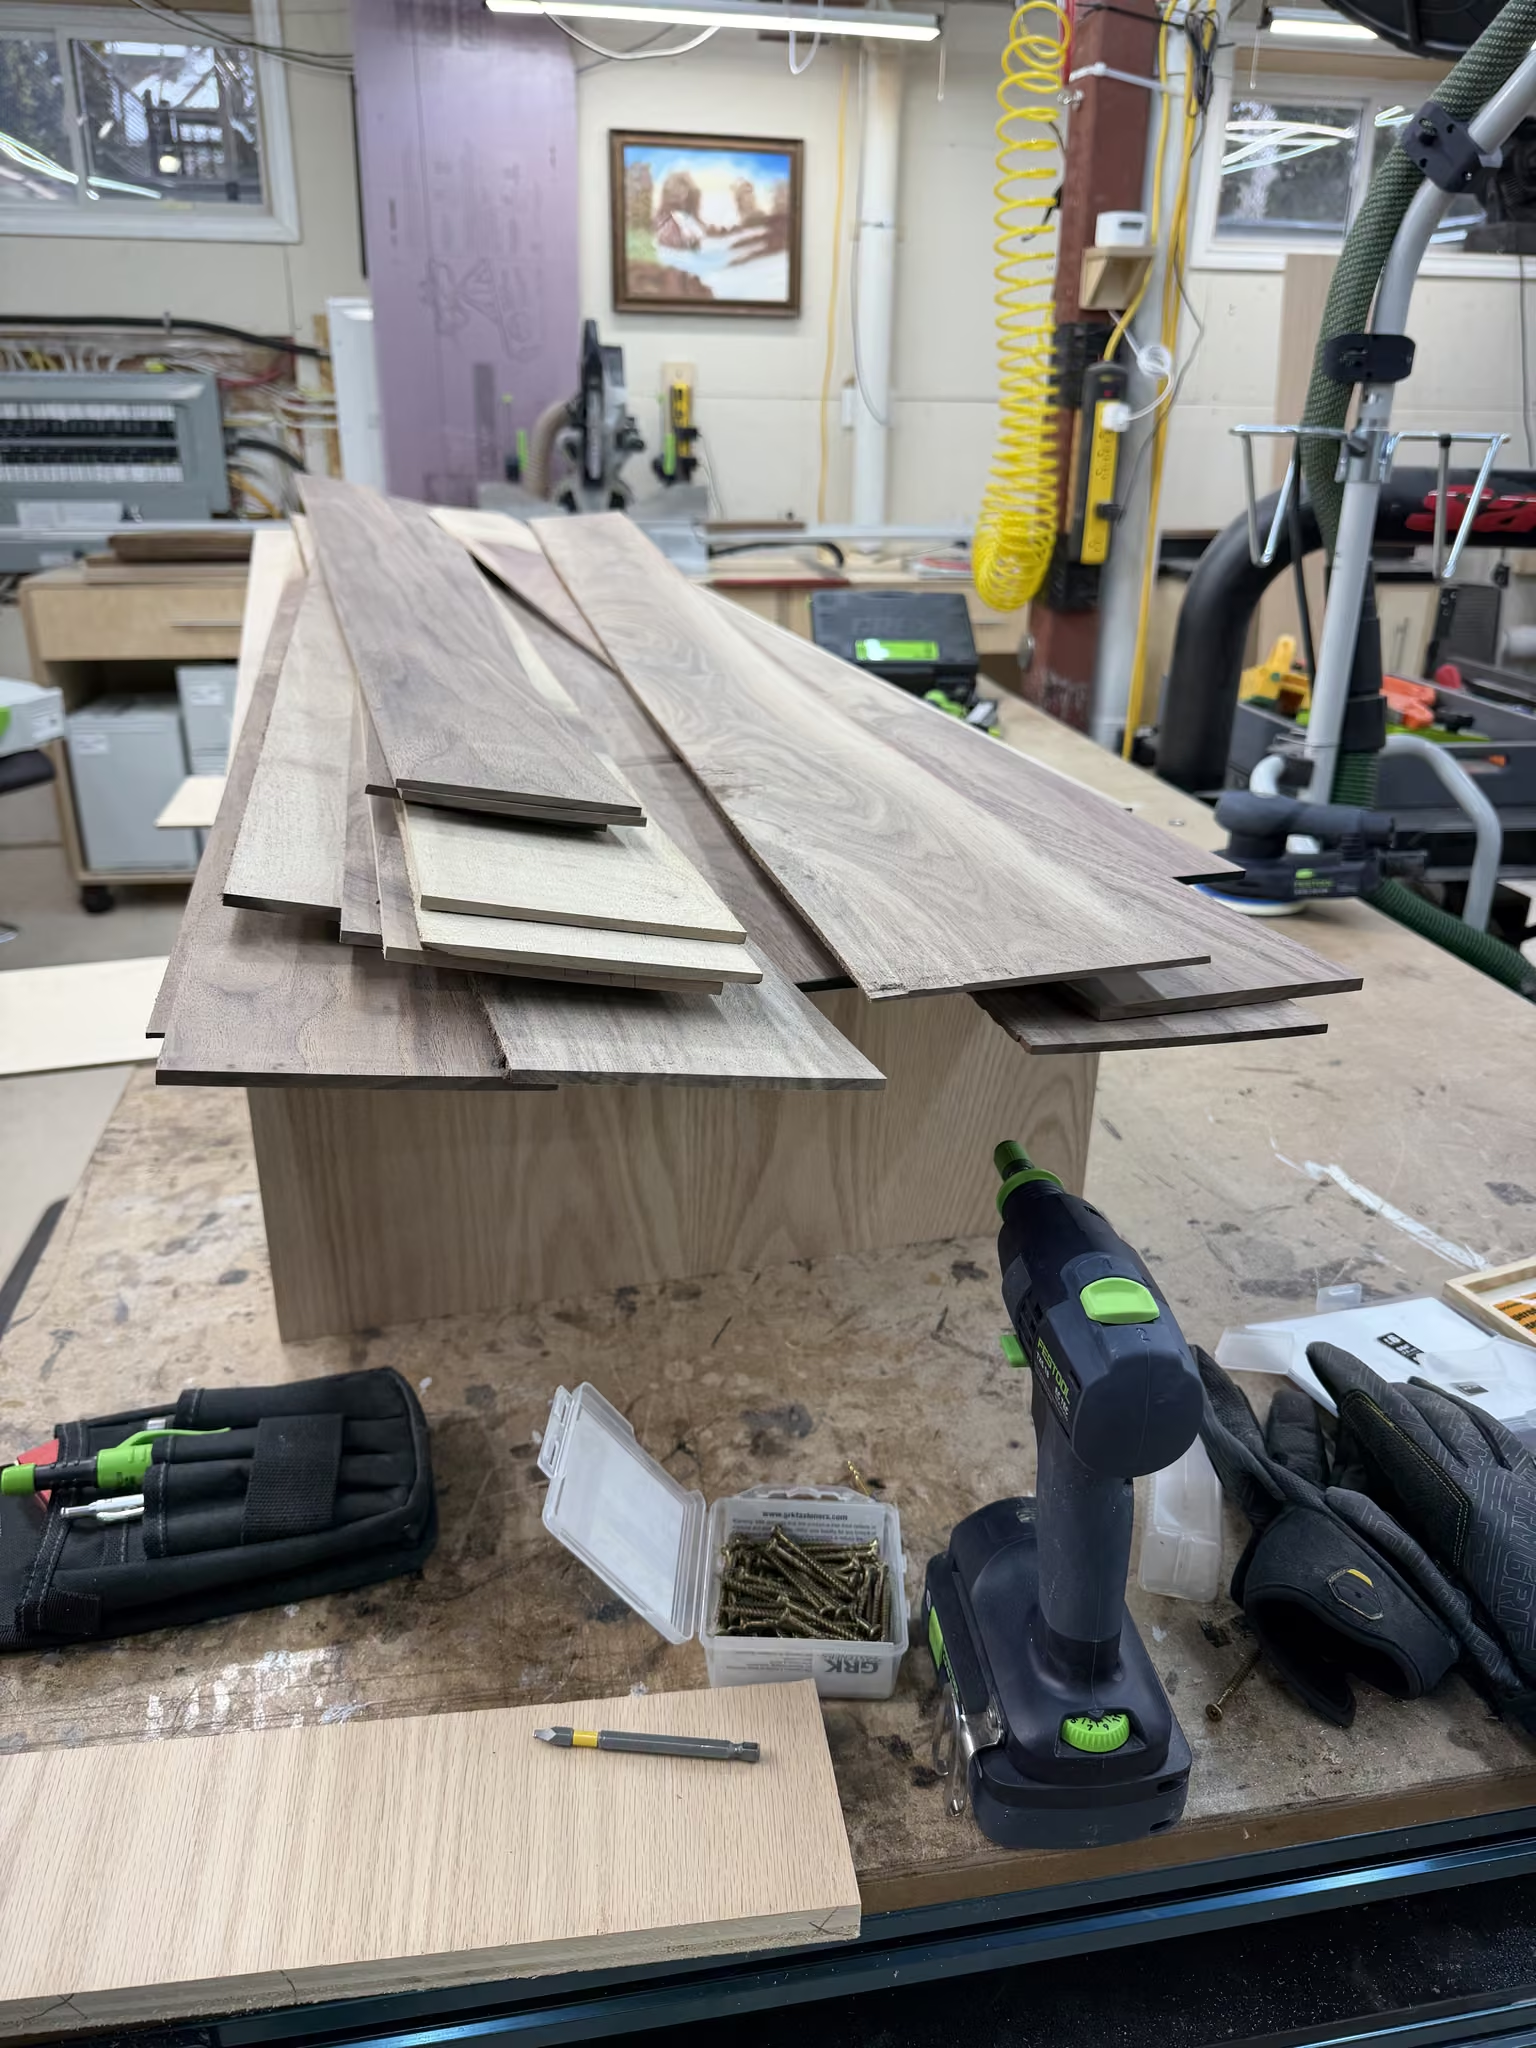
This was a crazy part of the project: frustration after frustration after frustration. Let me explain.
The design calls for the outer carcass to be made of walnut. If I were to try to make this out of solid walnut, it would be so heavy as to be almost immovable. Also, over time a plank like that could warp or bend, as there really isn’t anything to keep it in line.
So what I set out to do was make a plywood interior with a hollow core, then add some walnut veneer on the outside. I thought I would try to make my own walnut veneers, some of which would be over 1.5 metres long. This would give it a nice walnut finish along with the strength and stability of a plywood core. That did not work out as planned.
I tried putting many pieces through the bandsaw, but something was always wrong with them. The YouTube guys make this look easy, but they take an 18-inch piece and run it through with no problems. I can get an 18-inch run done with no issues, but these were 60 inches long. Out of about 25 veneers that I made, I think only three turned out to be acceptable. Some had poor colouring, some had knots in the wrong places, and others were cut too thin in at least one spot along their length. I can work with “too thick,” but “too thin” is tough to fix.
I am not sure what was going wrong; either my bandsaw needs tuning up or I need more practice. I decided to cool down, put this on hold, and work on another part of the project.
Drawer Boxes
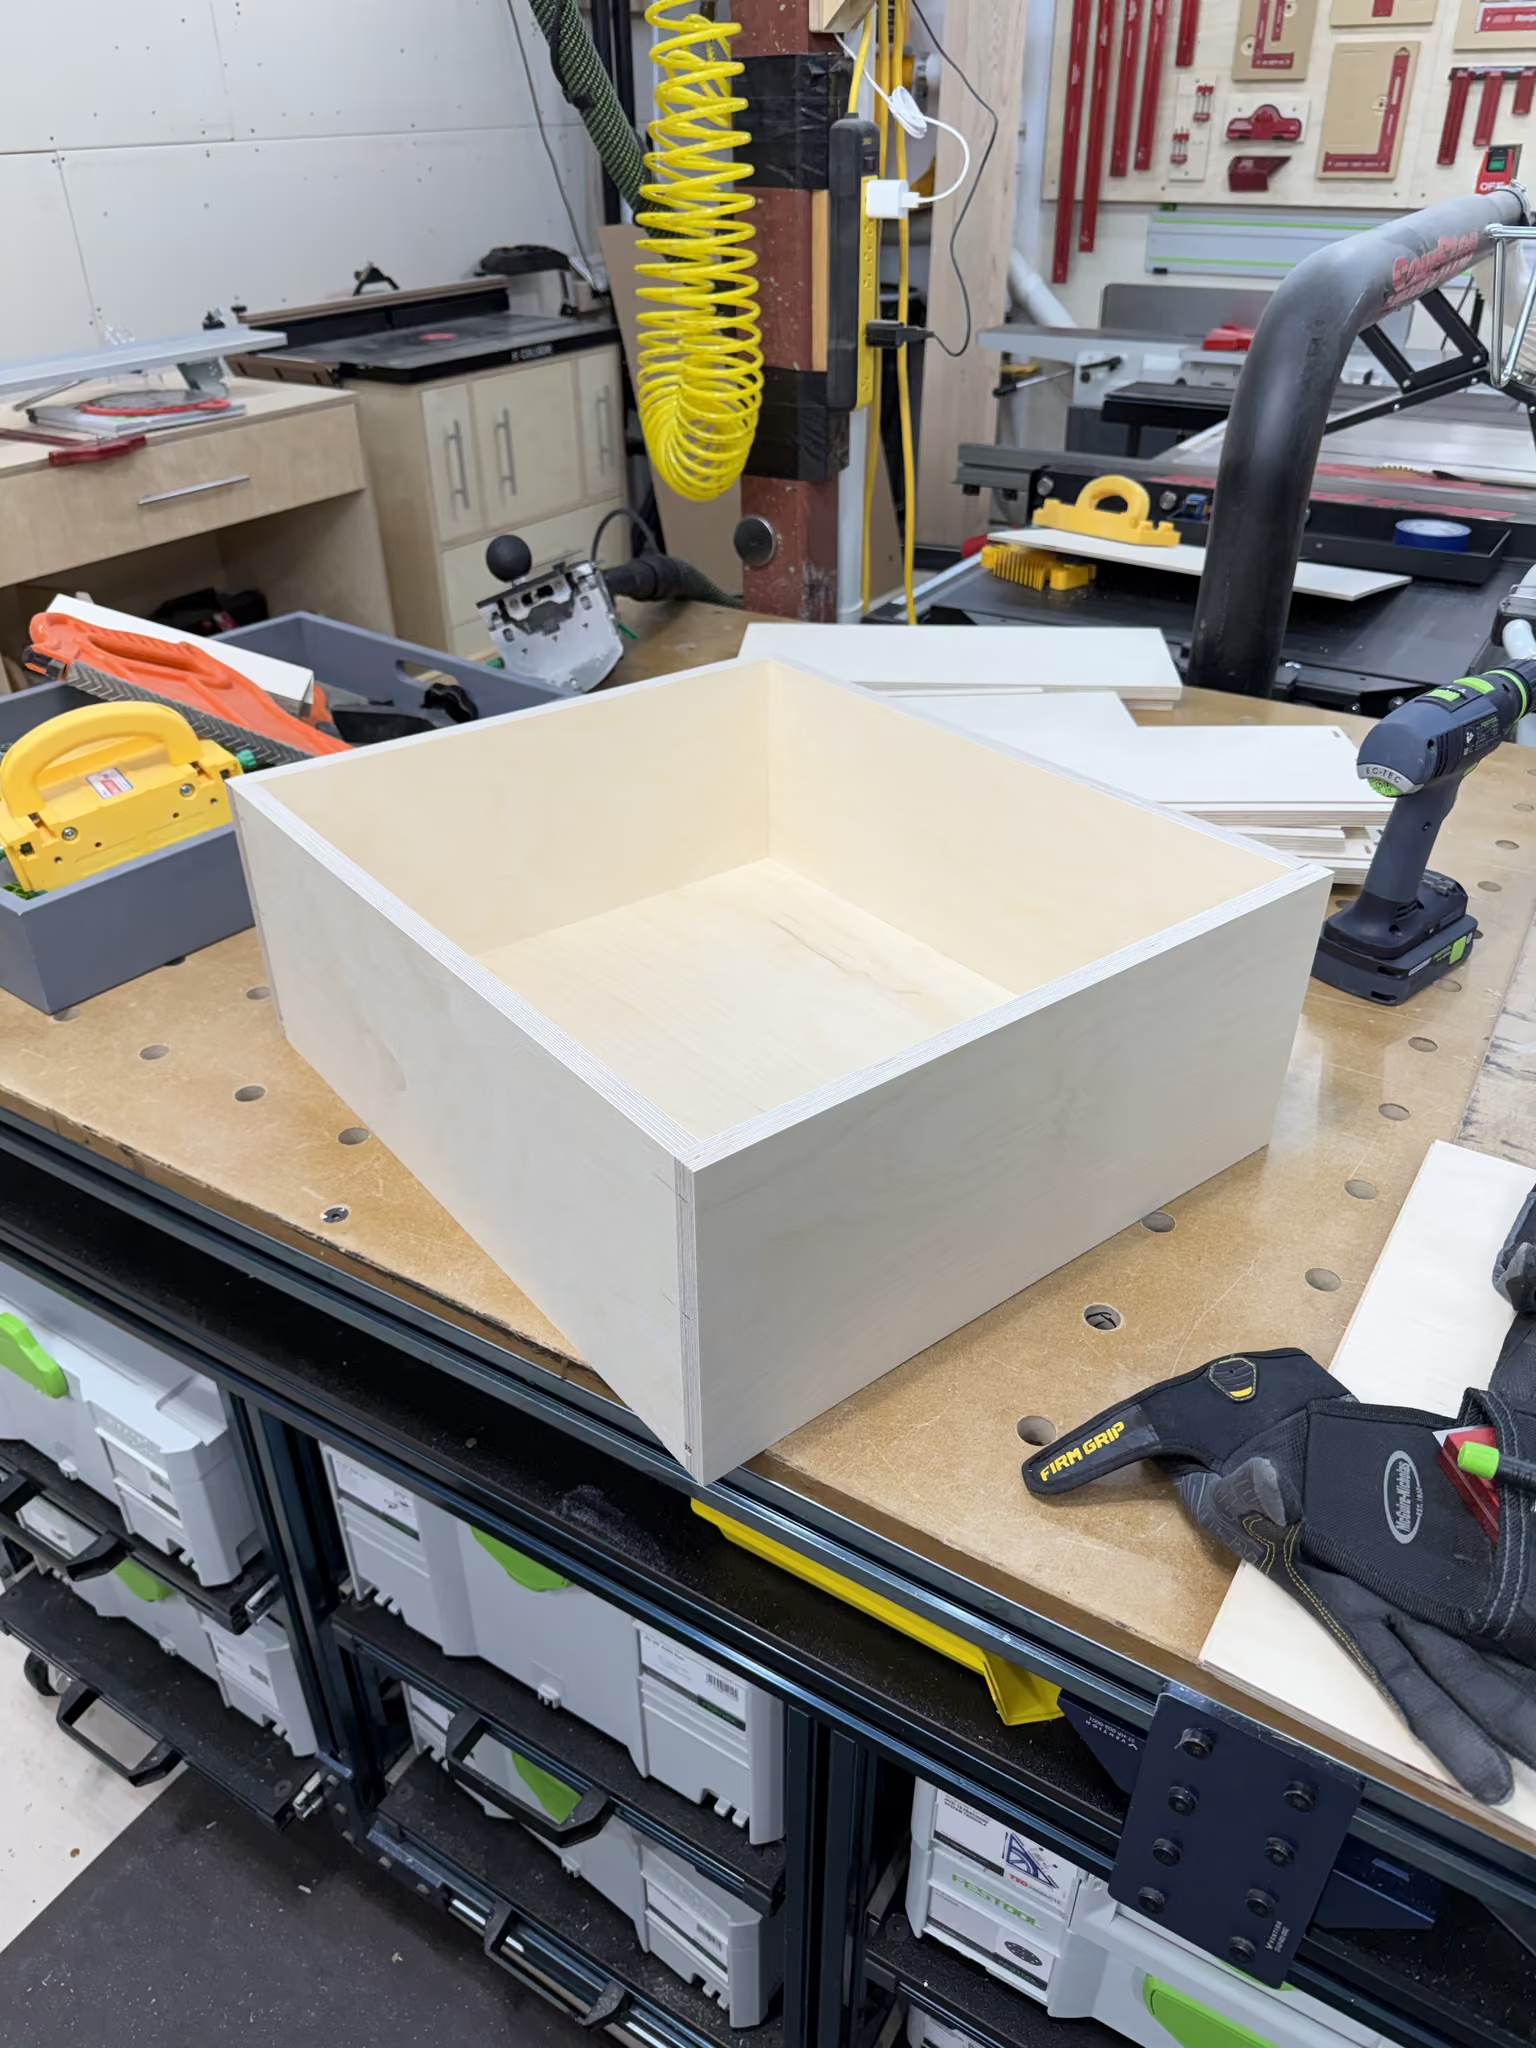
Baltic Birch Boxes
Switching to the drawer boxes, I built them in my standard way, with Dominos at the joints. I used 15 mm Baltic birch plywood, which is super strong and stable. I edge-banded the top of each box to hide the plywood.
Interestingly, I see many more professionally made products these days that just let the plywood show through. This probably saves the manufacturers some money, but as long as it is good-quality plywood, I think it looks great. I might try that on future projects.
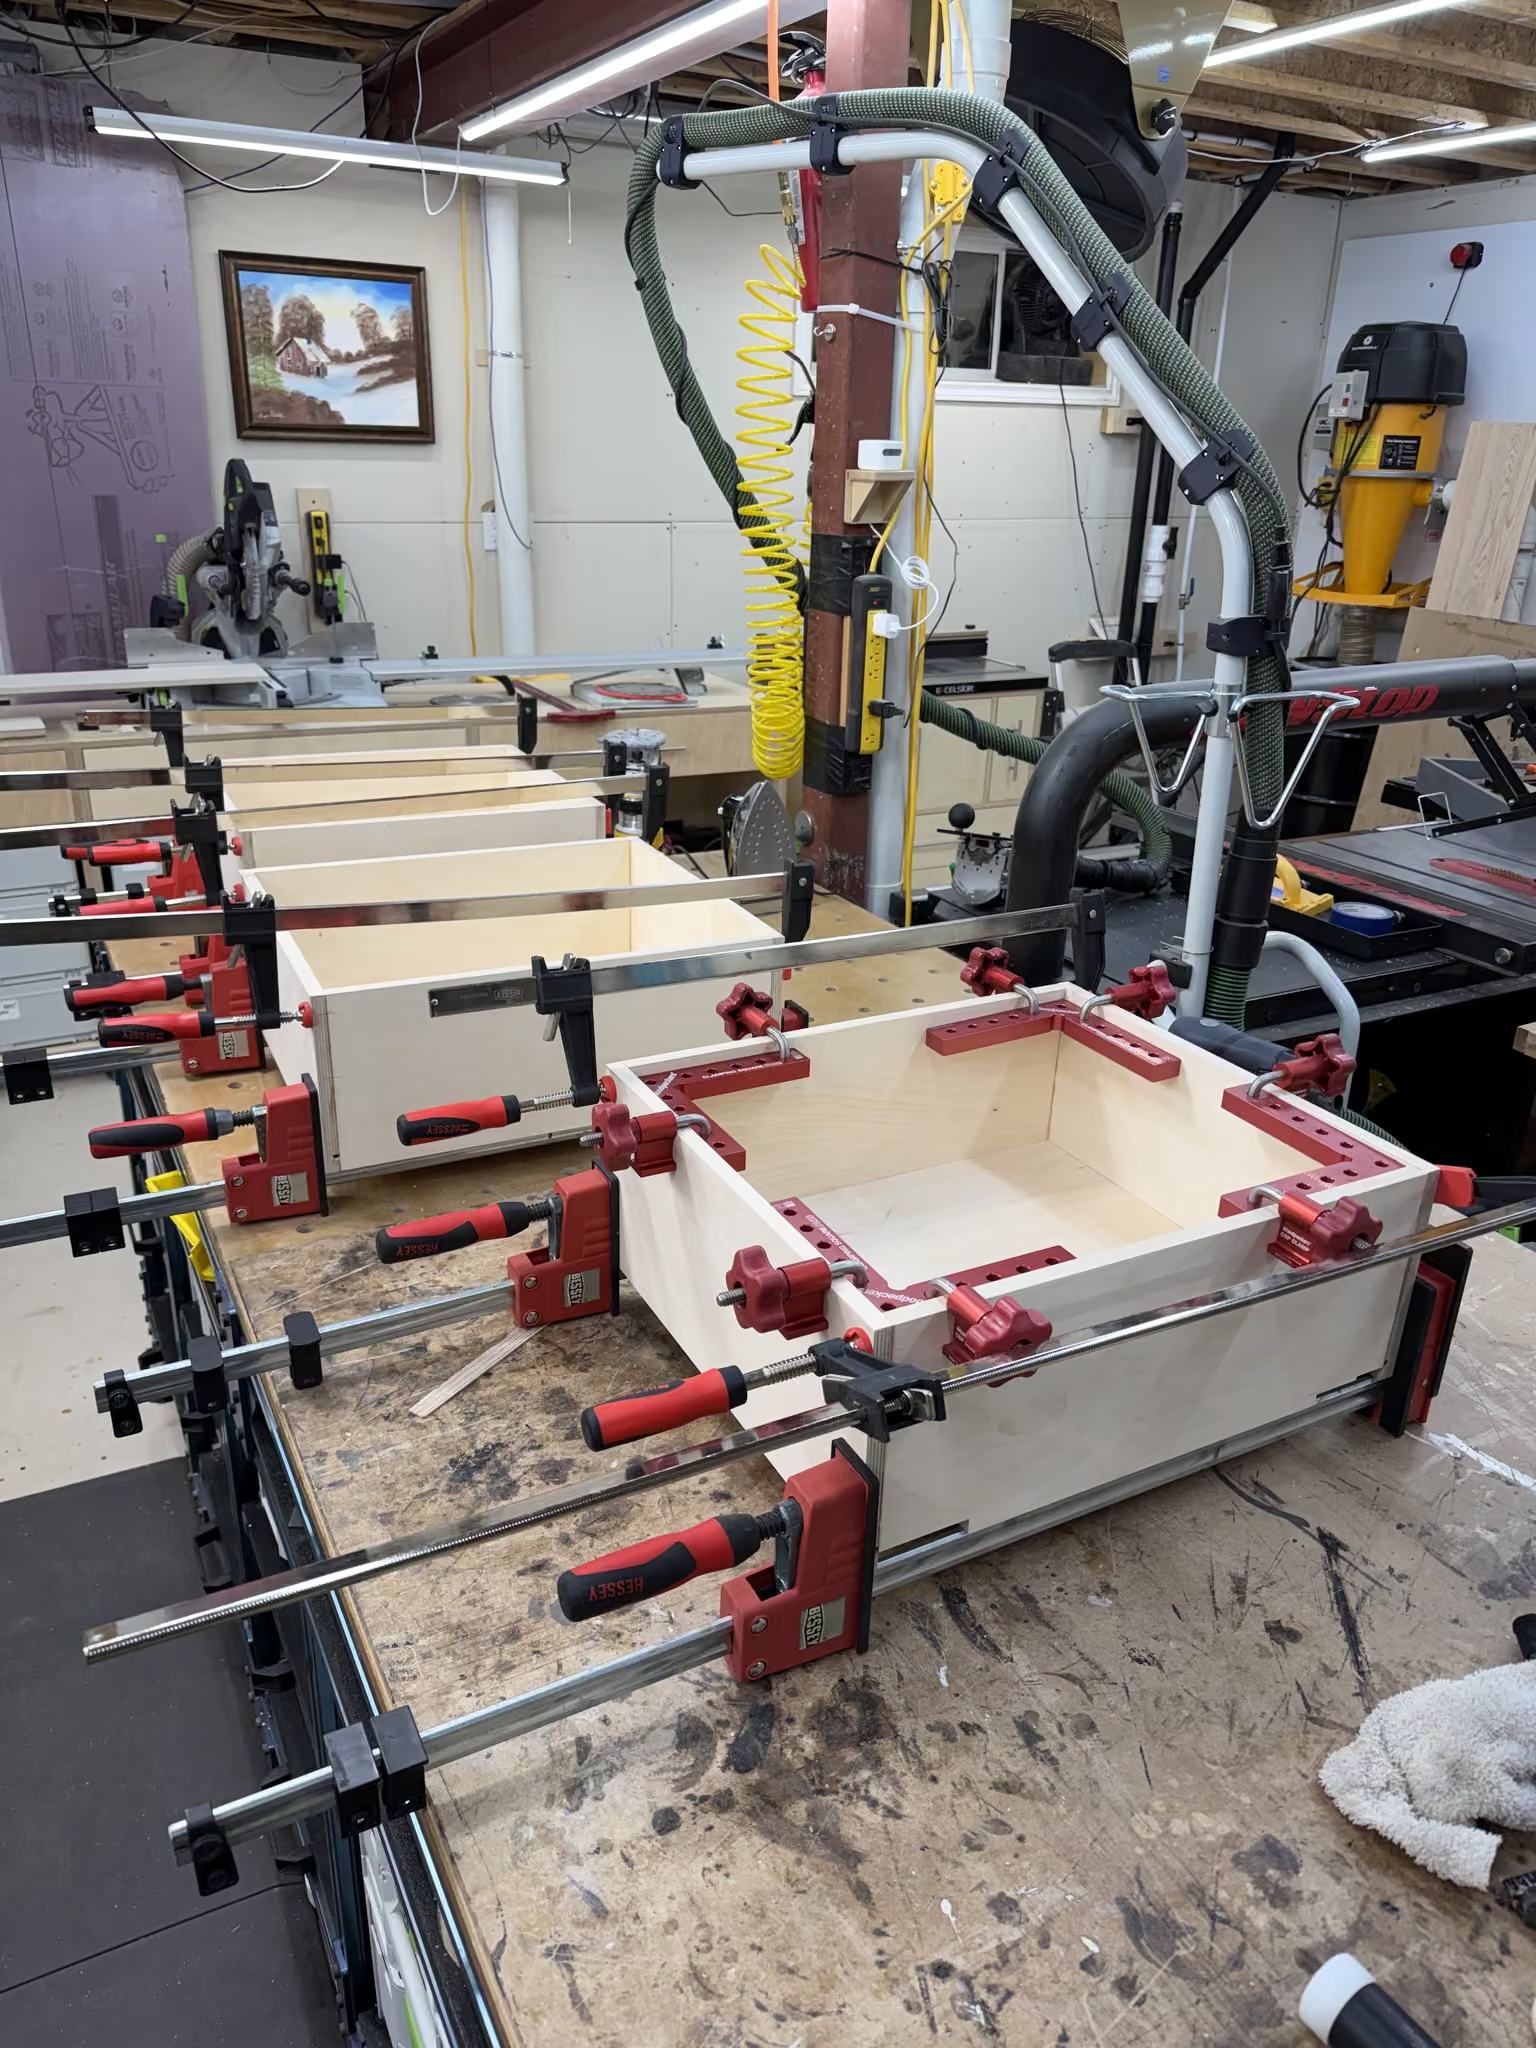
Boxes Squared
The drawer boxes were clamped and glued. Two of them lined up perfectly square; the third needed a little gentle persuasion.
The First Magic
As a woodworker, I cannot think of anything more satisfying than getting the drawers all lined up properly, mounted, and sliding smoothly. In the video, I am sure you can hear me going, “Mmmmmmm…”
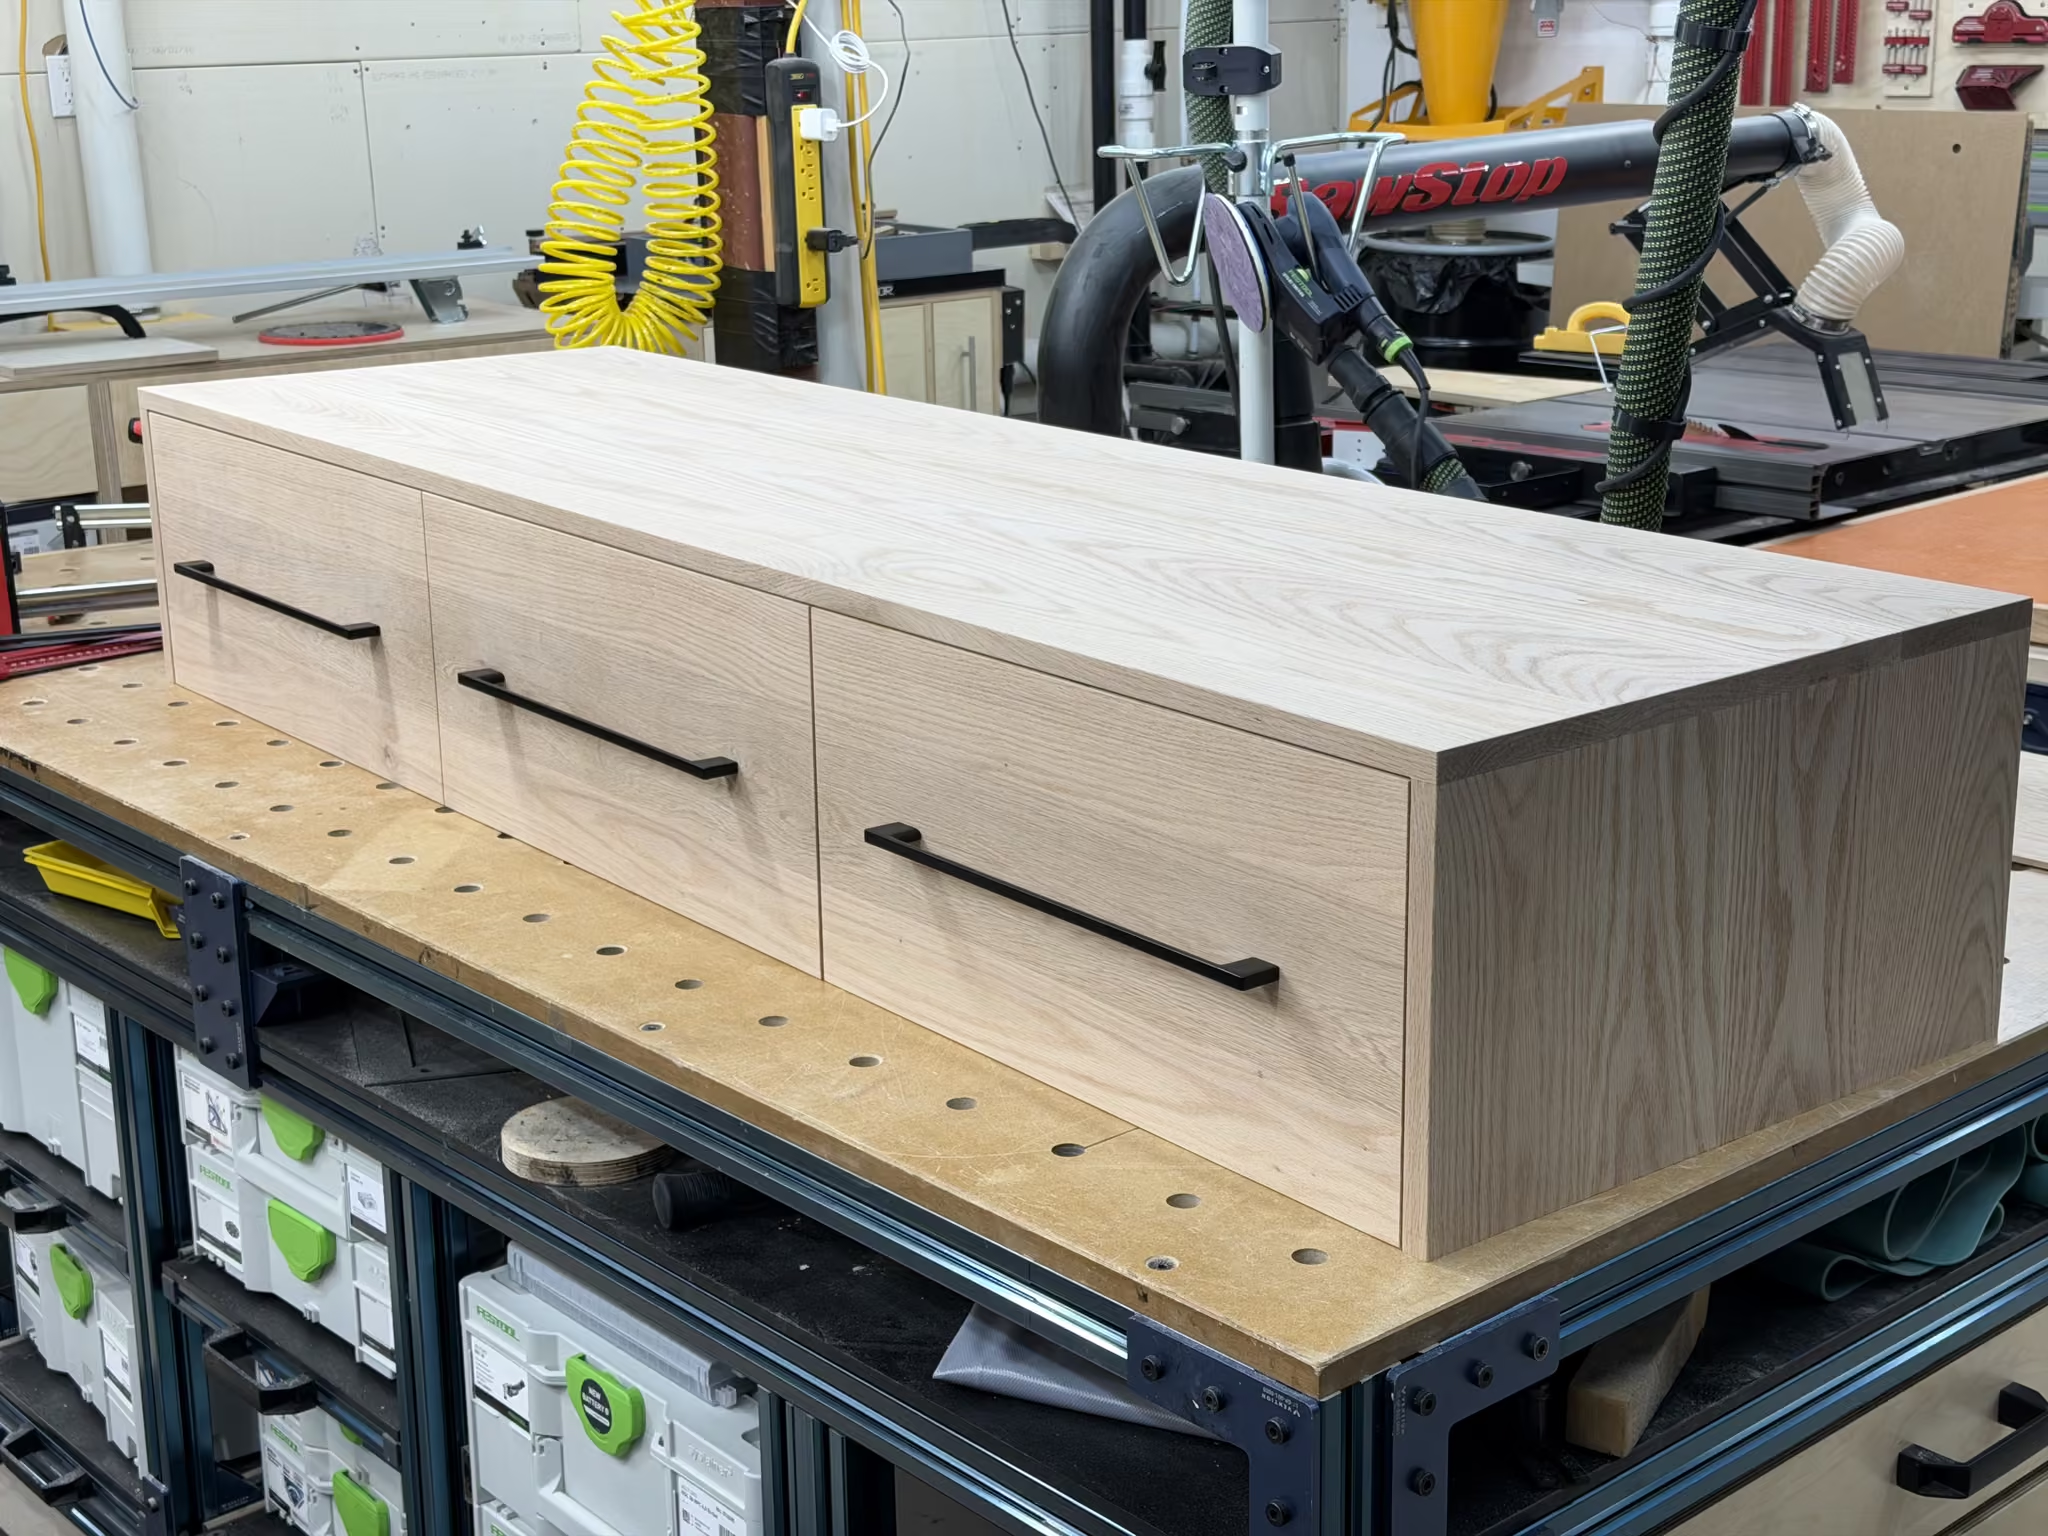
Pulls
The drawer pulls are another rewarding milestone. I love these ultra-wide pulls—they are solid and have a contemporary look.
I really had to double-check the alignment of these pulls and get it right on all three drawer fronts. The drawer fronts are “continuous grain”, meaning all three are cut from a single panel so that the grain flows seamlessly from one end to the other. If I screw up badly on any one of them, I can’t just remake that one; I have to remake all three.
The Walnut
Okay, back to the outer carcass and the walnut panels. I originally planned to make my own long veneers, but that plan went wonky, so I decided on another approach. I found some high-quality walnut plywood at my favourite wood supplier, KJP Select Hardwoods, where my guy Jeff had acquired some double-thick veneered plywood. It was just what this piece called for, since the problem with regular veneered plywood is that if you sand through it, you are in real trouble. The extra thickness helps prevent that. It was pricey but worth it.
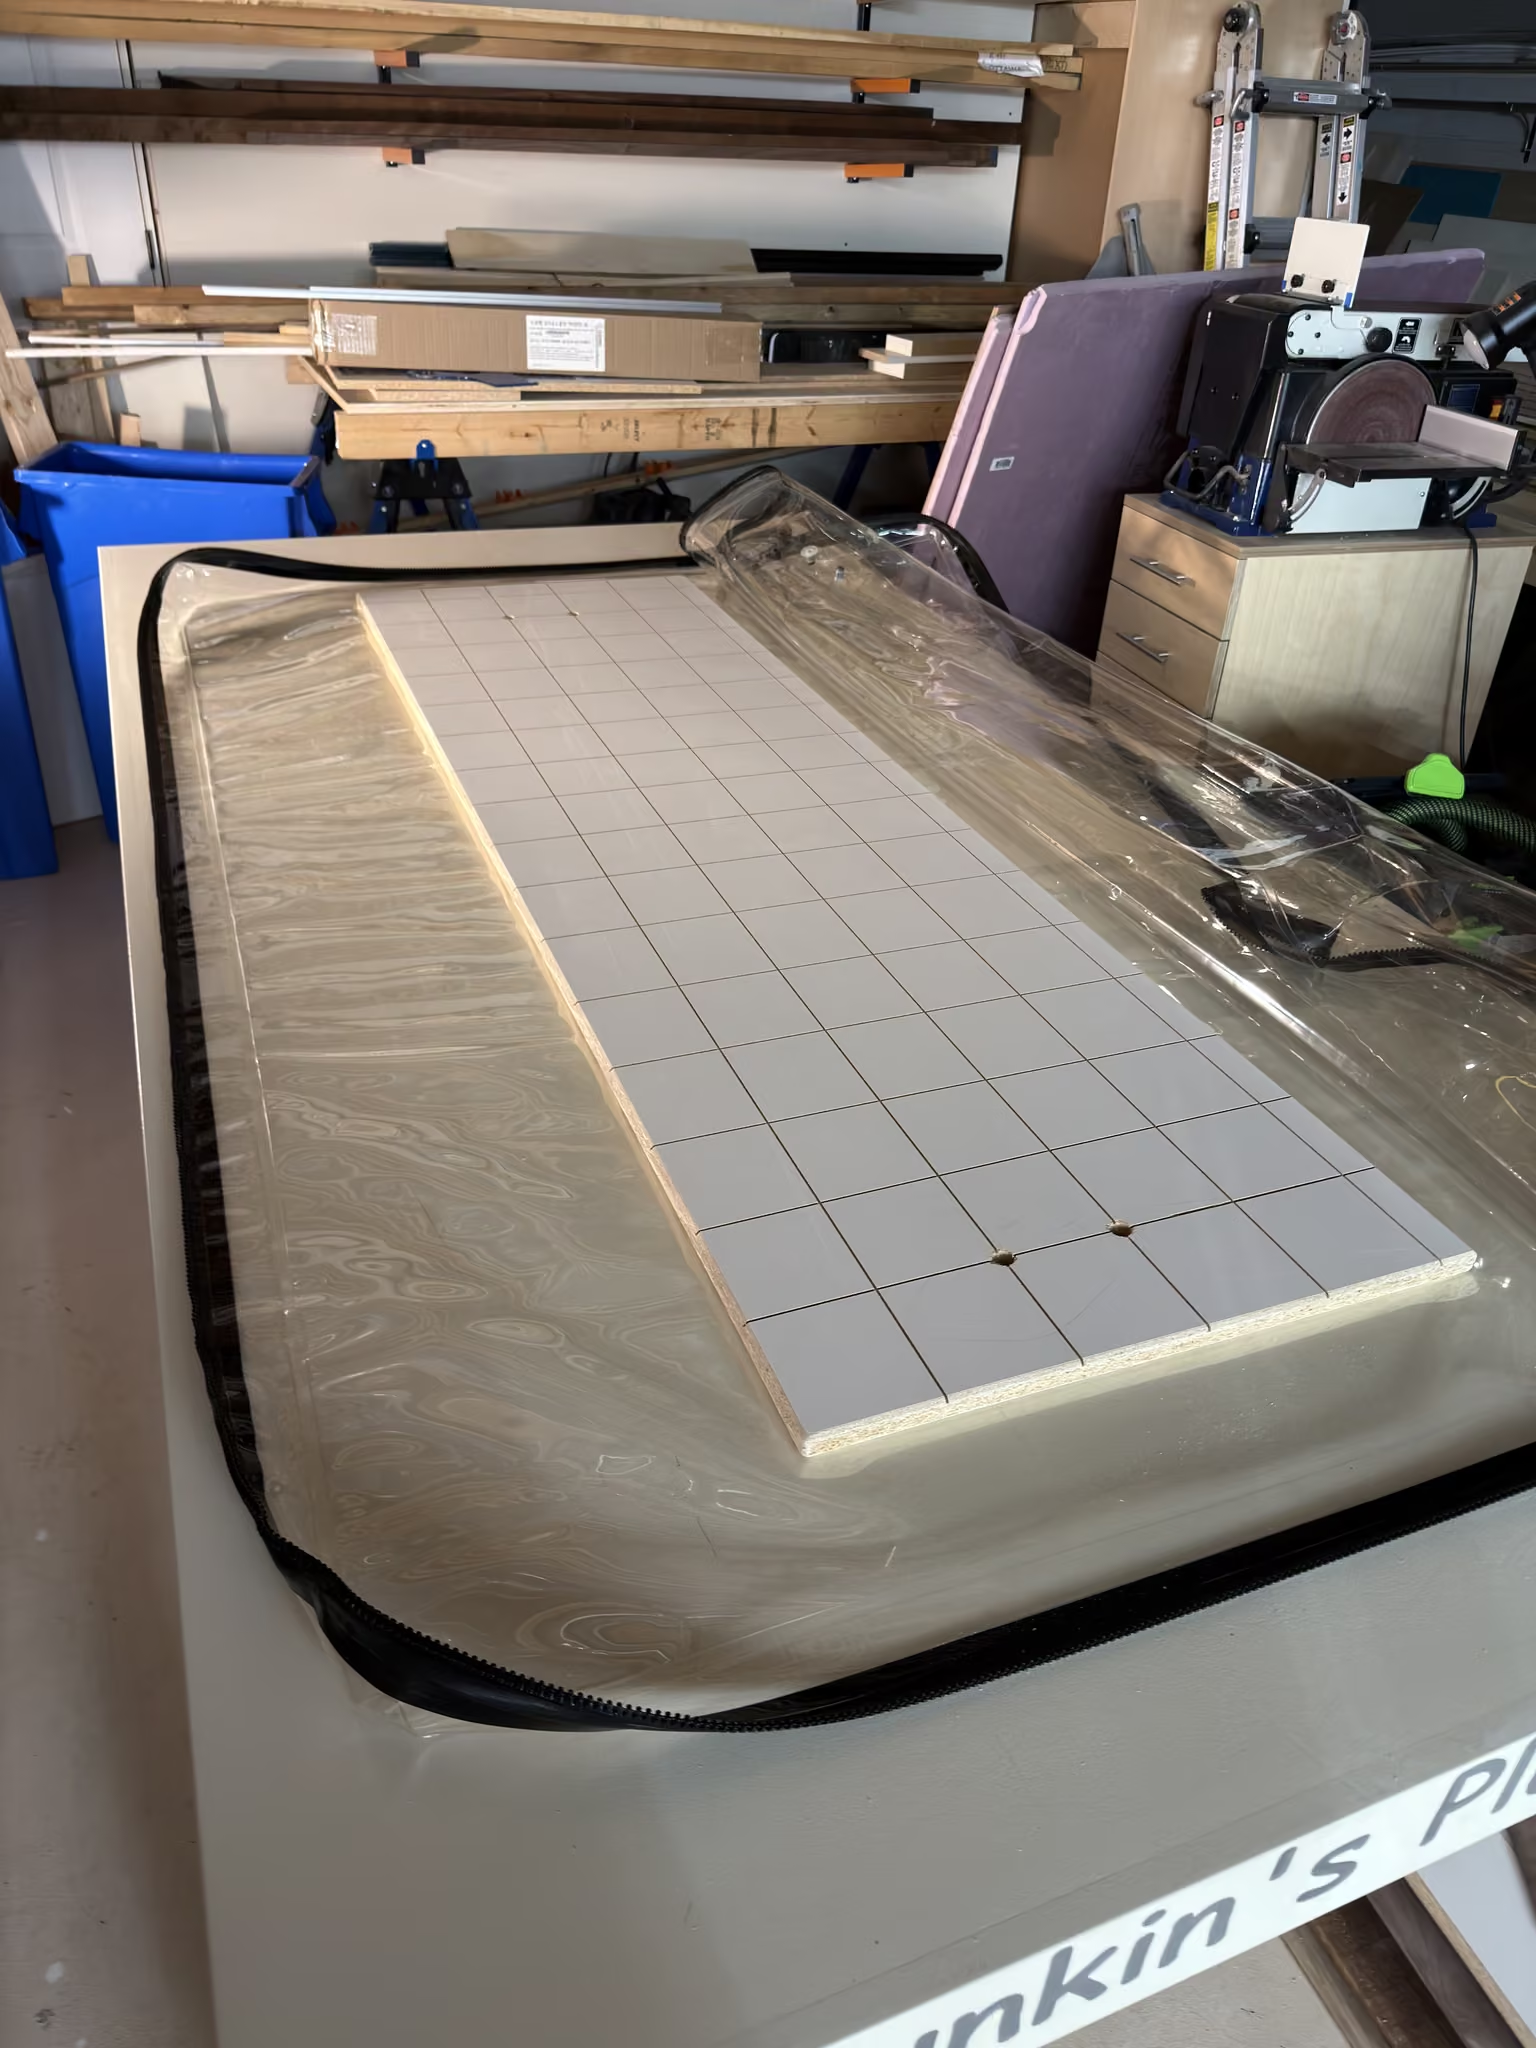
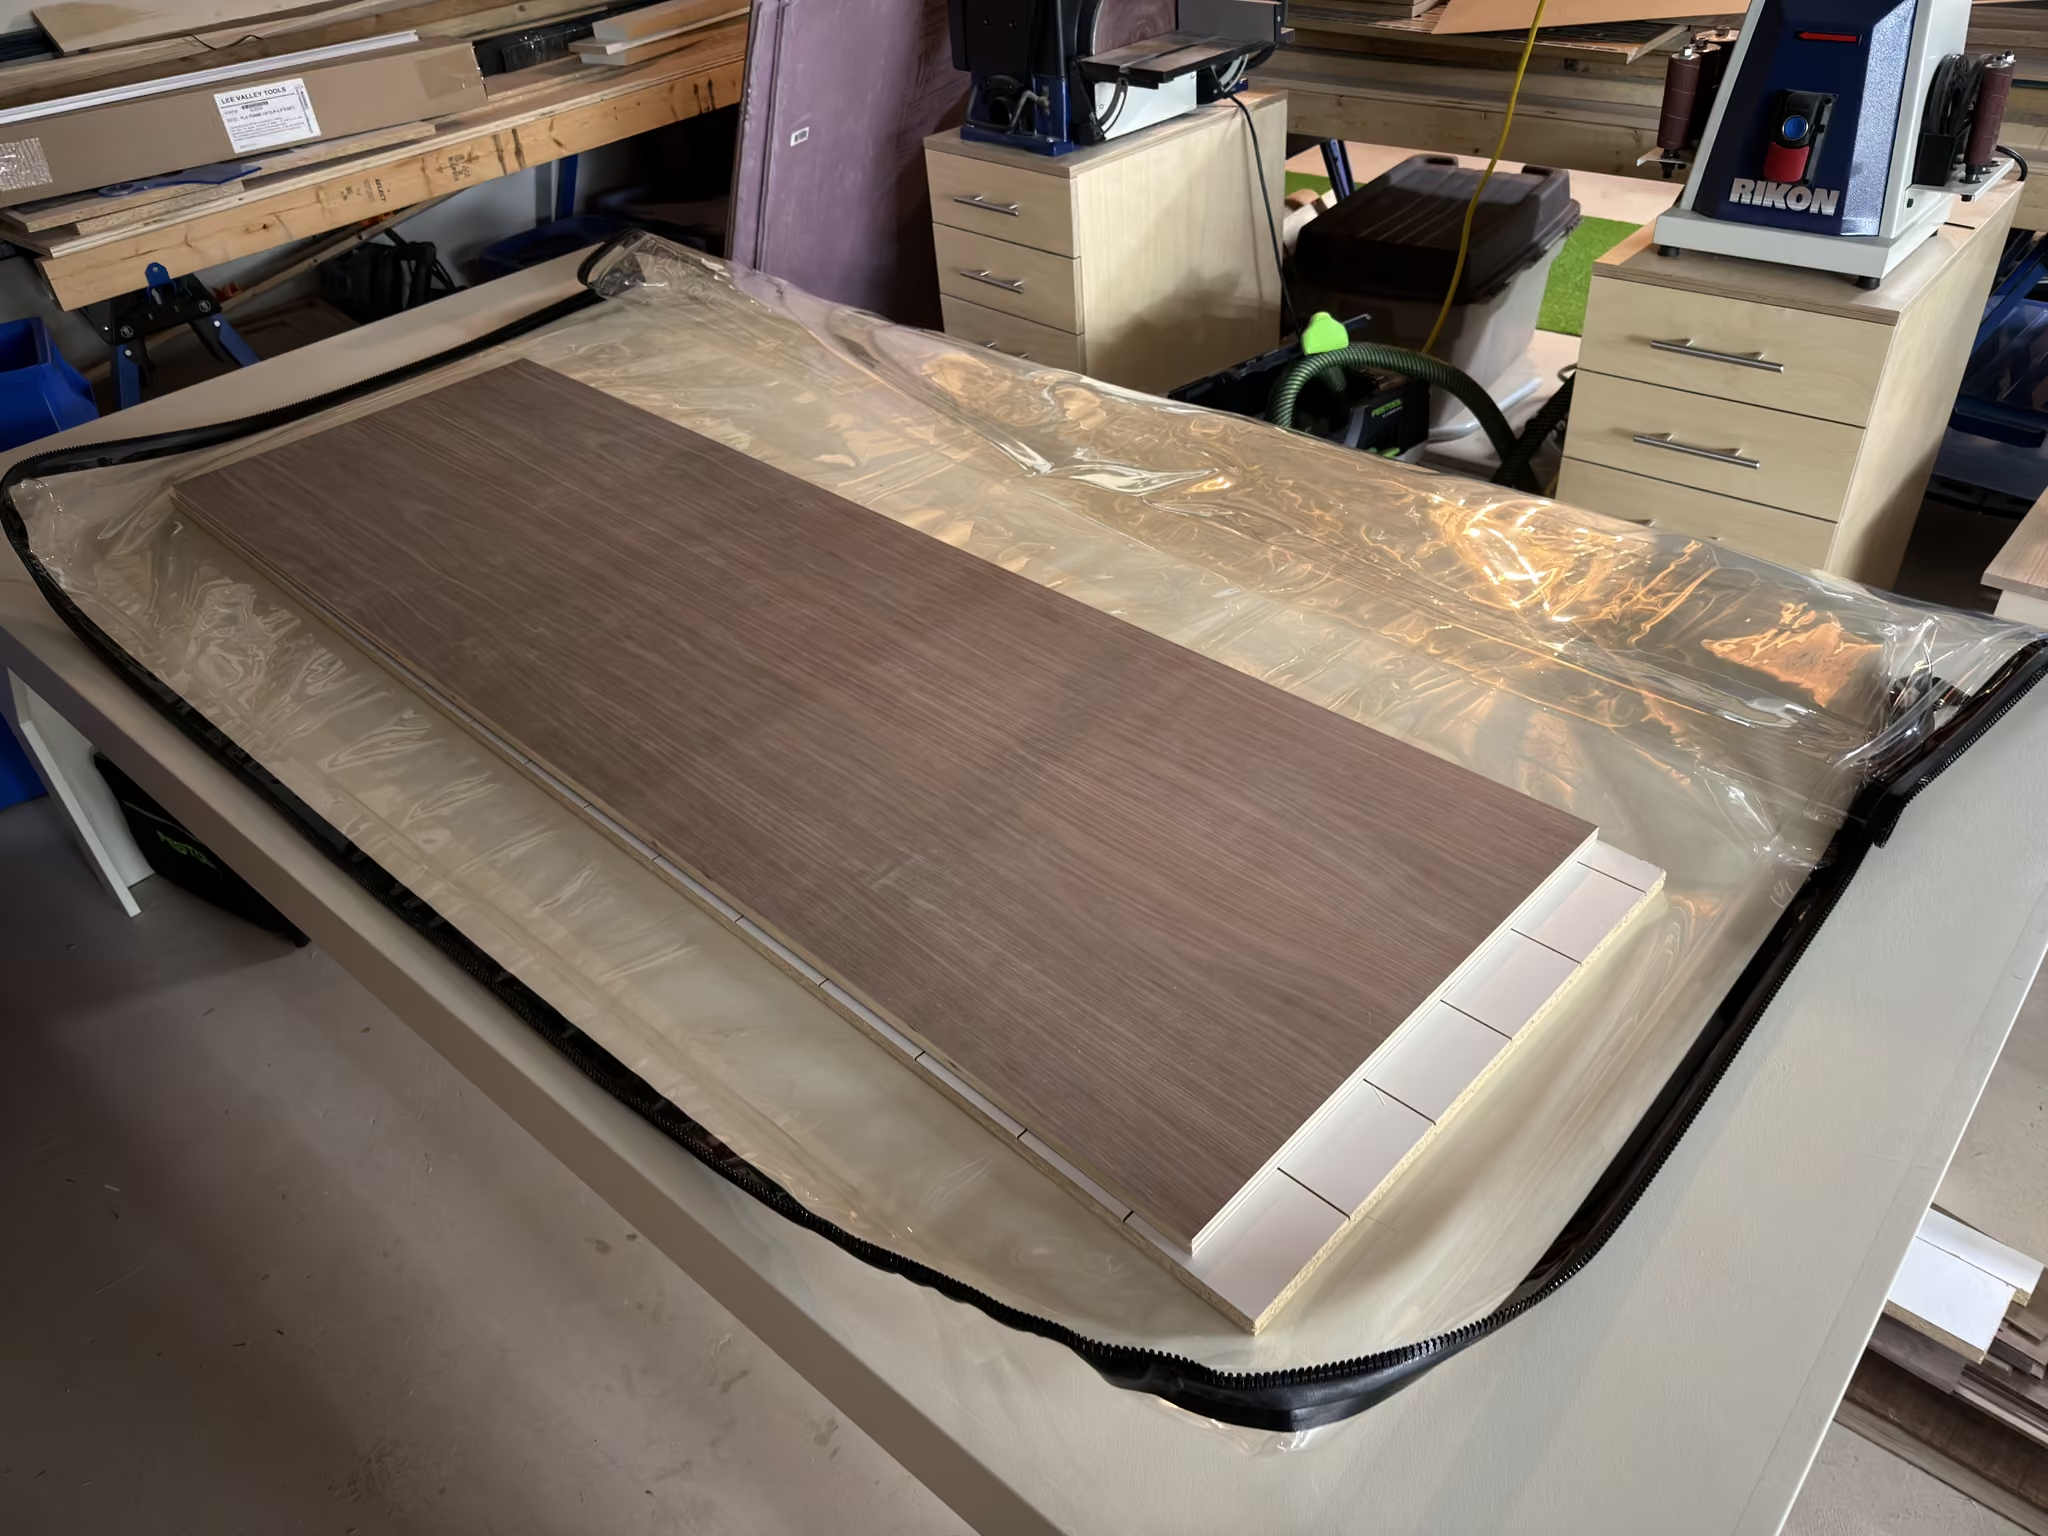
In the Bag
So I had to laminate three pieces of plywood together: a top layer of walnut, a middle core of Baltic birch, and a bottom layer of walnut.
This was kind of tricky, as it had to be done right. If I just put a bunch of weights on it, it might end up lumpy and bumpy. Not good.
So I decided to try the vacuum-press method. I had seen this in my travels, and it was the perfect approach for this type of work, but I had never done it before, so it was a bit of an experiment.
Wrap It Up
What you have to do is put whatever you are laminating into an airtight bag, with a platen board on the top and another on the bottom.
A platen is a board with airways cut into it to let the air flow around your project, and it also serves to protect the bag from any glue that might squeeze out.
For my five-layer sandwich, this large zippered bag was the perfect fit.
Pump the Jam
Once it is all set up and nicely aligned in the bag, you attach the pump, fire it up, and let it do its thing.
This creates a uniform pressure of 25 inHg (12 psi) over the entire surface of the workpiece. That’s over 1,700 pounds per square foot. No lumpy bumpy.
Three Panels
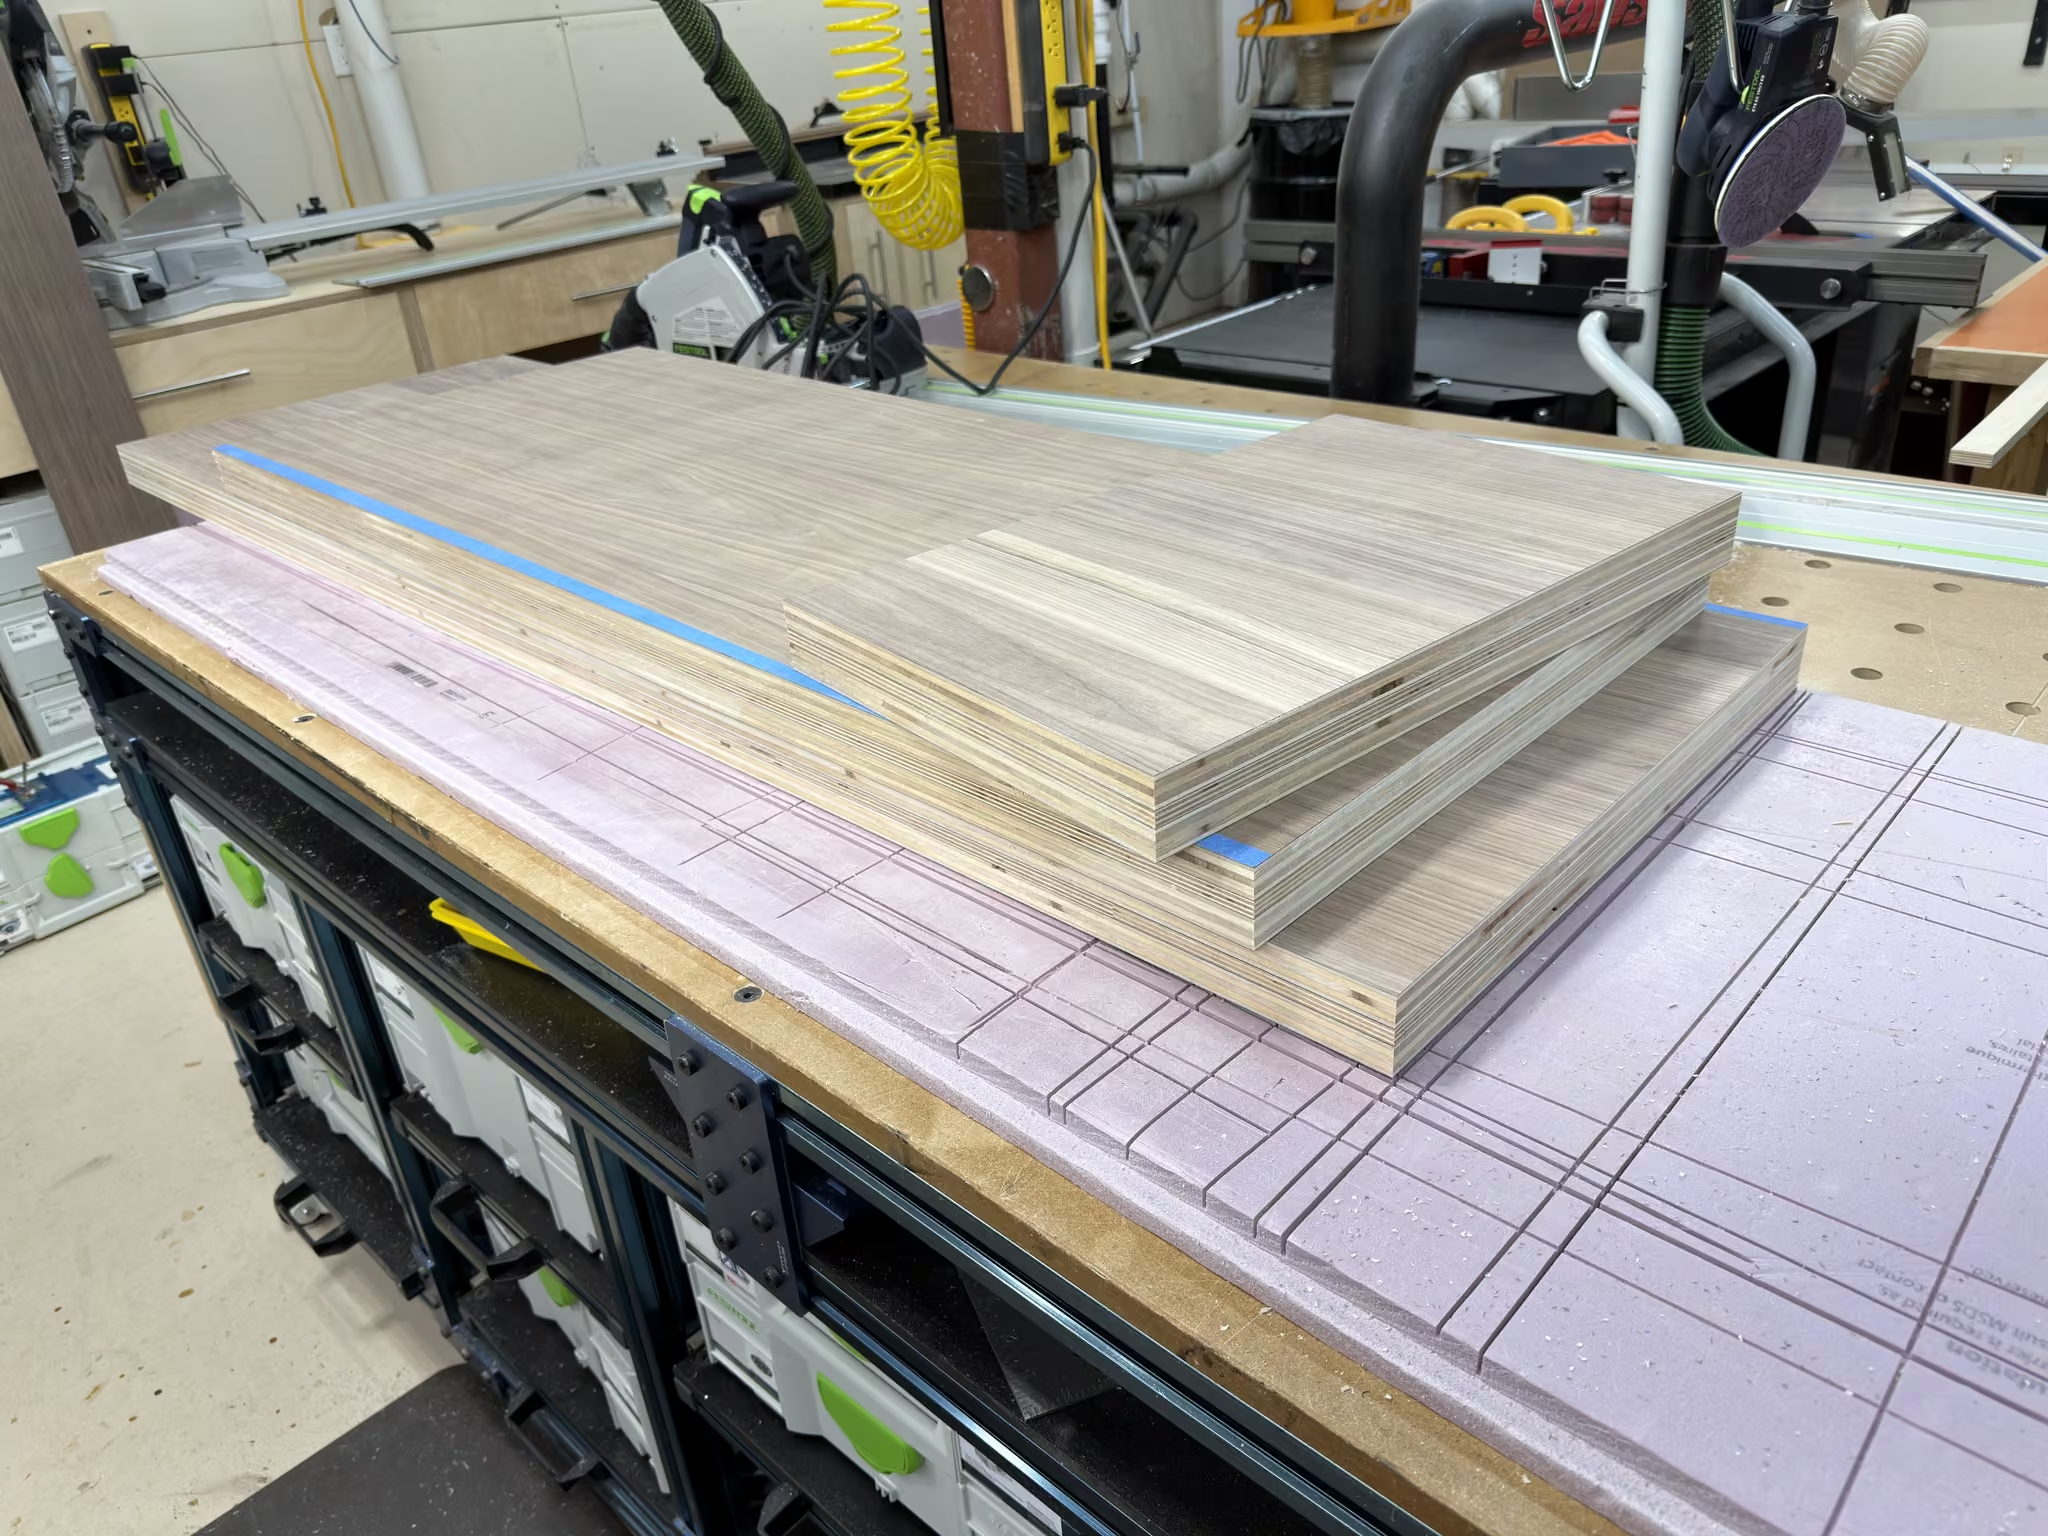
After repeating the process for the top and side pieces, I had the outer carcass panels done. Well, not done done, but getting there.
Panel Edging
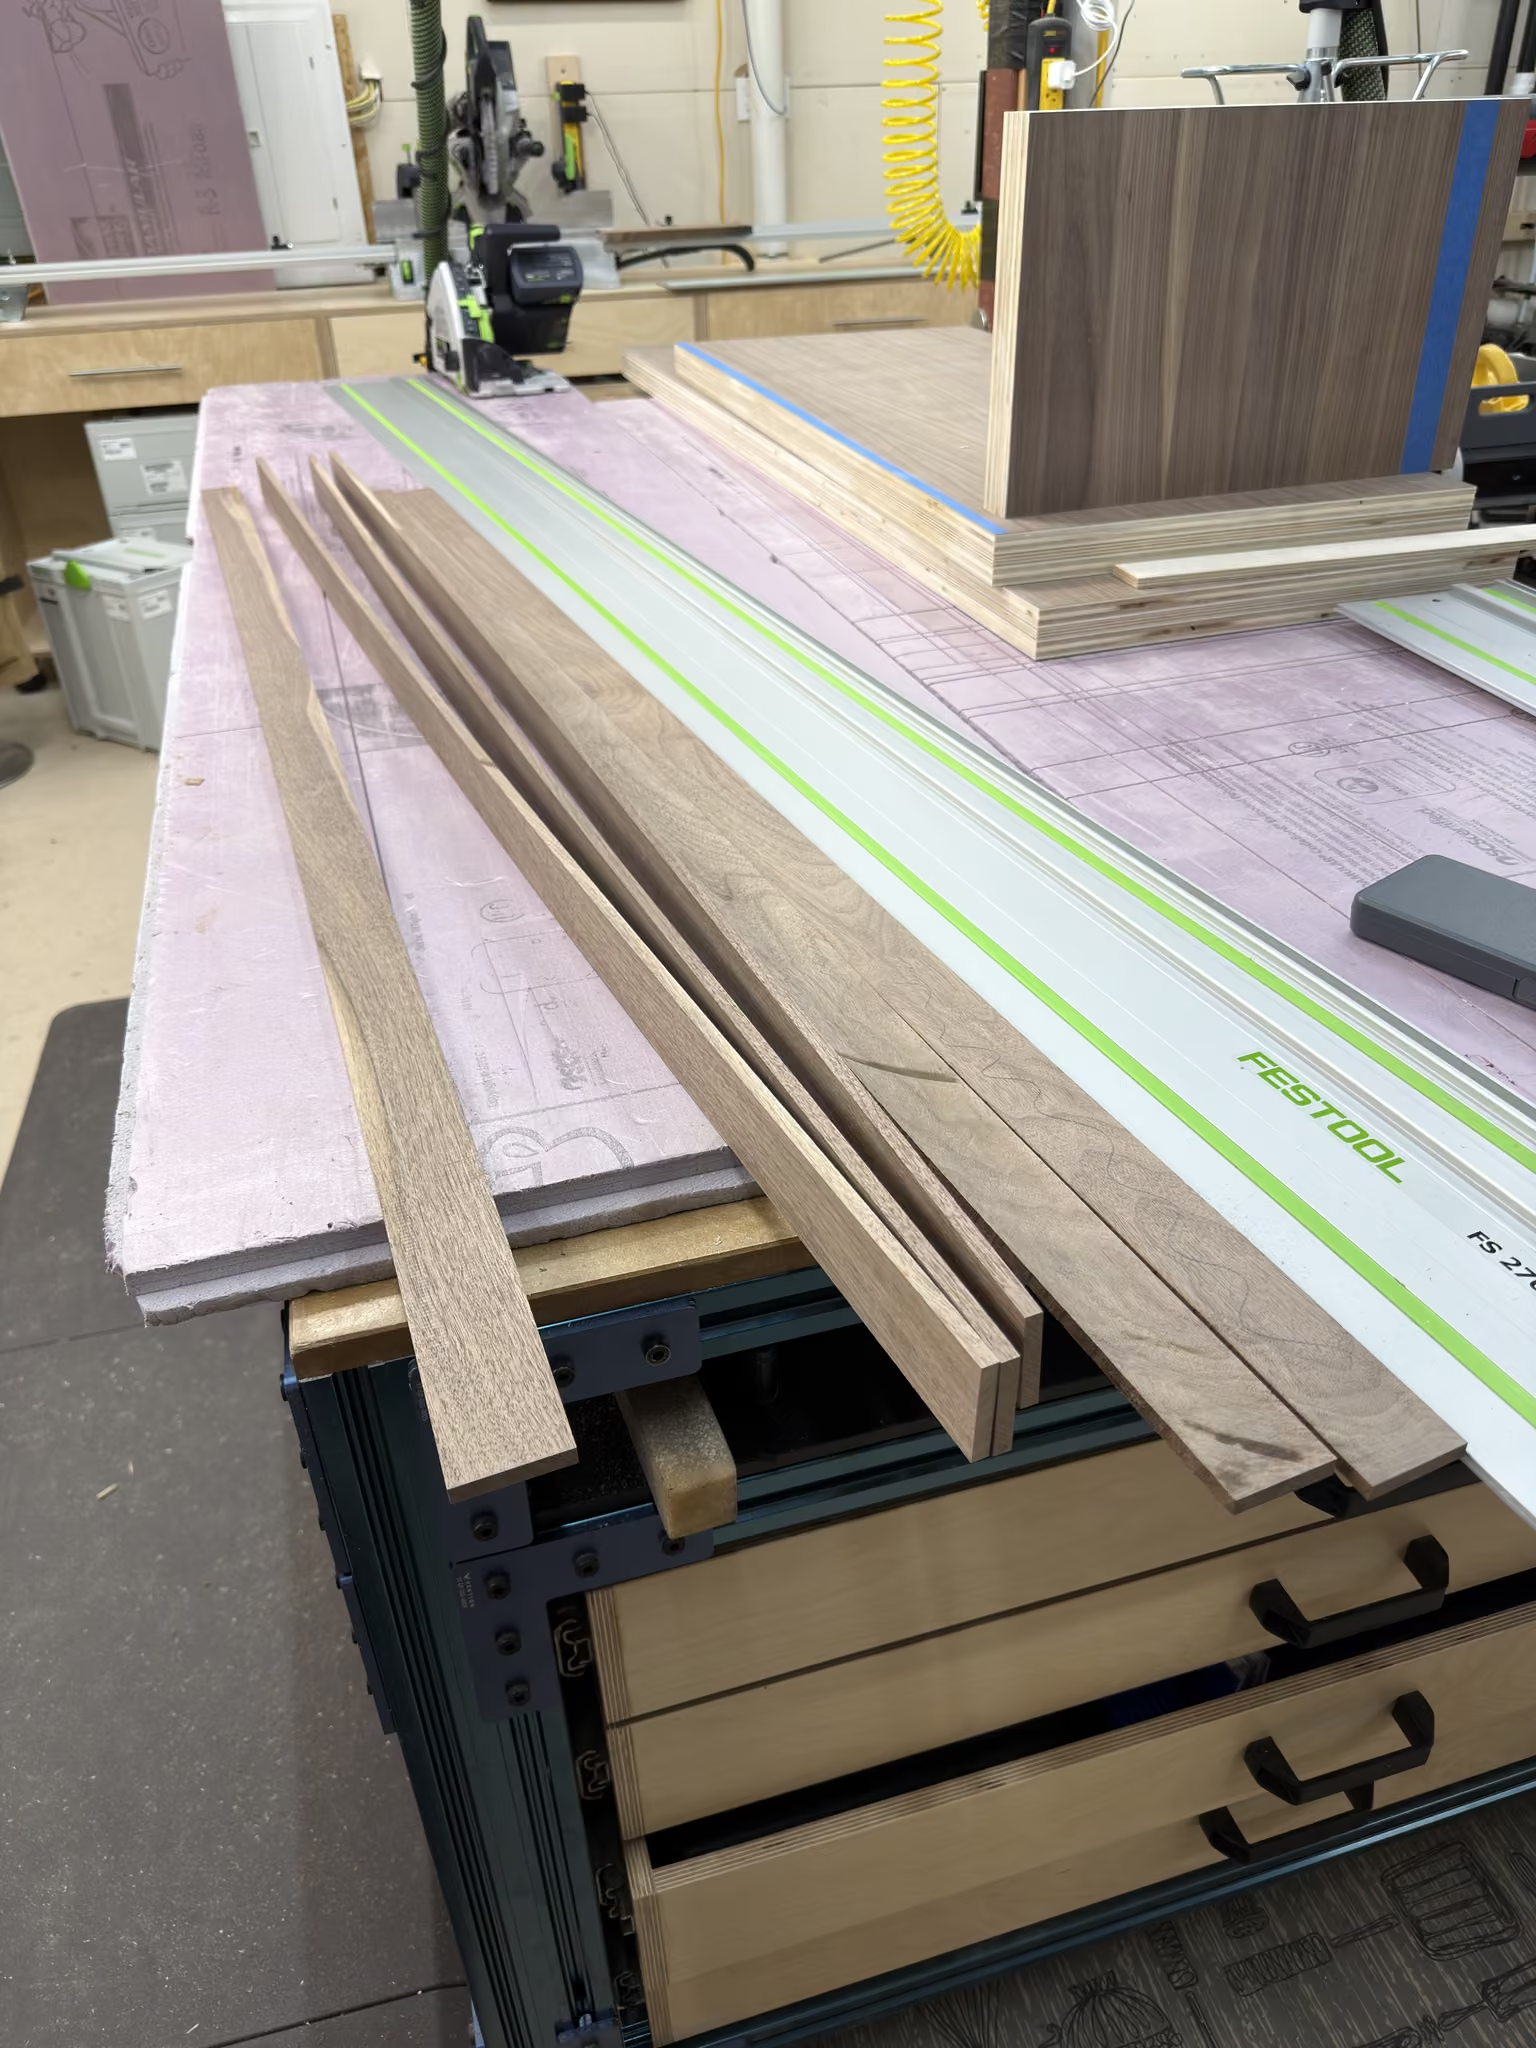
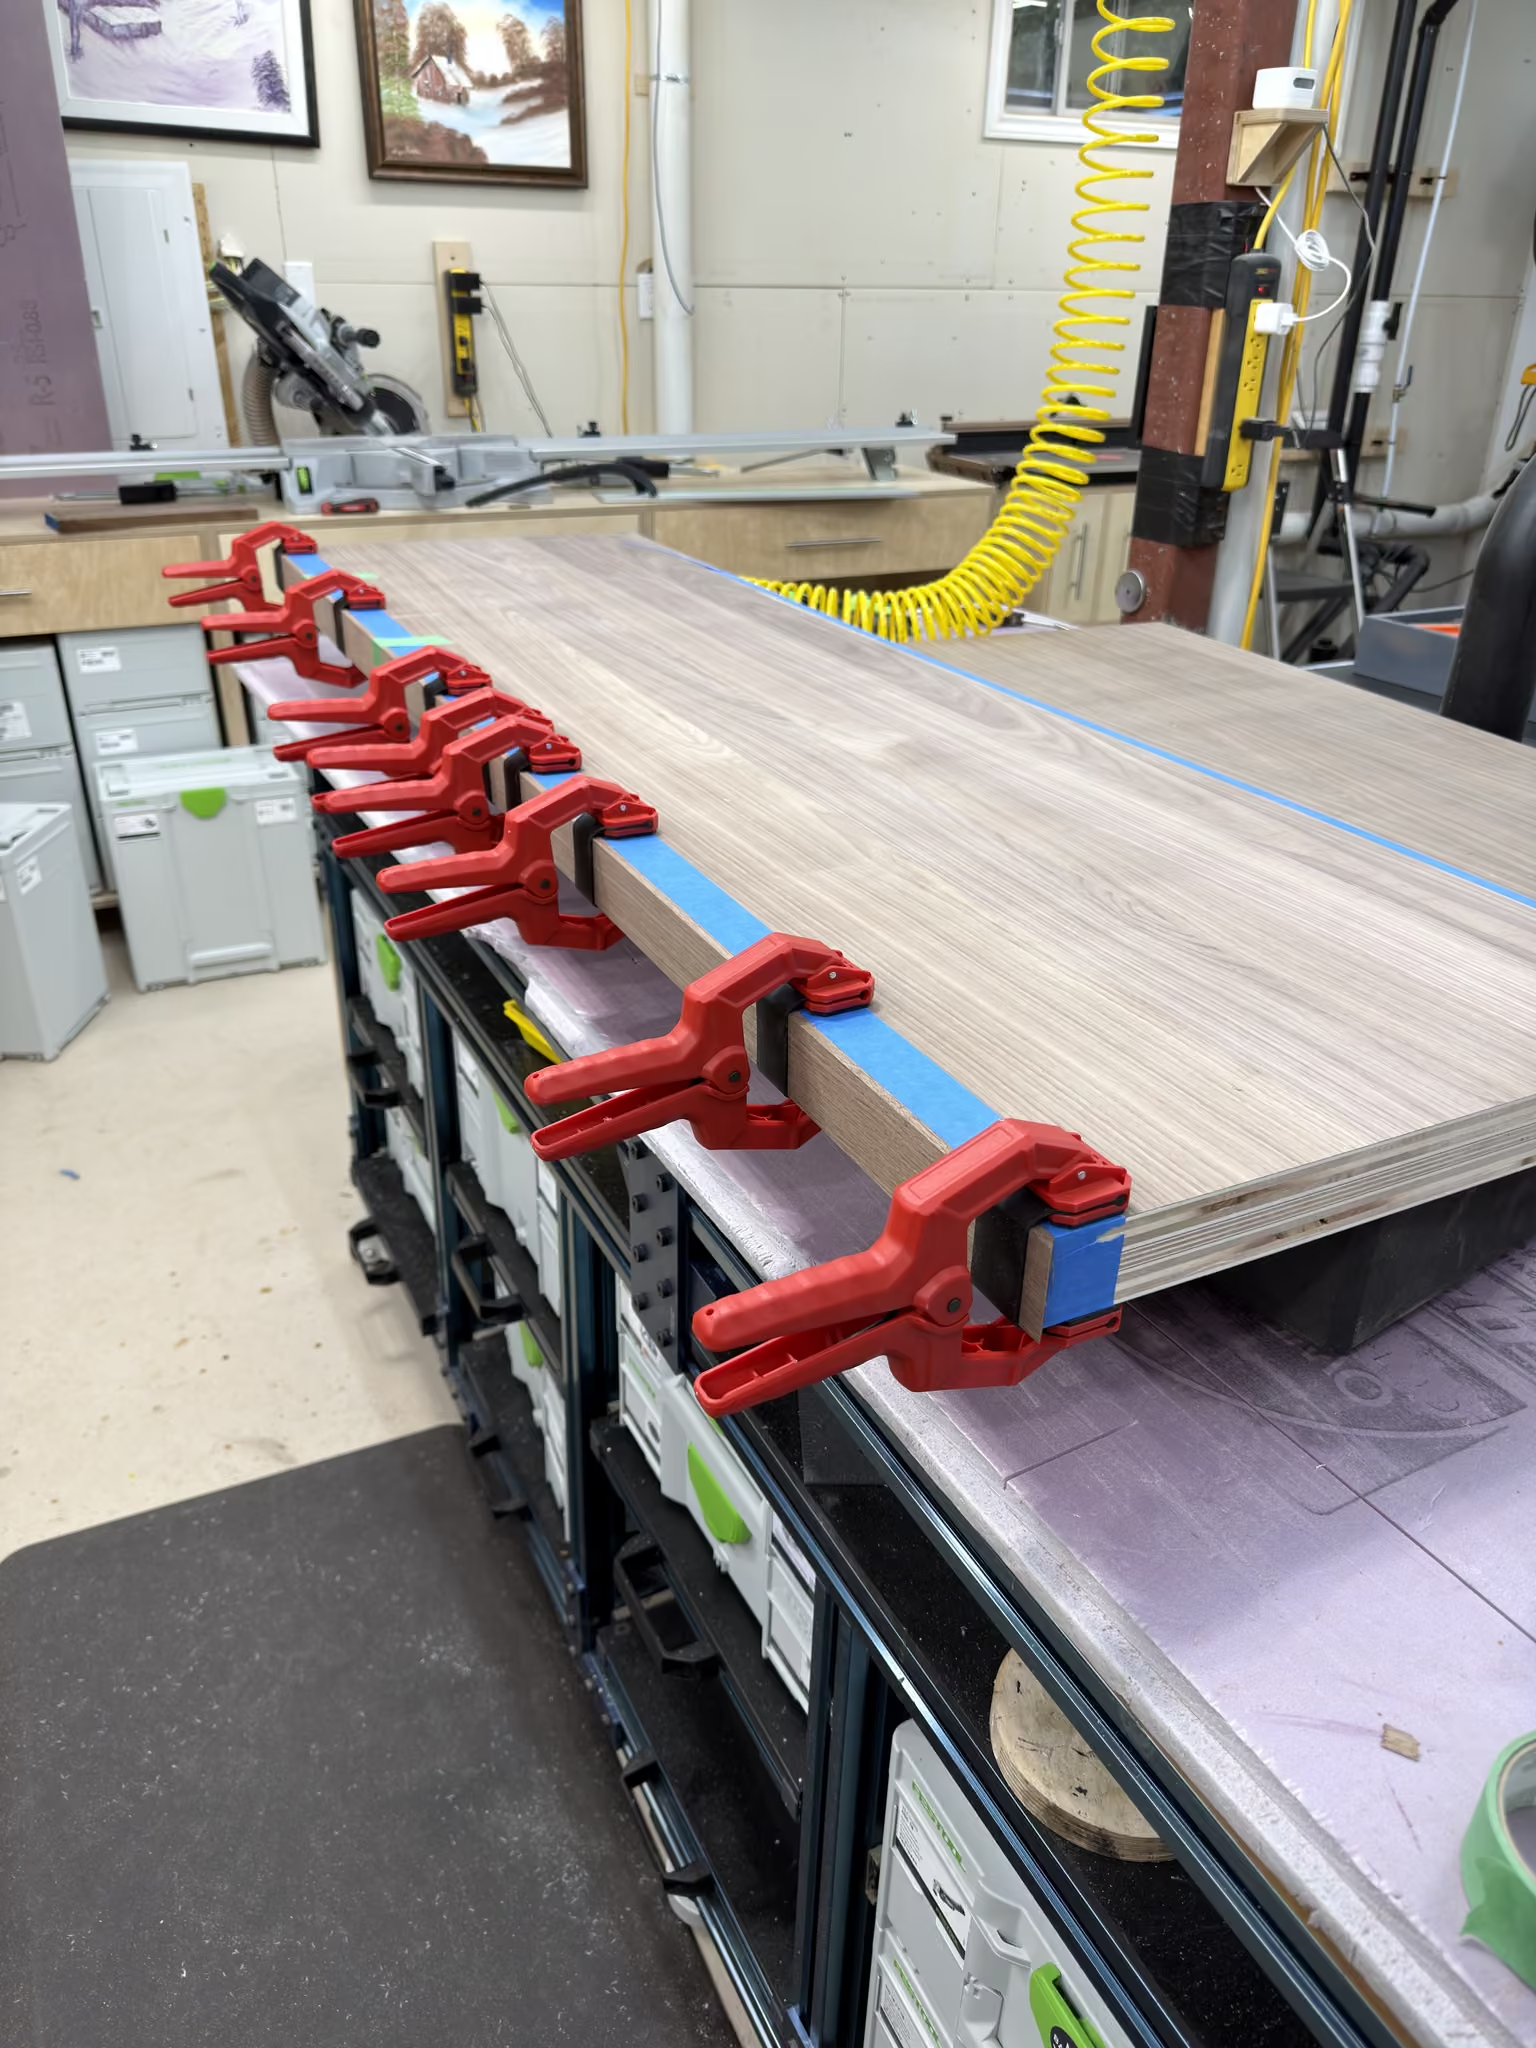
The final assembly of the walnut panels involved cutting my own thick edge banding for them. I could get four long strips from each solid walnut board. There was a lot of back and forth between the mitre saw and the assembly table to get the mitred strips cut to an exact fit.
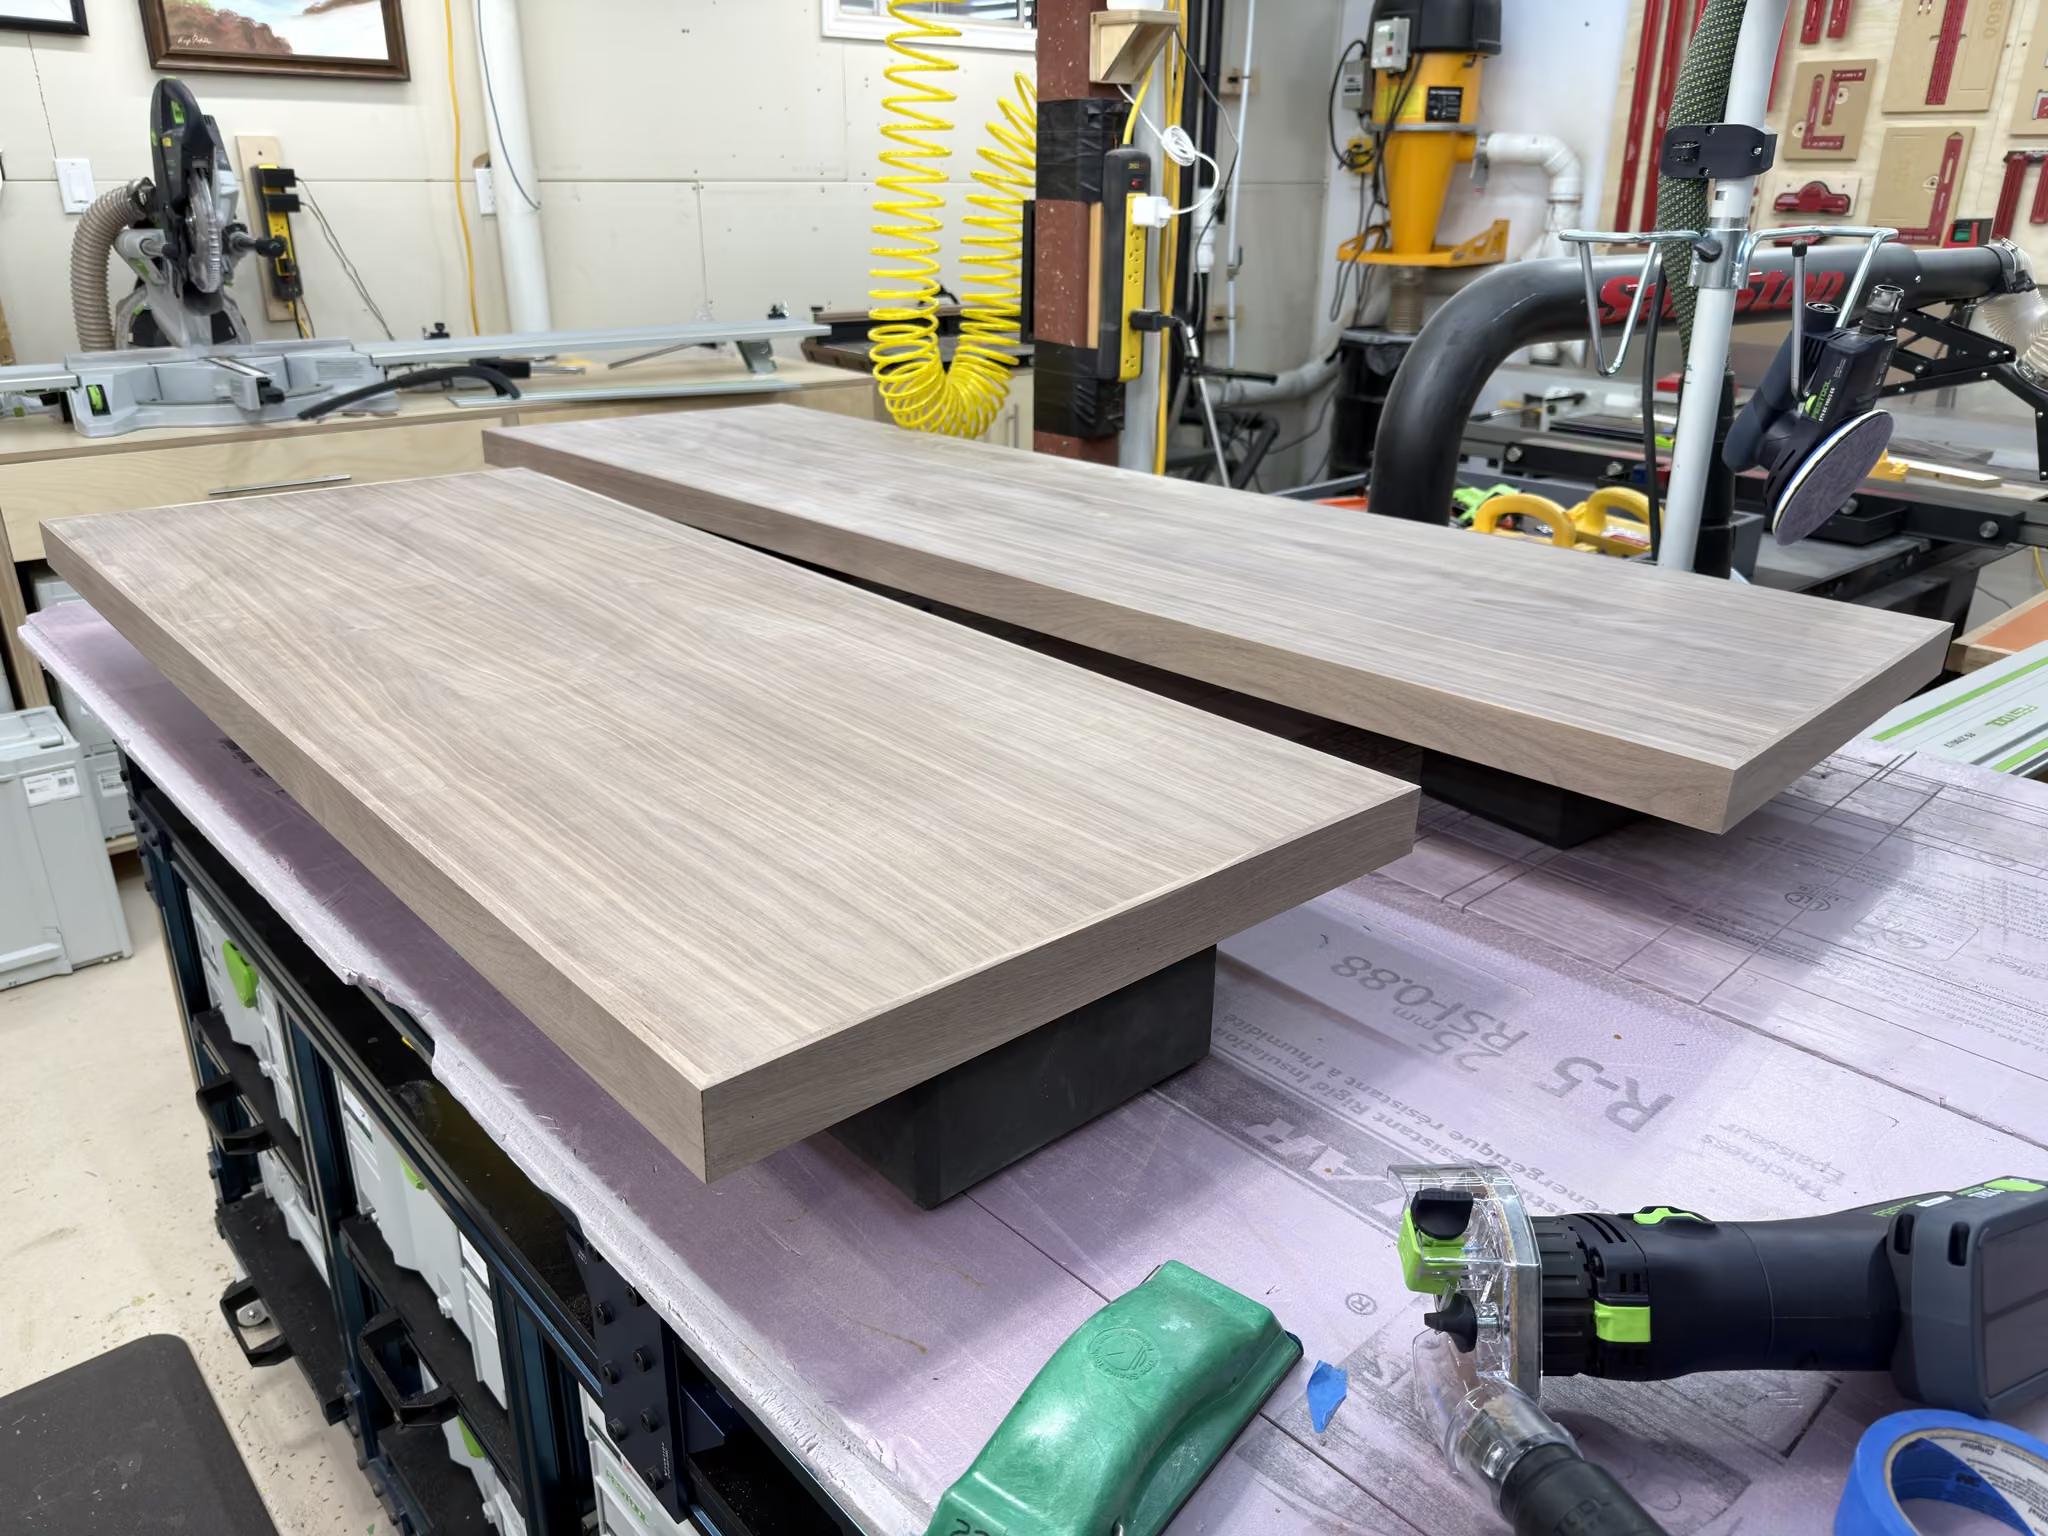
After a little flush trimming, sanding, and a few touch-ups here and there, they were good to go. Time for a dry fit!
First Dry Fit
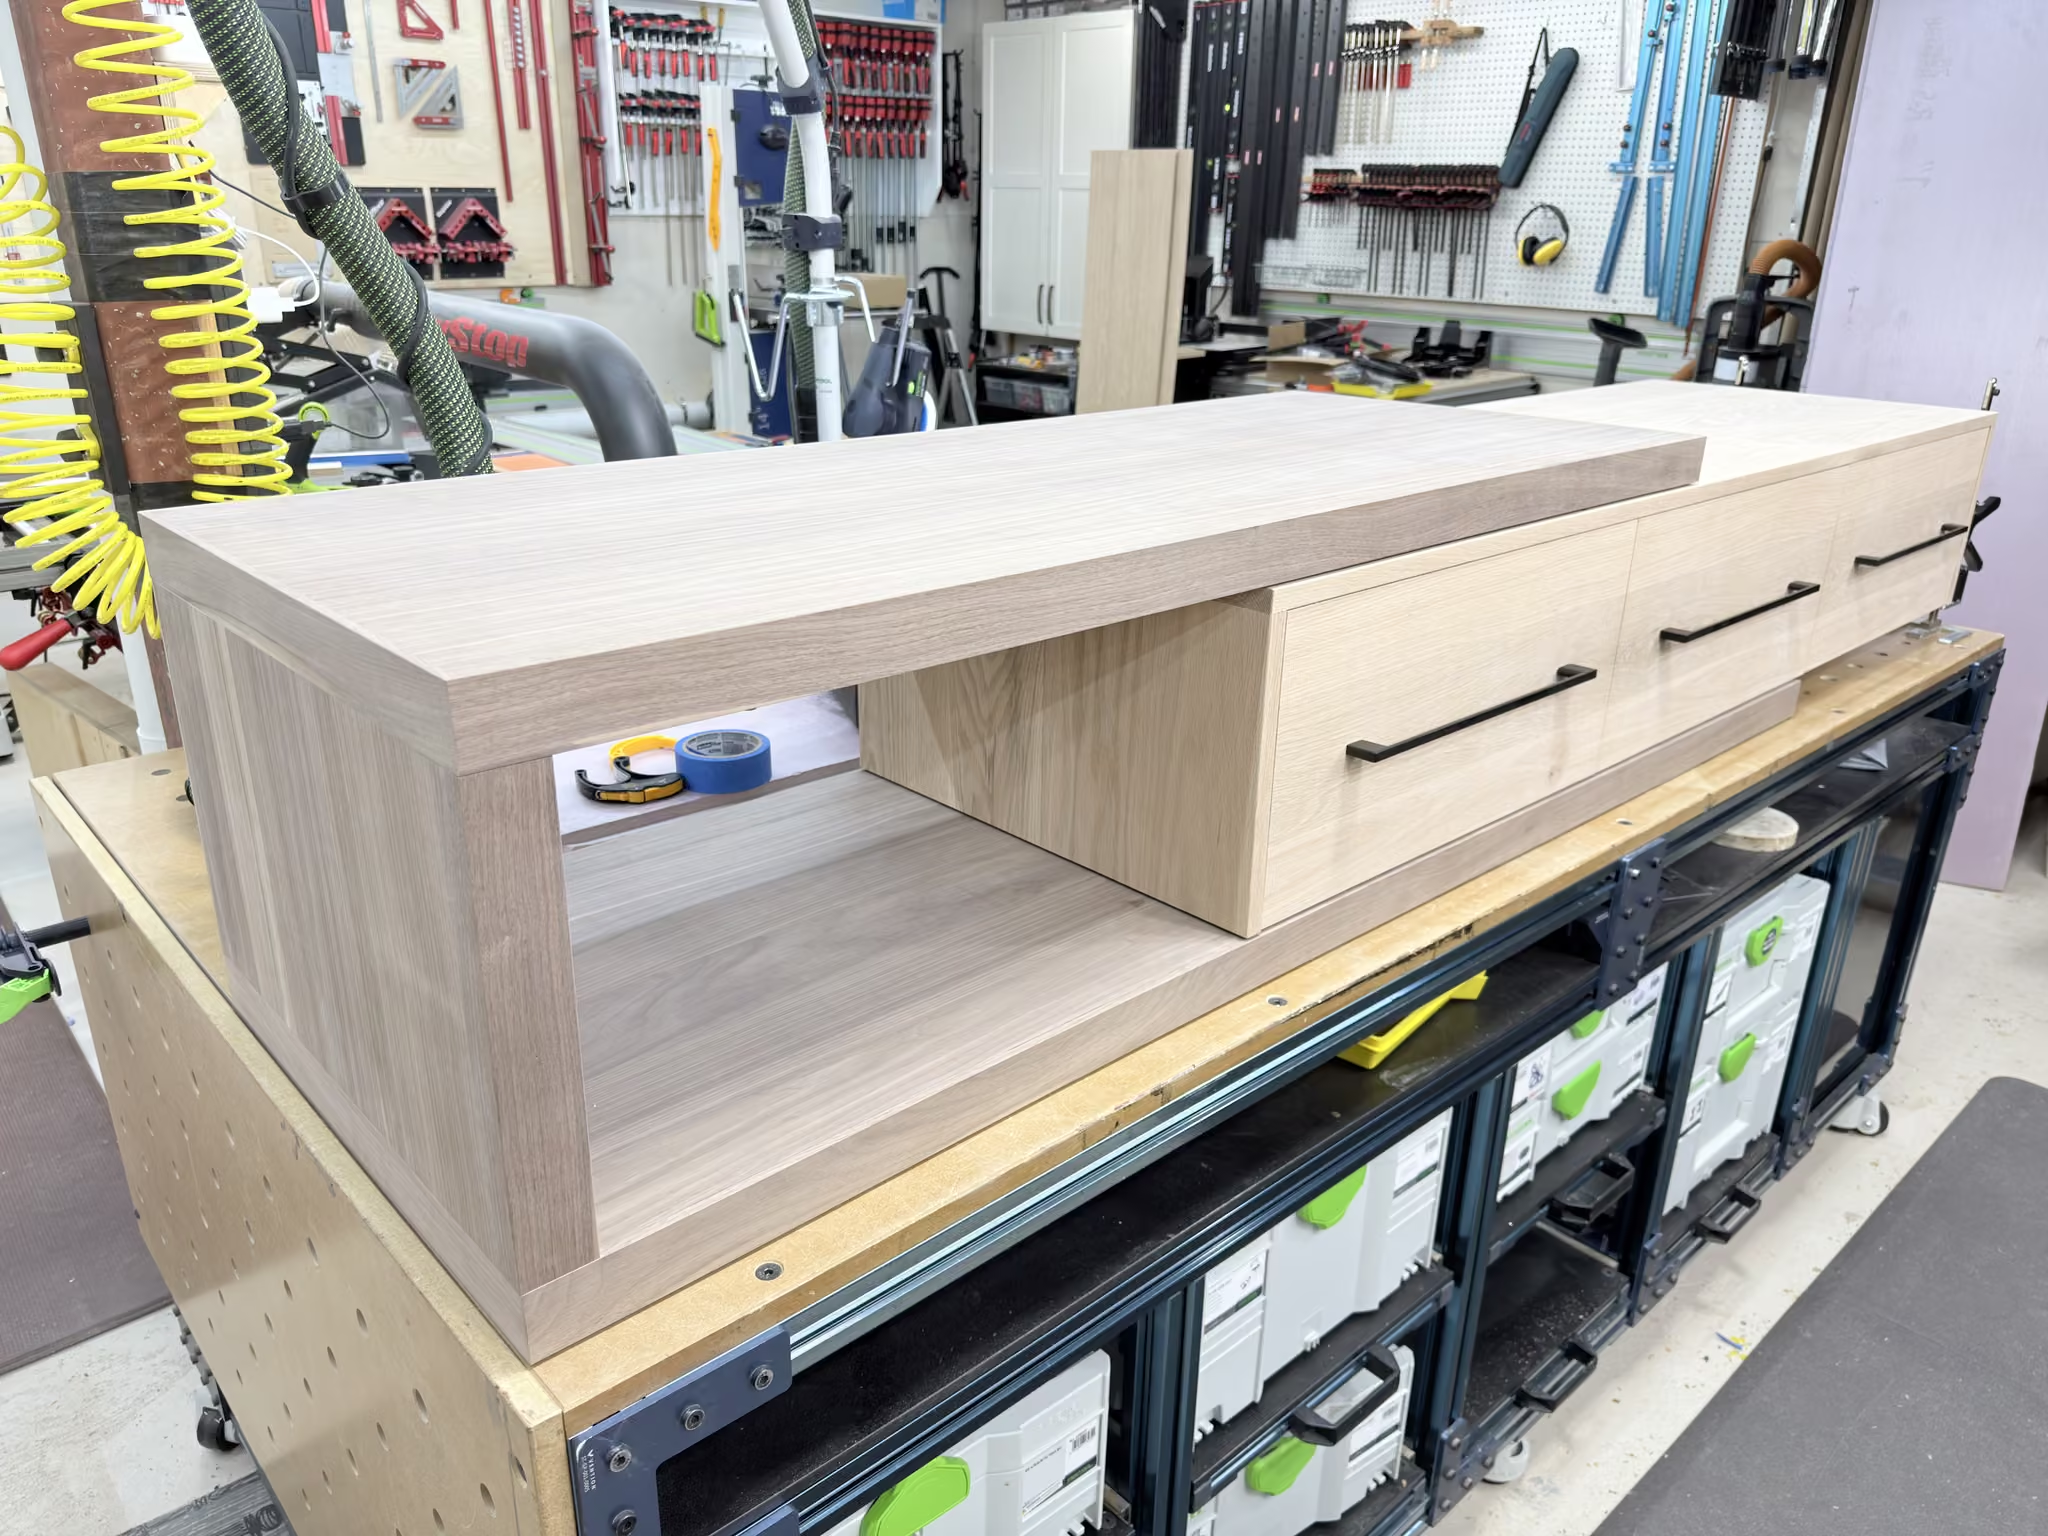
It was looking pretty good. I still had to build the base for the right-hand side, but that was about a half-day effort.
Finishing
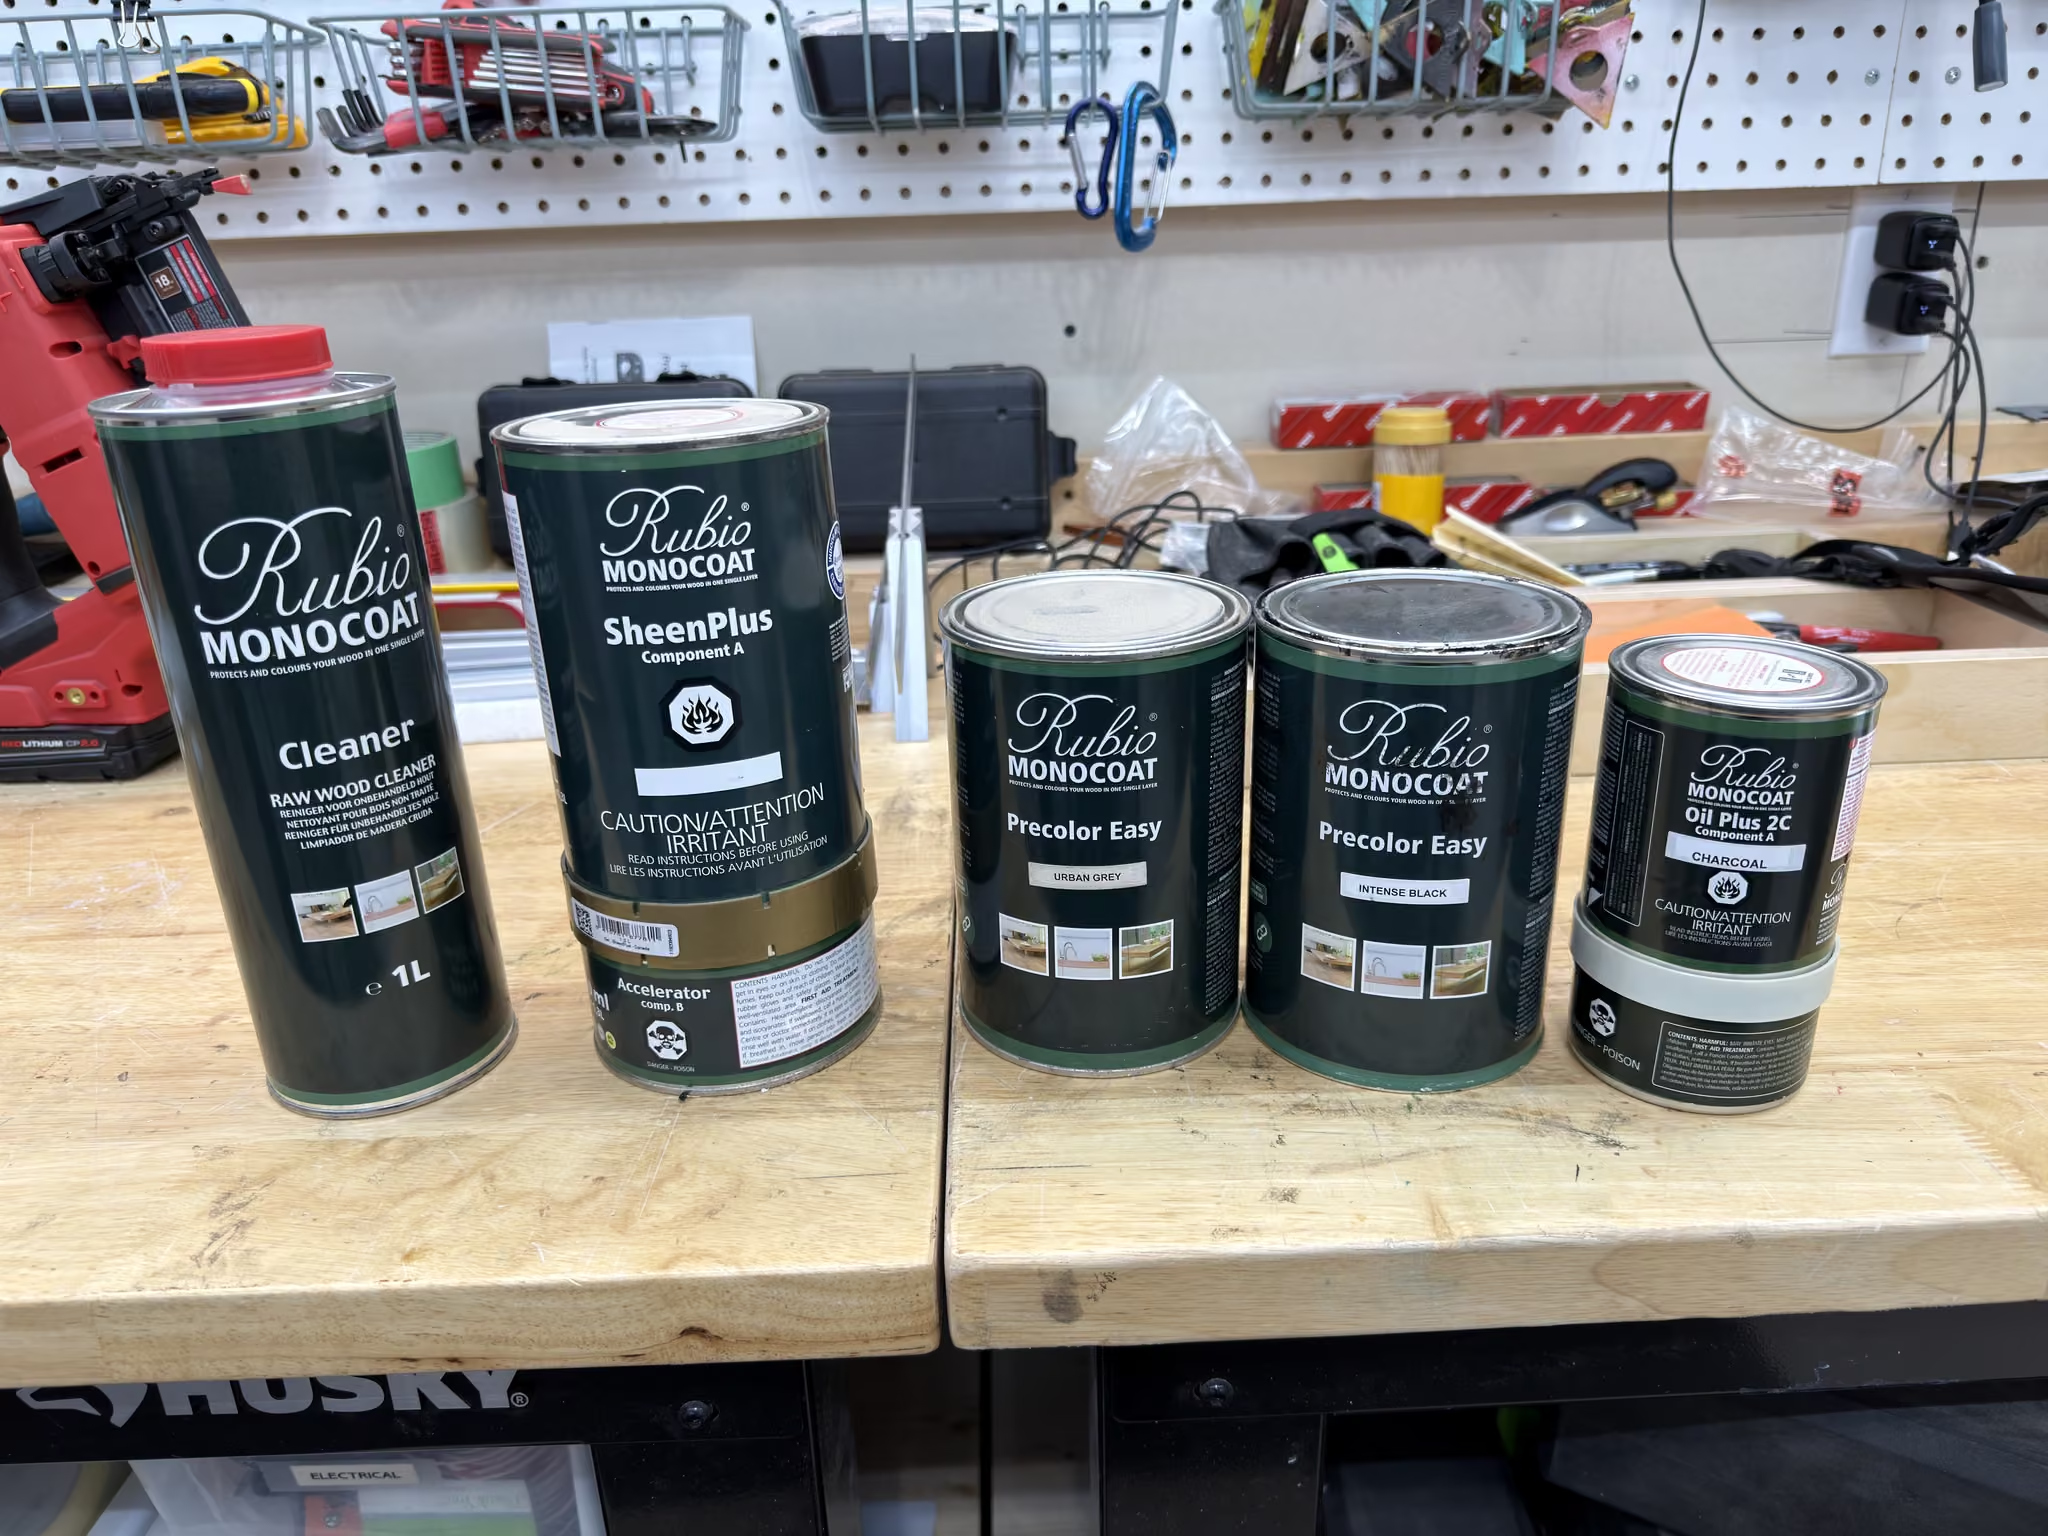
Now it was time for the finish. I used my standard Rubio Monocoat for this project, but with a couple of new products I had never tried before. The Urban Grey was a nice new addition, and the SheenPlus should give the finish a slightly satin look. Let’s find out.
Precolor Easy
In this mix, I used a 50/50 split of Intense Black and Urban Grey for the precolor stain. It came out a nice charcoal grey.
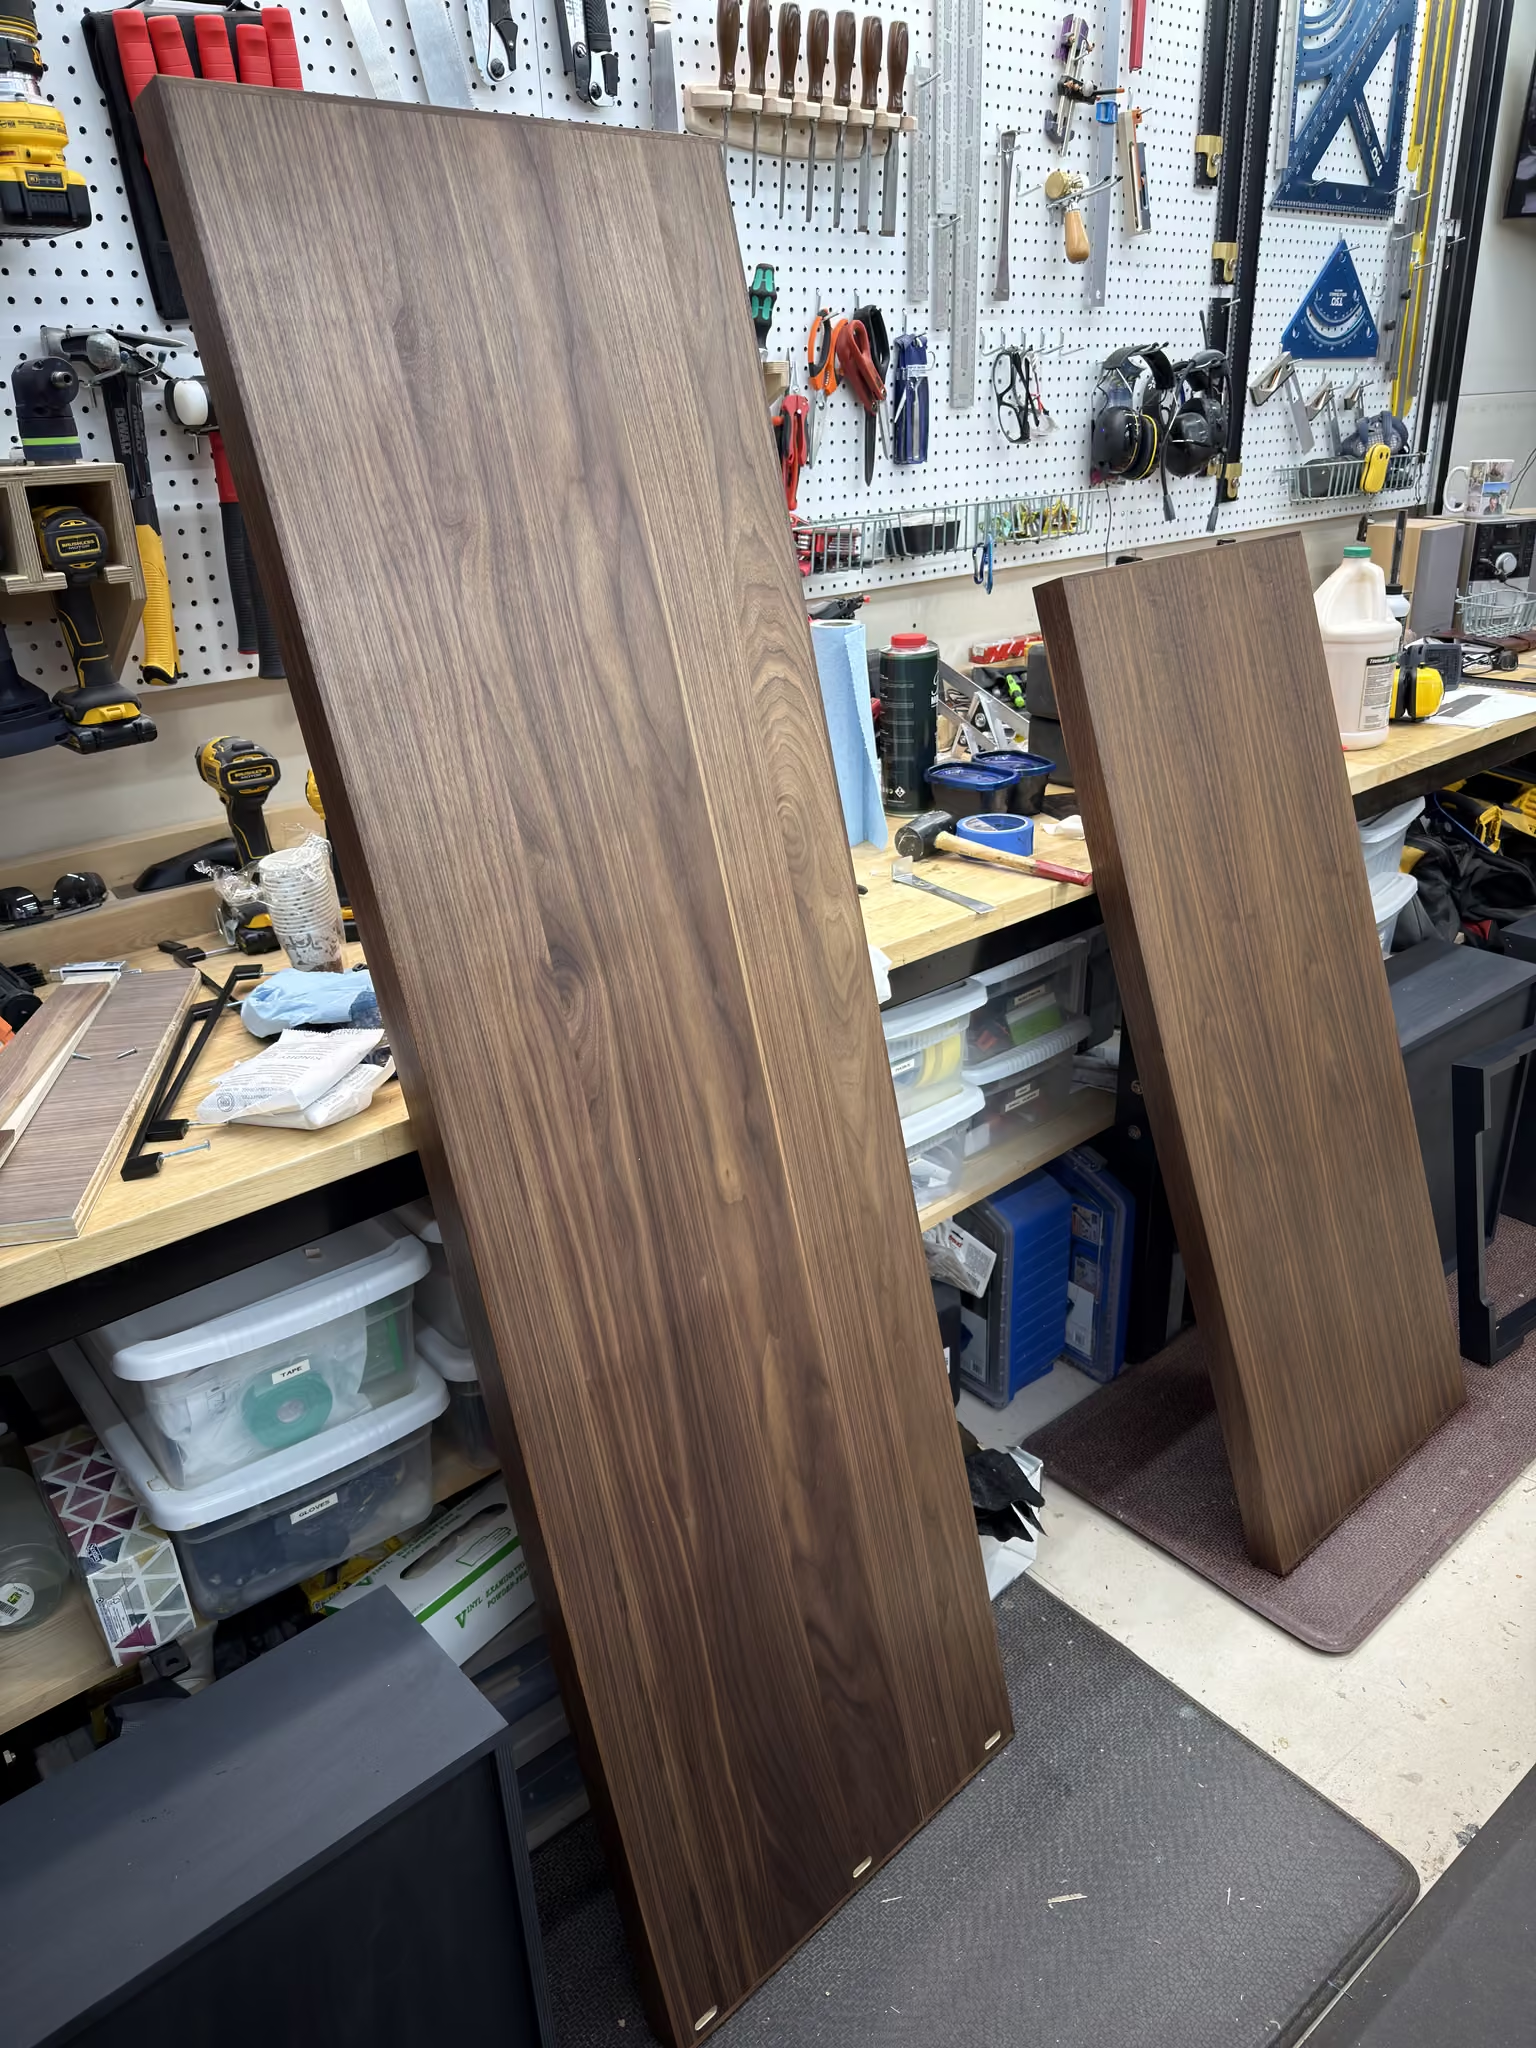
Satin Walnut
The walnut outer carcass was not stained; that would be a horrible thing to do to walnut.
Here we let the natural colour and grain of the walnut shine through. The Pure colour of the hard-wax oil makes them both pop and adds a little sheen.
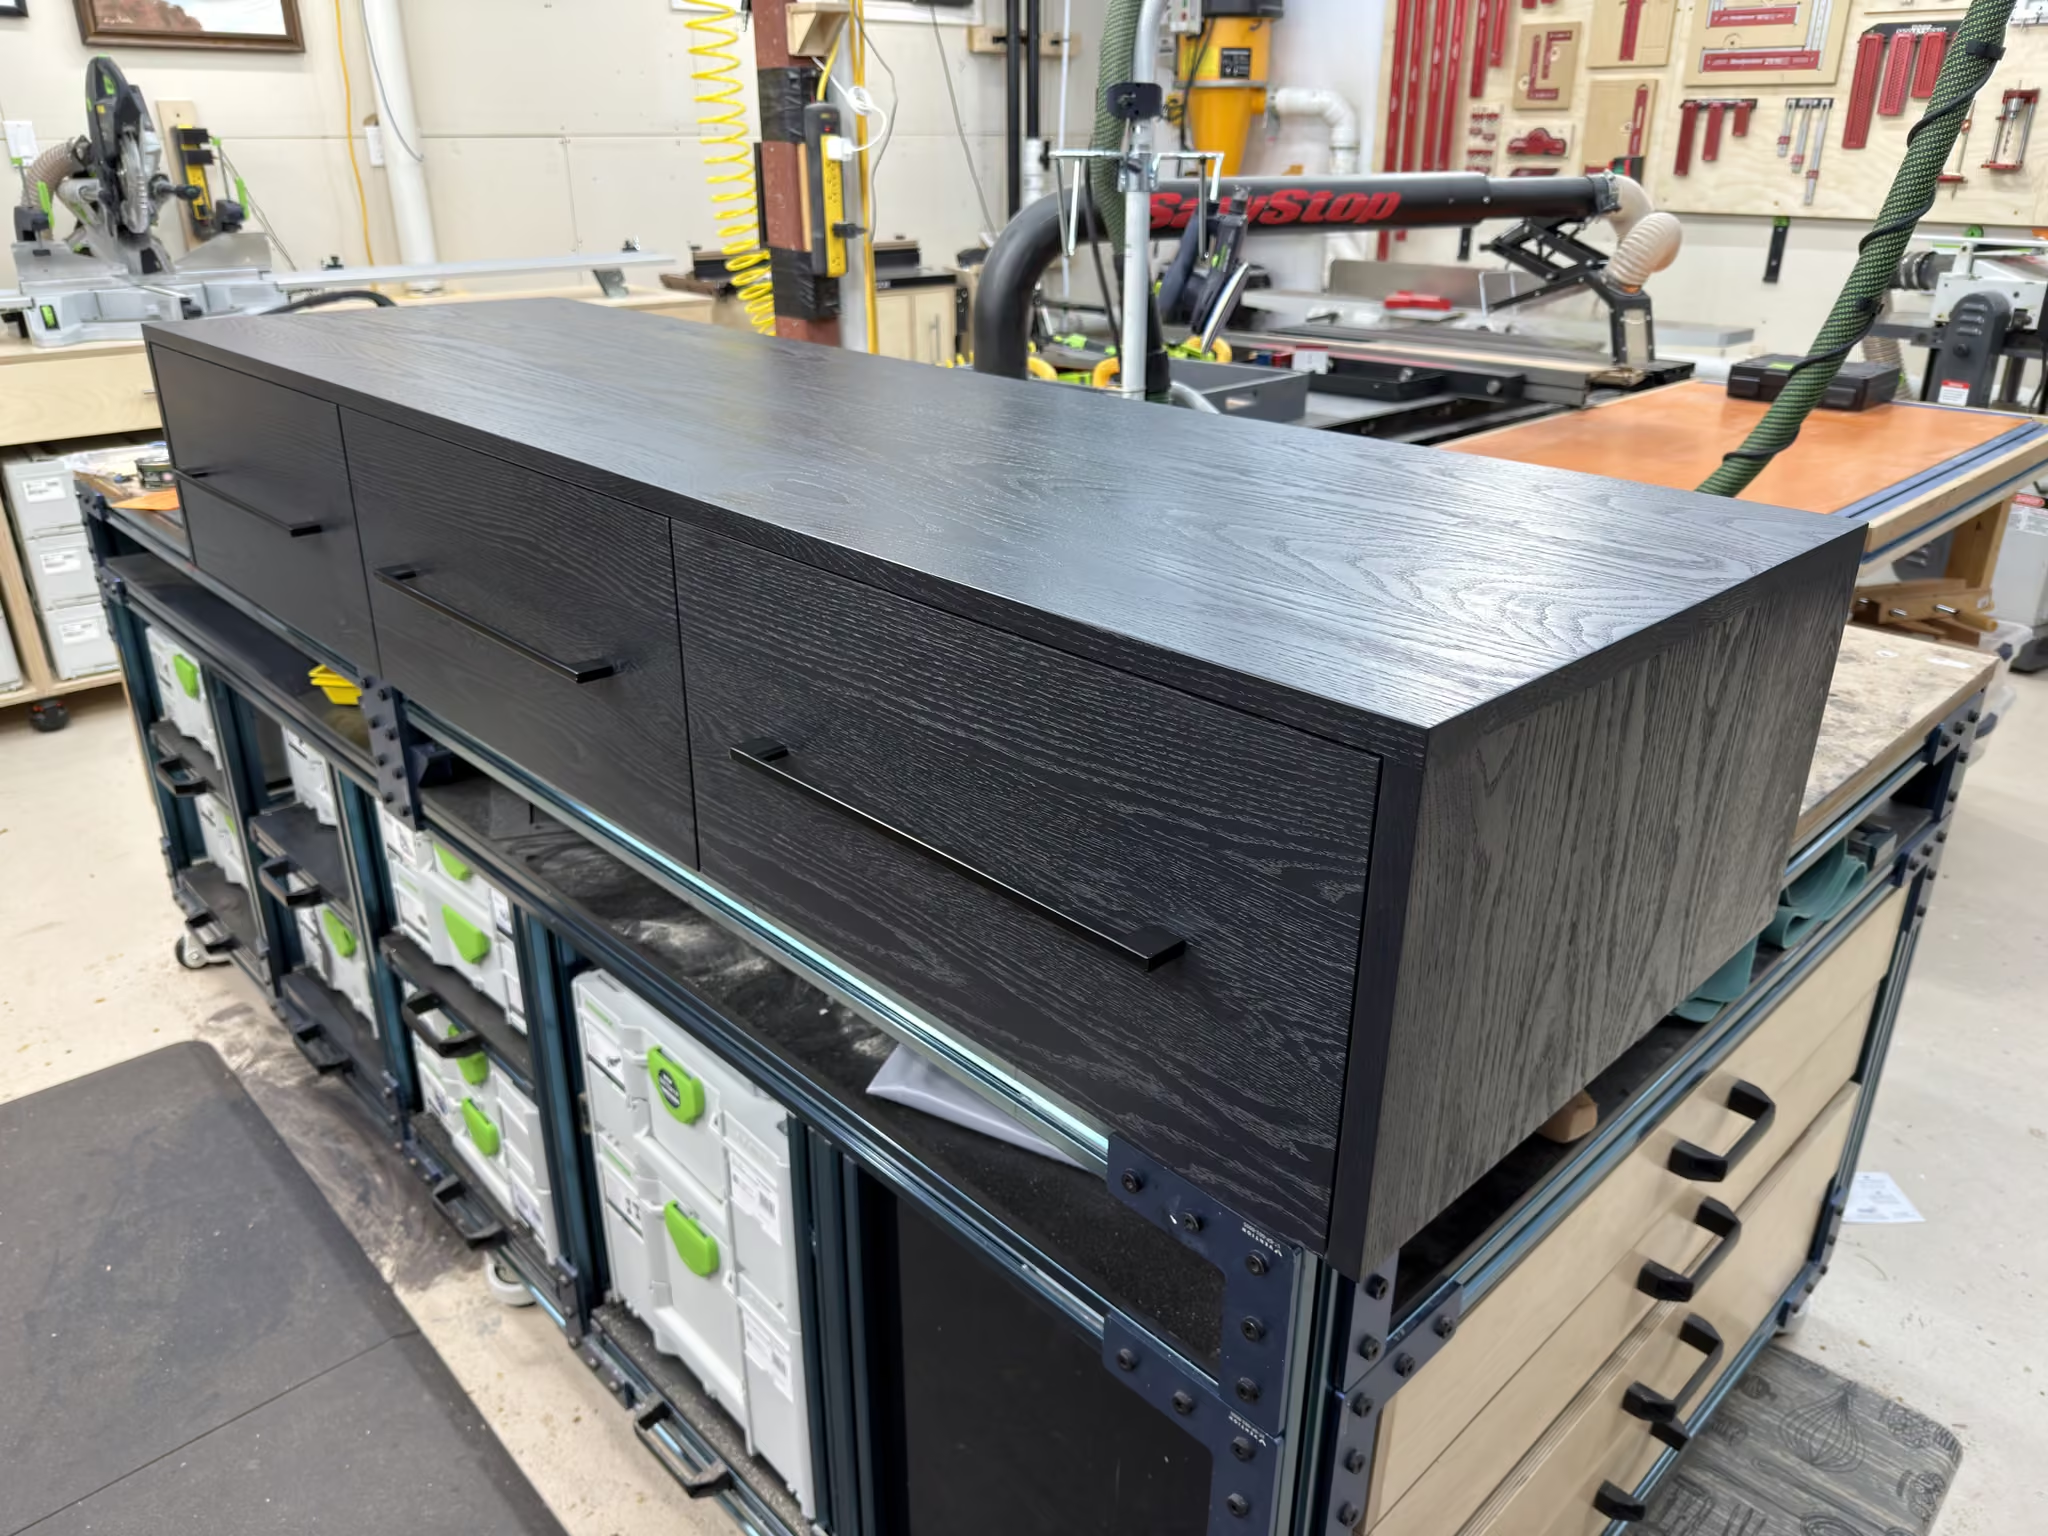
Charcoal Oak
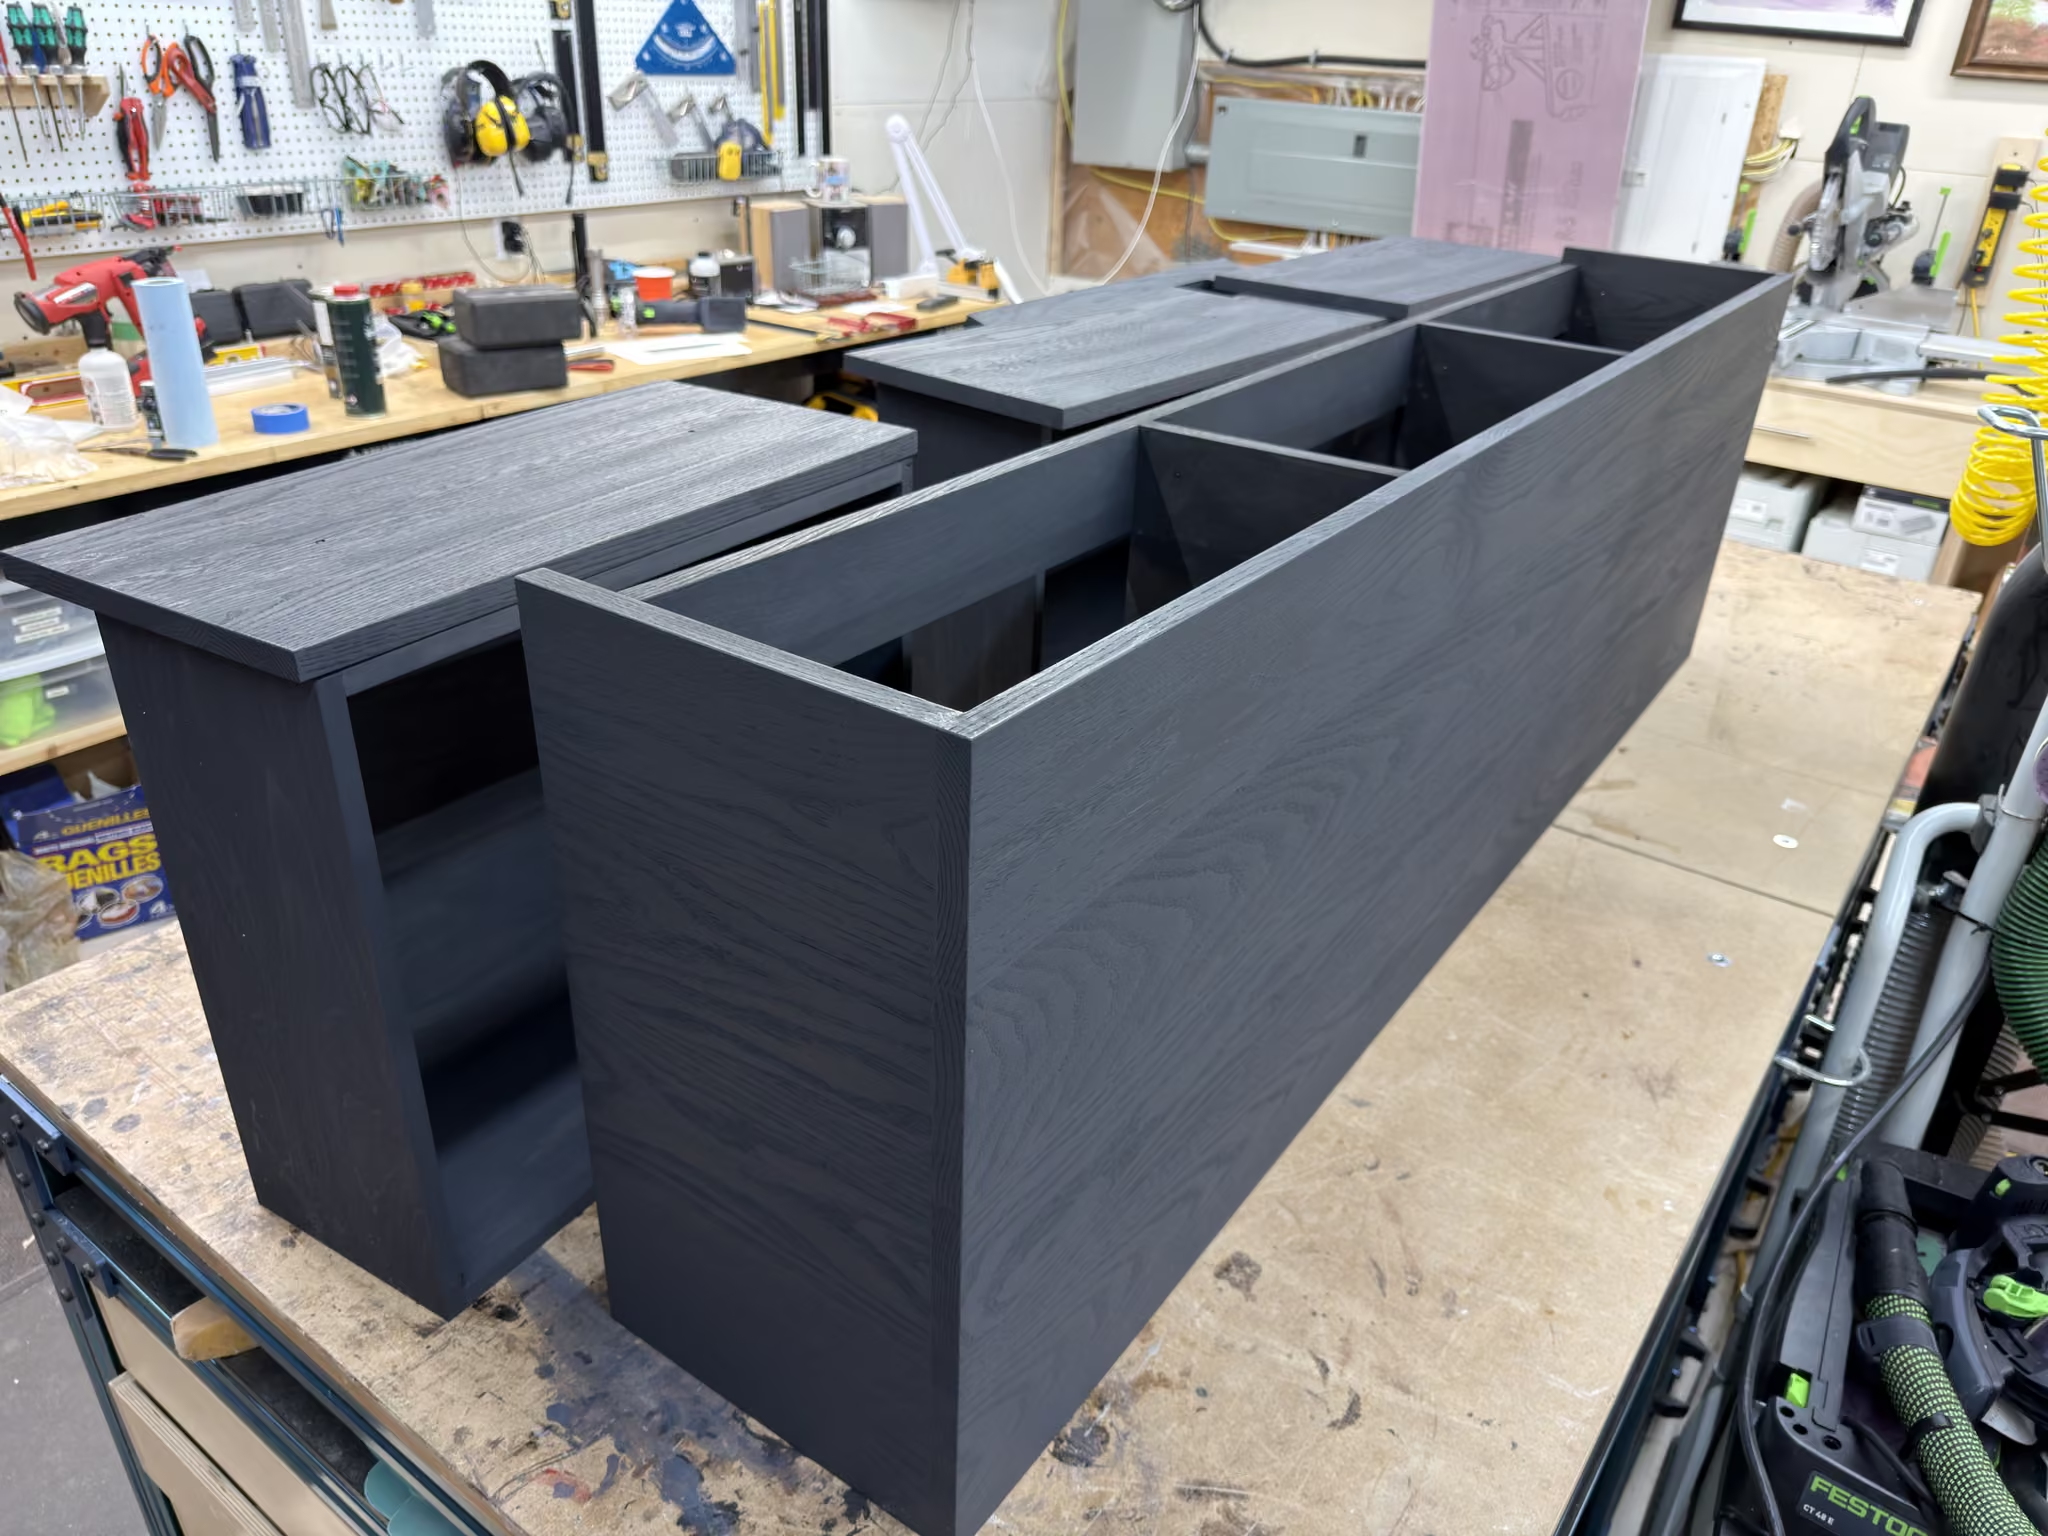
For the red oak inner carcass, which was stained charcoal grey in a previous step, I used a charcoal-grey oil for the first coat, then just the pure sheen for the second coat.
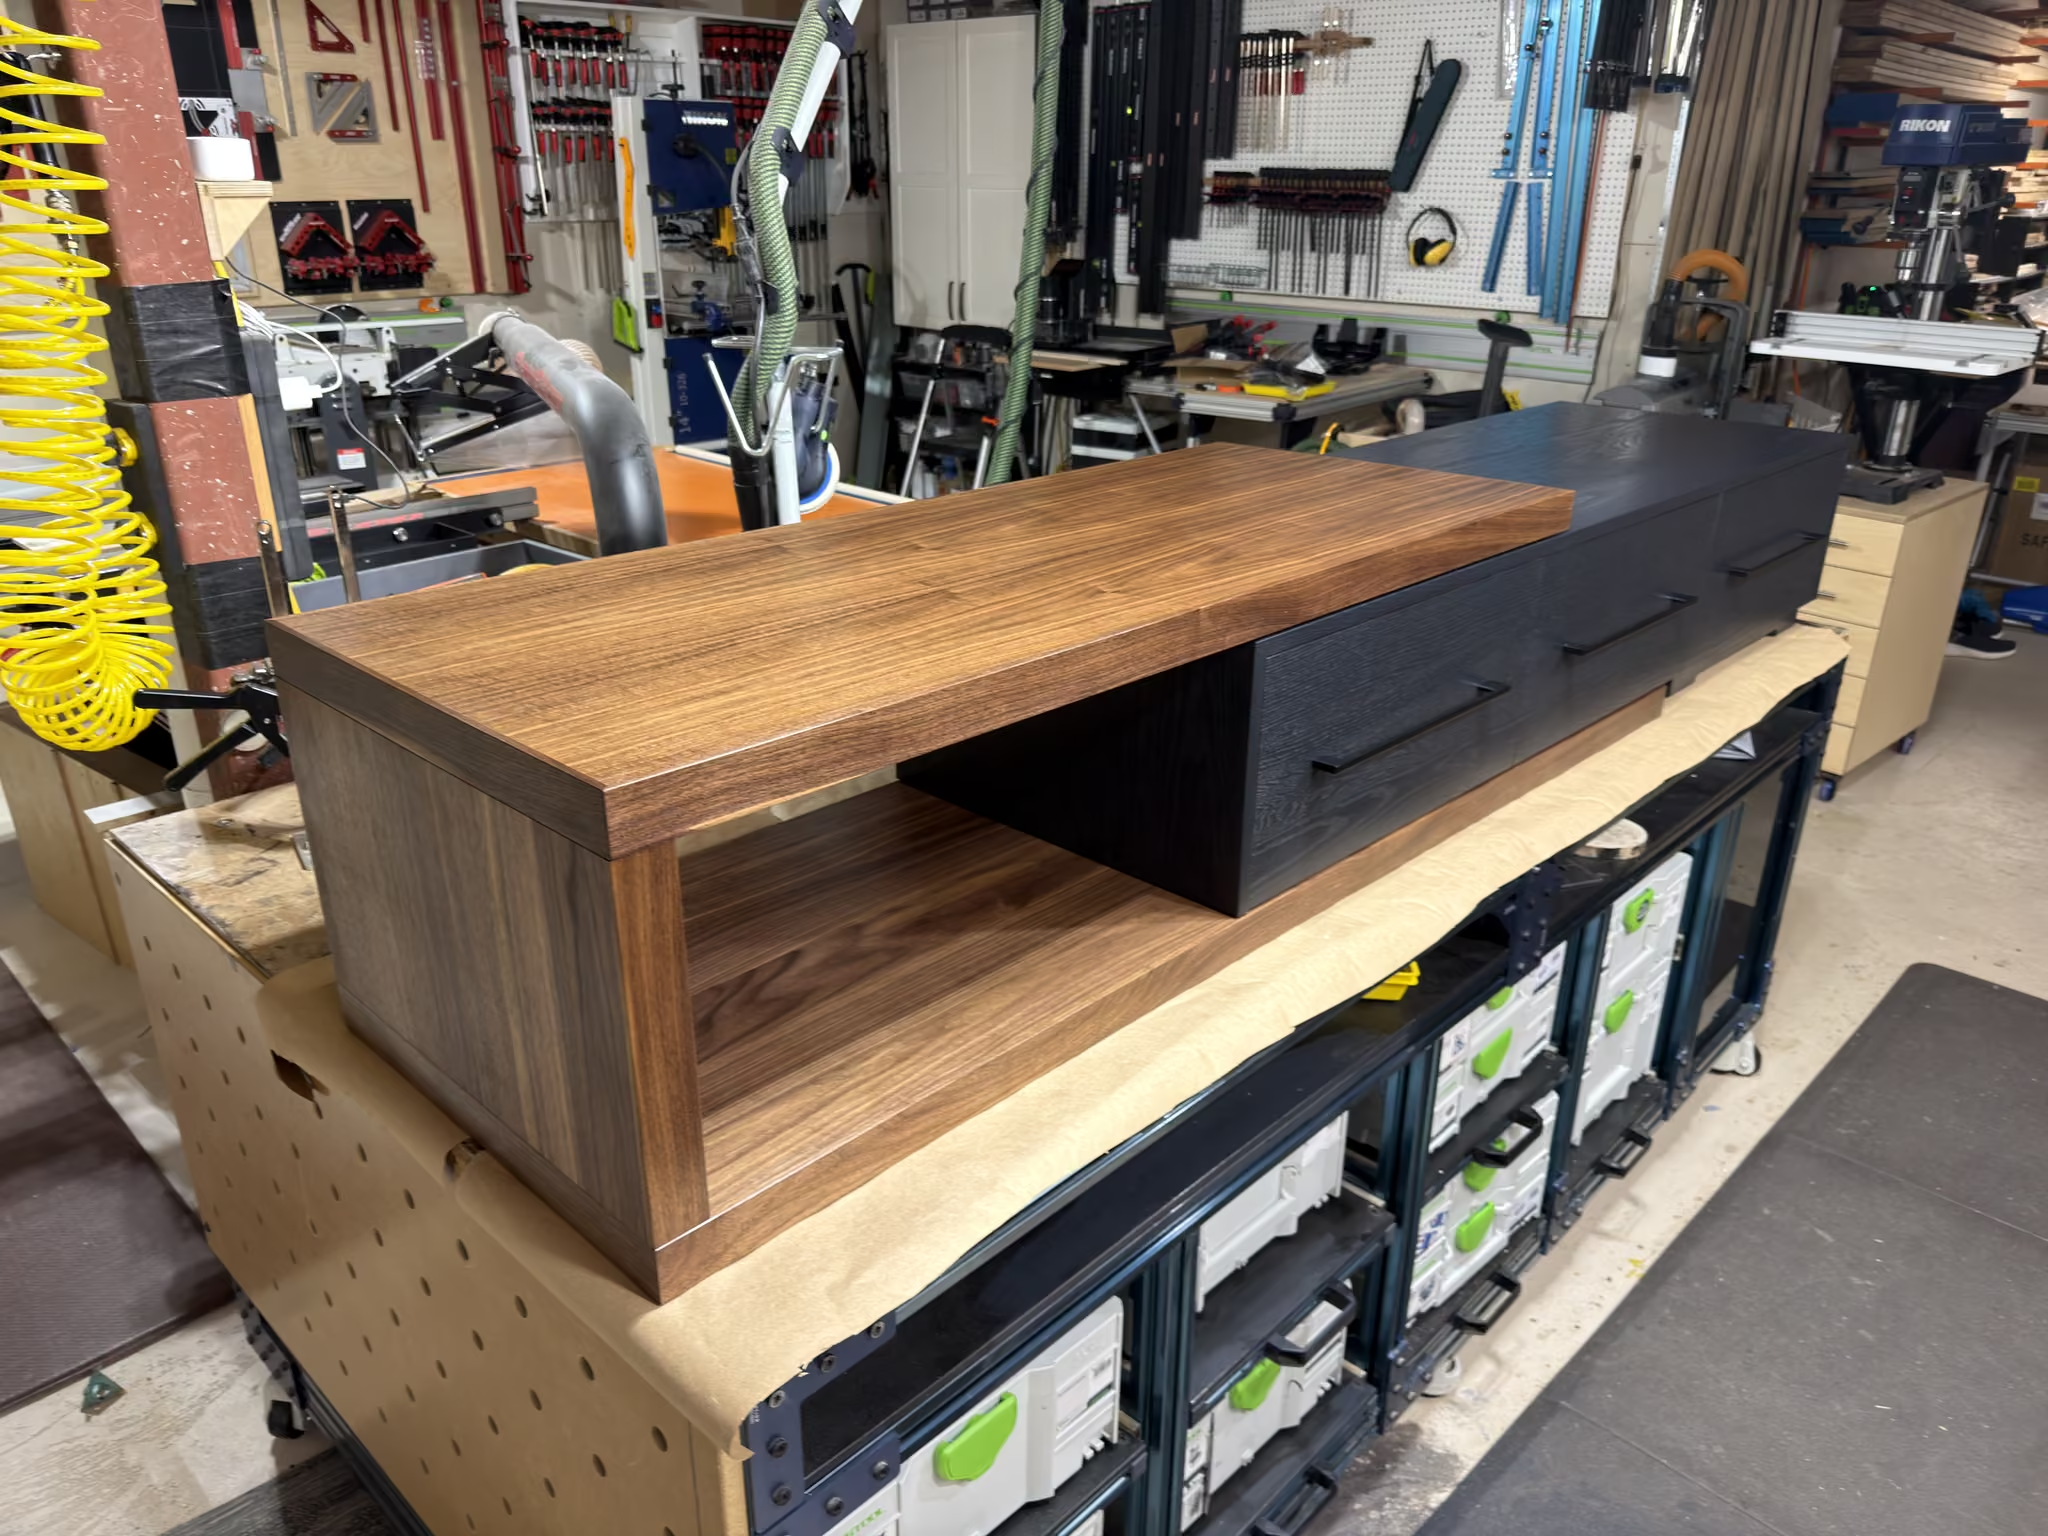
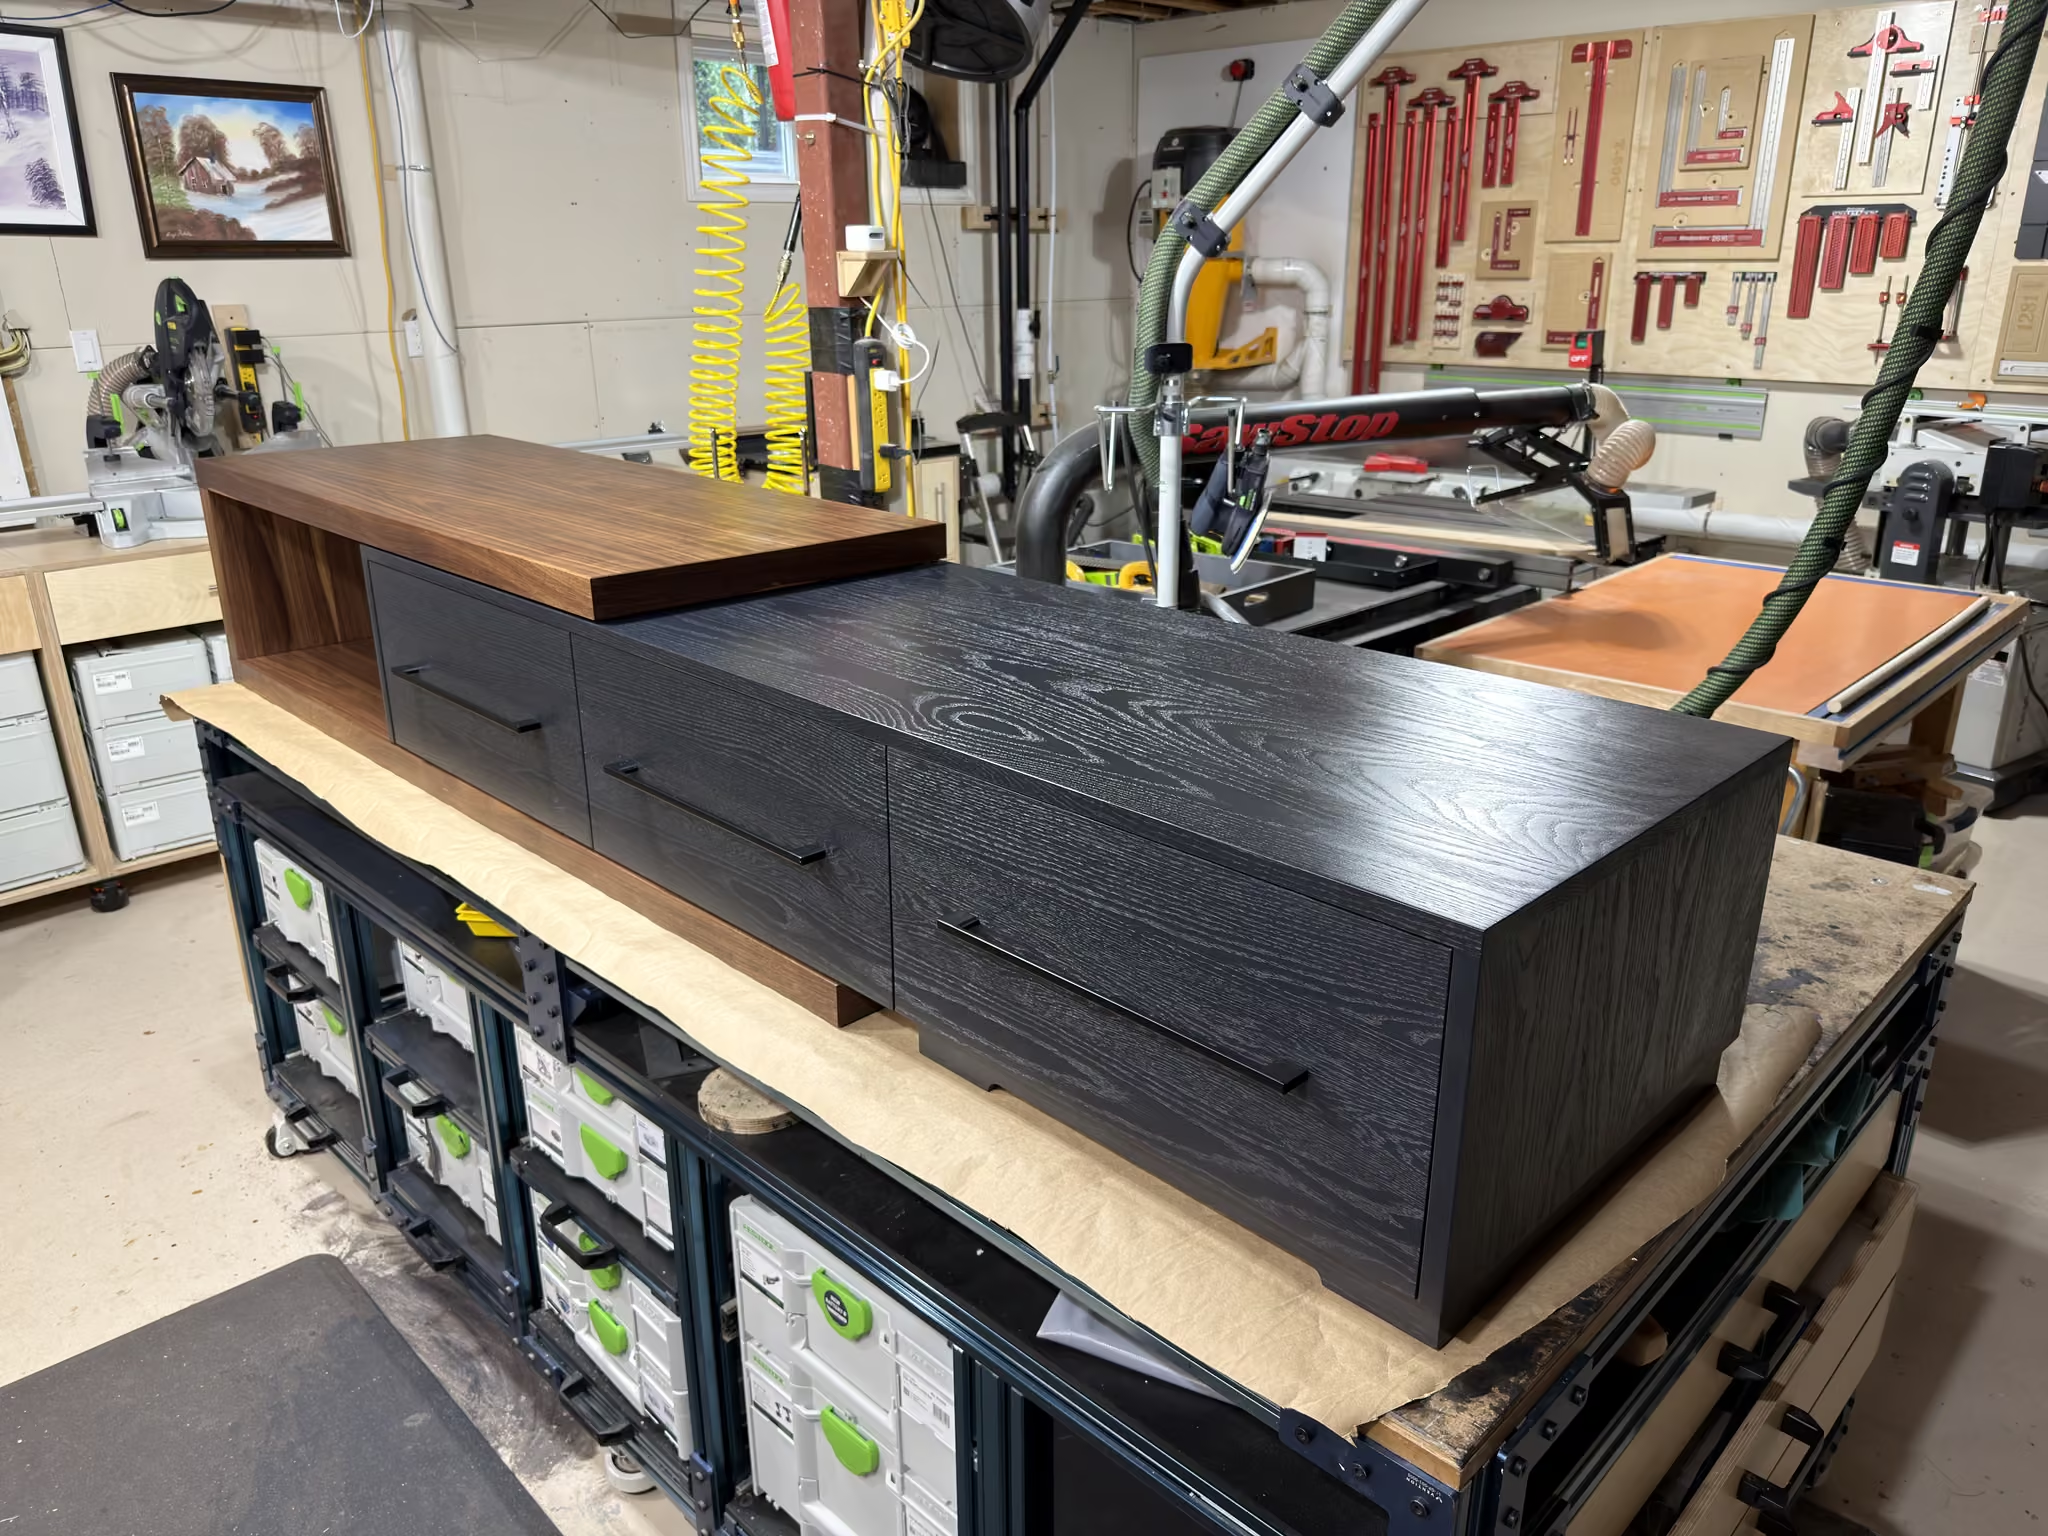
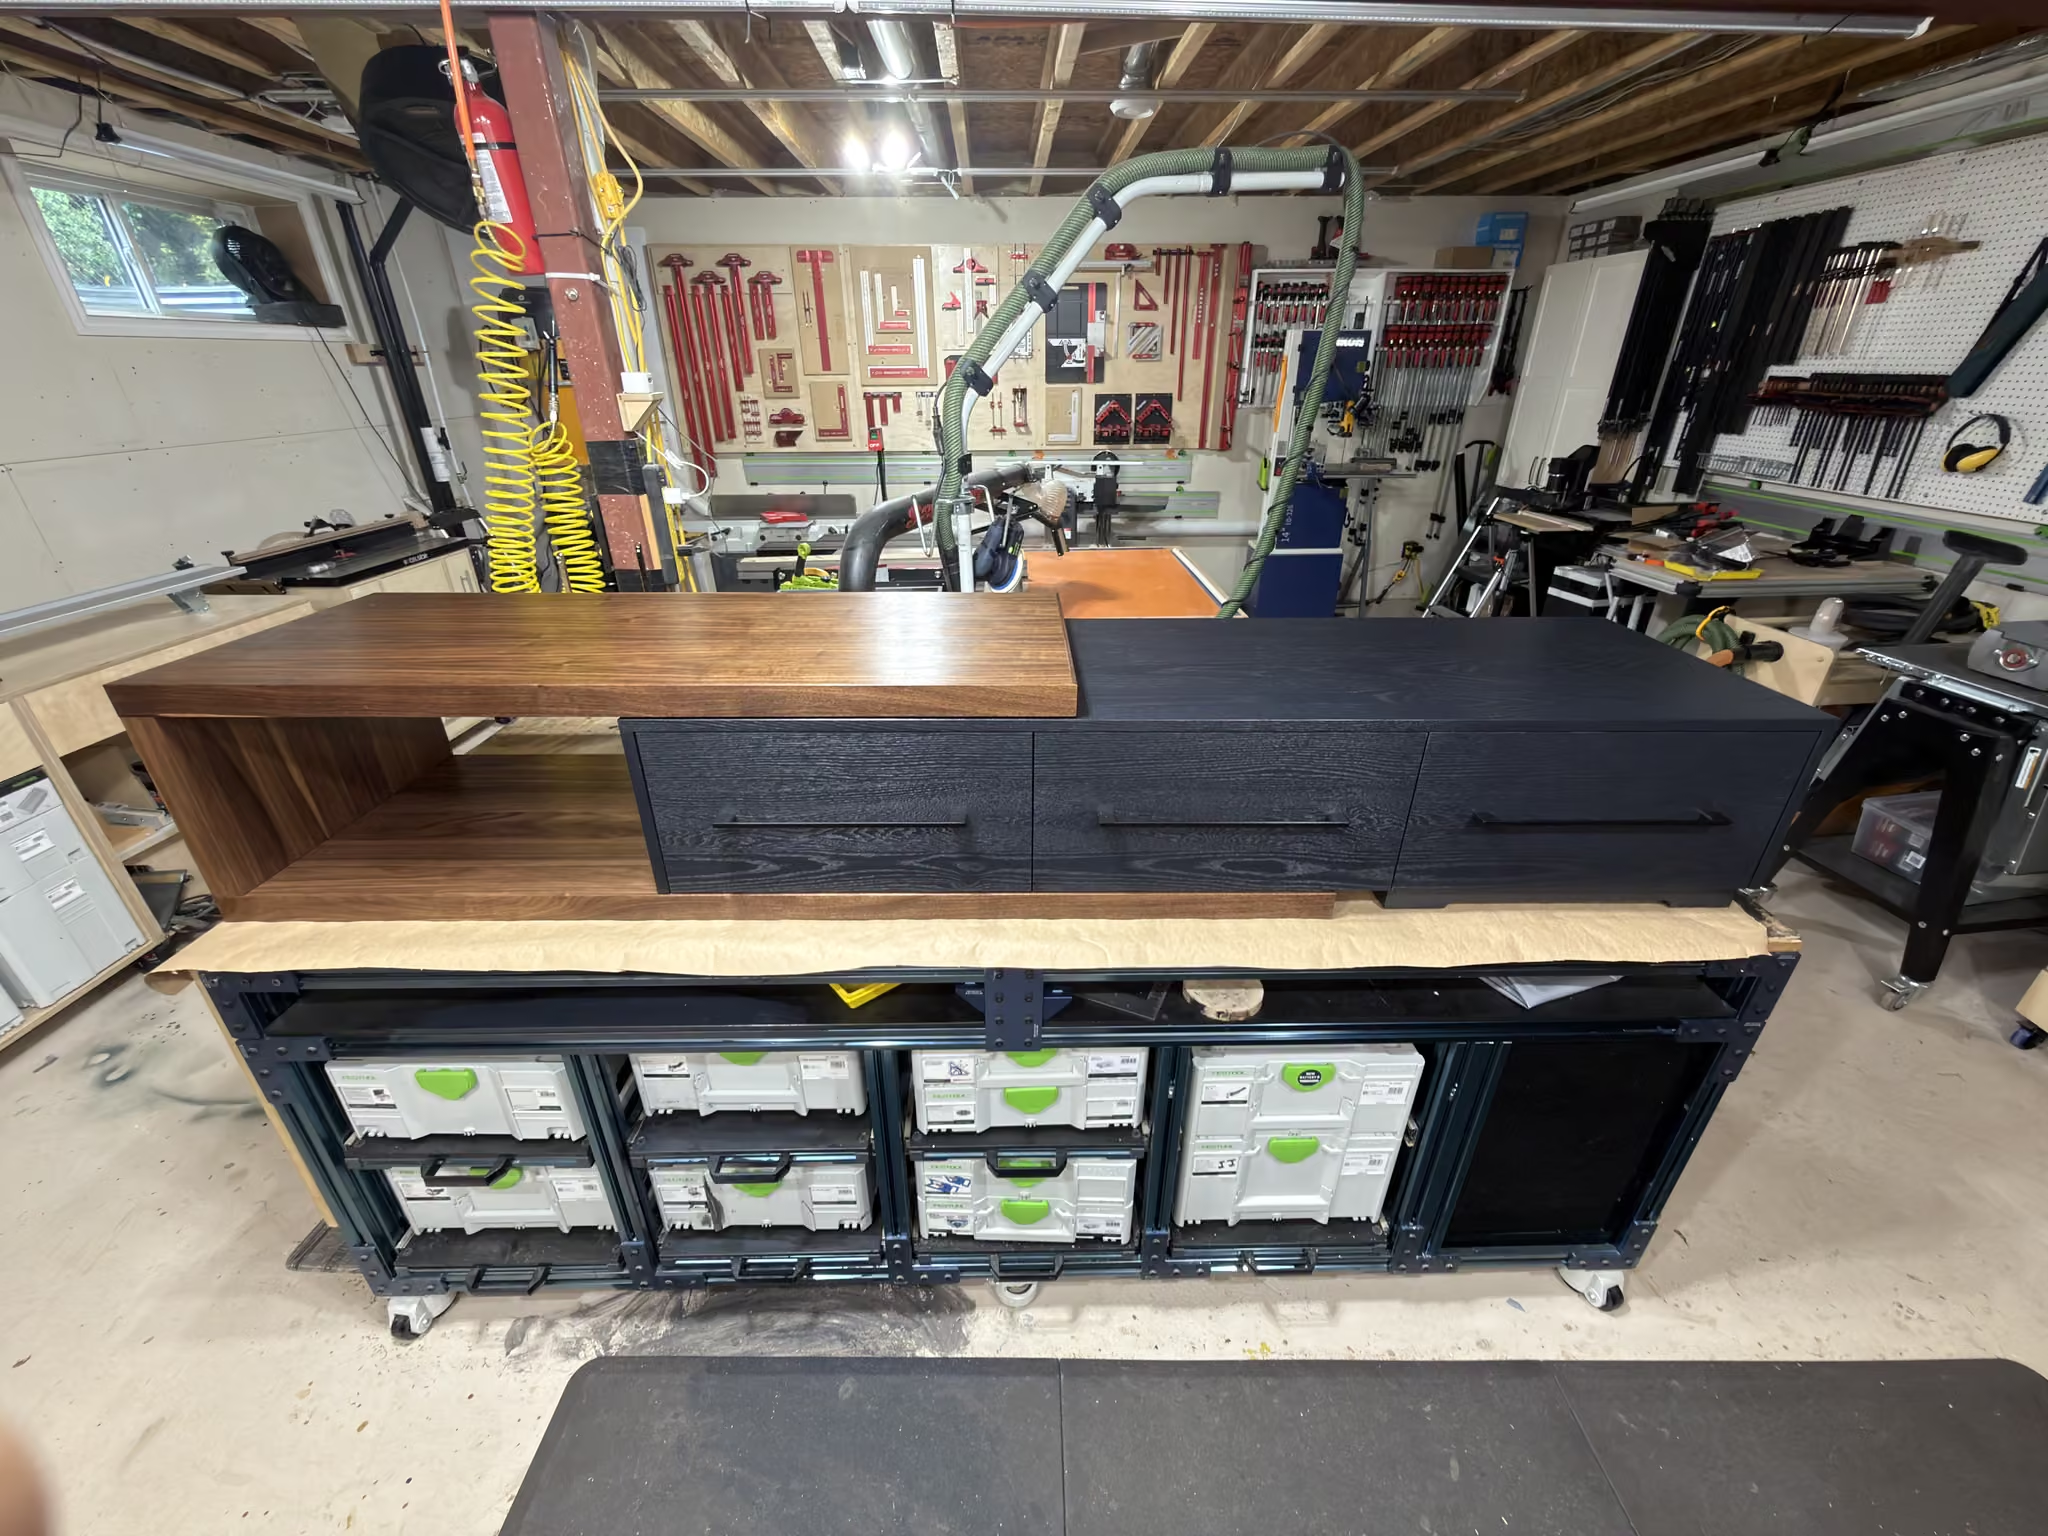
Glamour Shots
Here is a shot from the left, a centre pic, a shot from the right, and a video to show how it looks in motion.
Click on any of the images below to enter a mini-slideshow mode.
Next Up
Stay tuned: there is more to come on this project. The console needs to be packaged up and shipped from Ottawa, ON, to Evan’s place in New Westminster, BC—over 3,500 km. It will be installed there under his ginormous TV. I have to build the shipping container for it, which promises to be a fun and interesting project in and of itself.
Materials and Tools
- Walnut, red oak, and Baltic birch from KJP Select Hardwoods
- Rubio Monocoat Charcoal and SheenPlus Oil 2C for the finish, and Urban Grey and Intense Black for the precolor stain
- Festool Domino for the joinery
- Kreg pocket holes for the stretcher
- Vacuum press pump and bag from Vacupress