Sauna Picture Frames
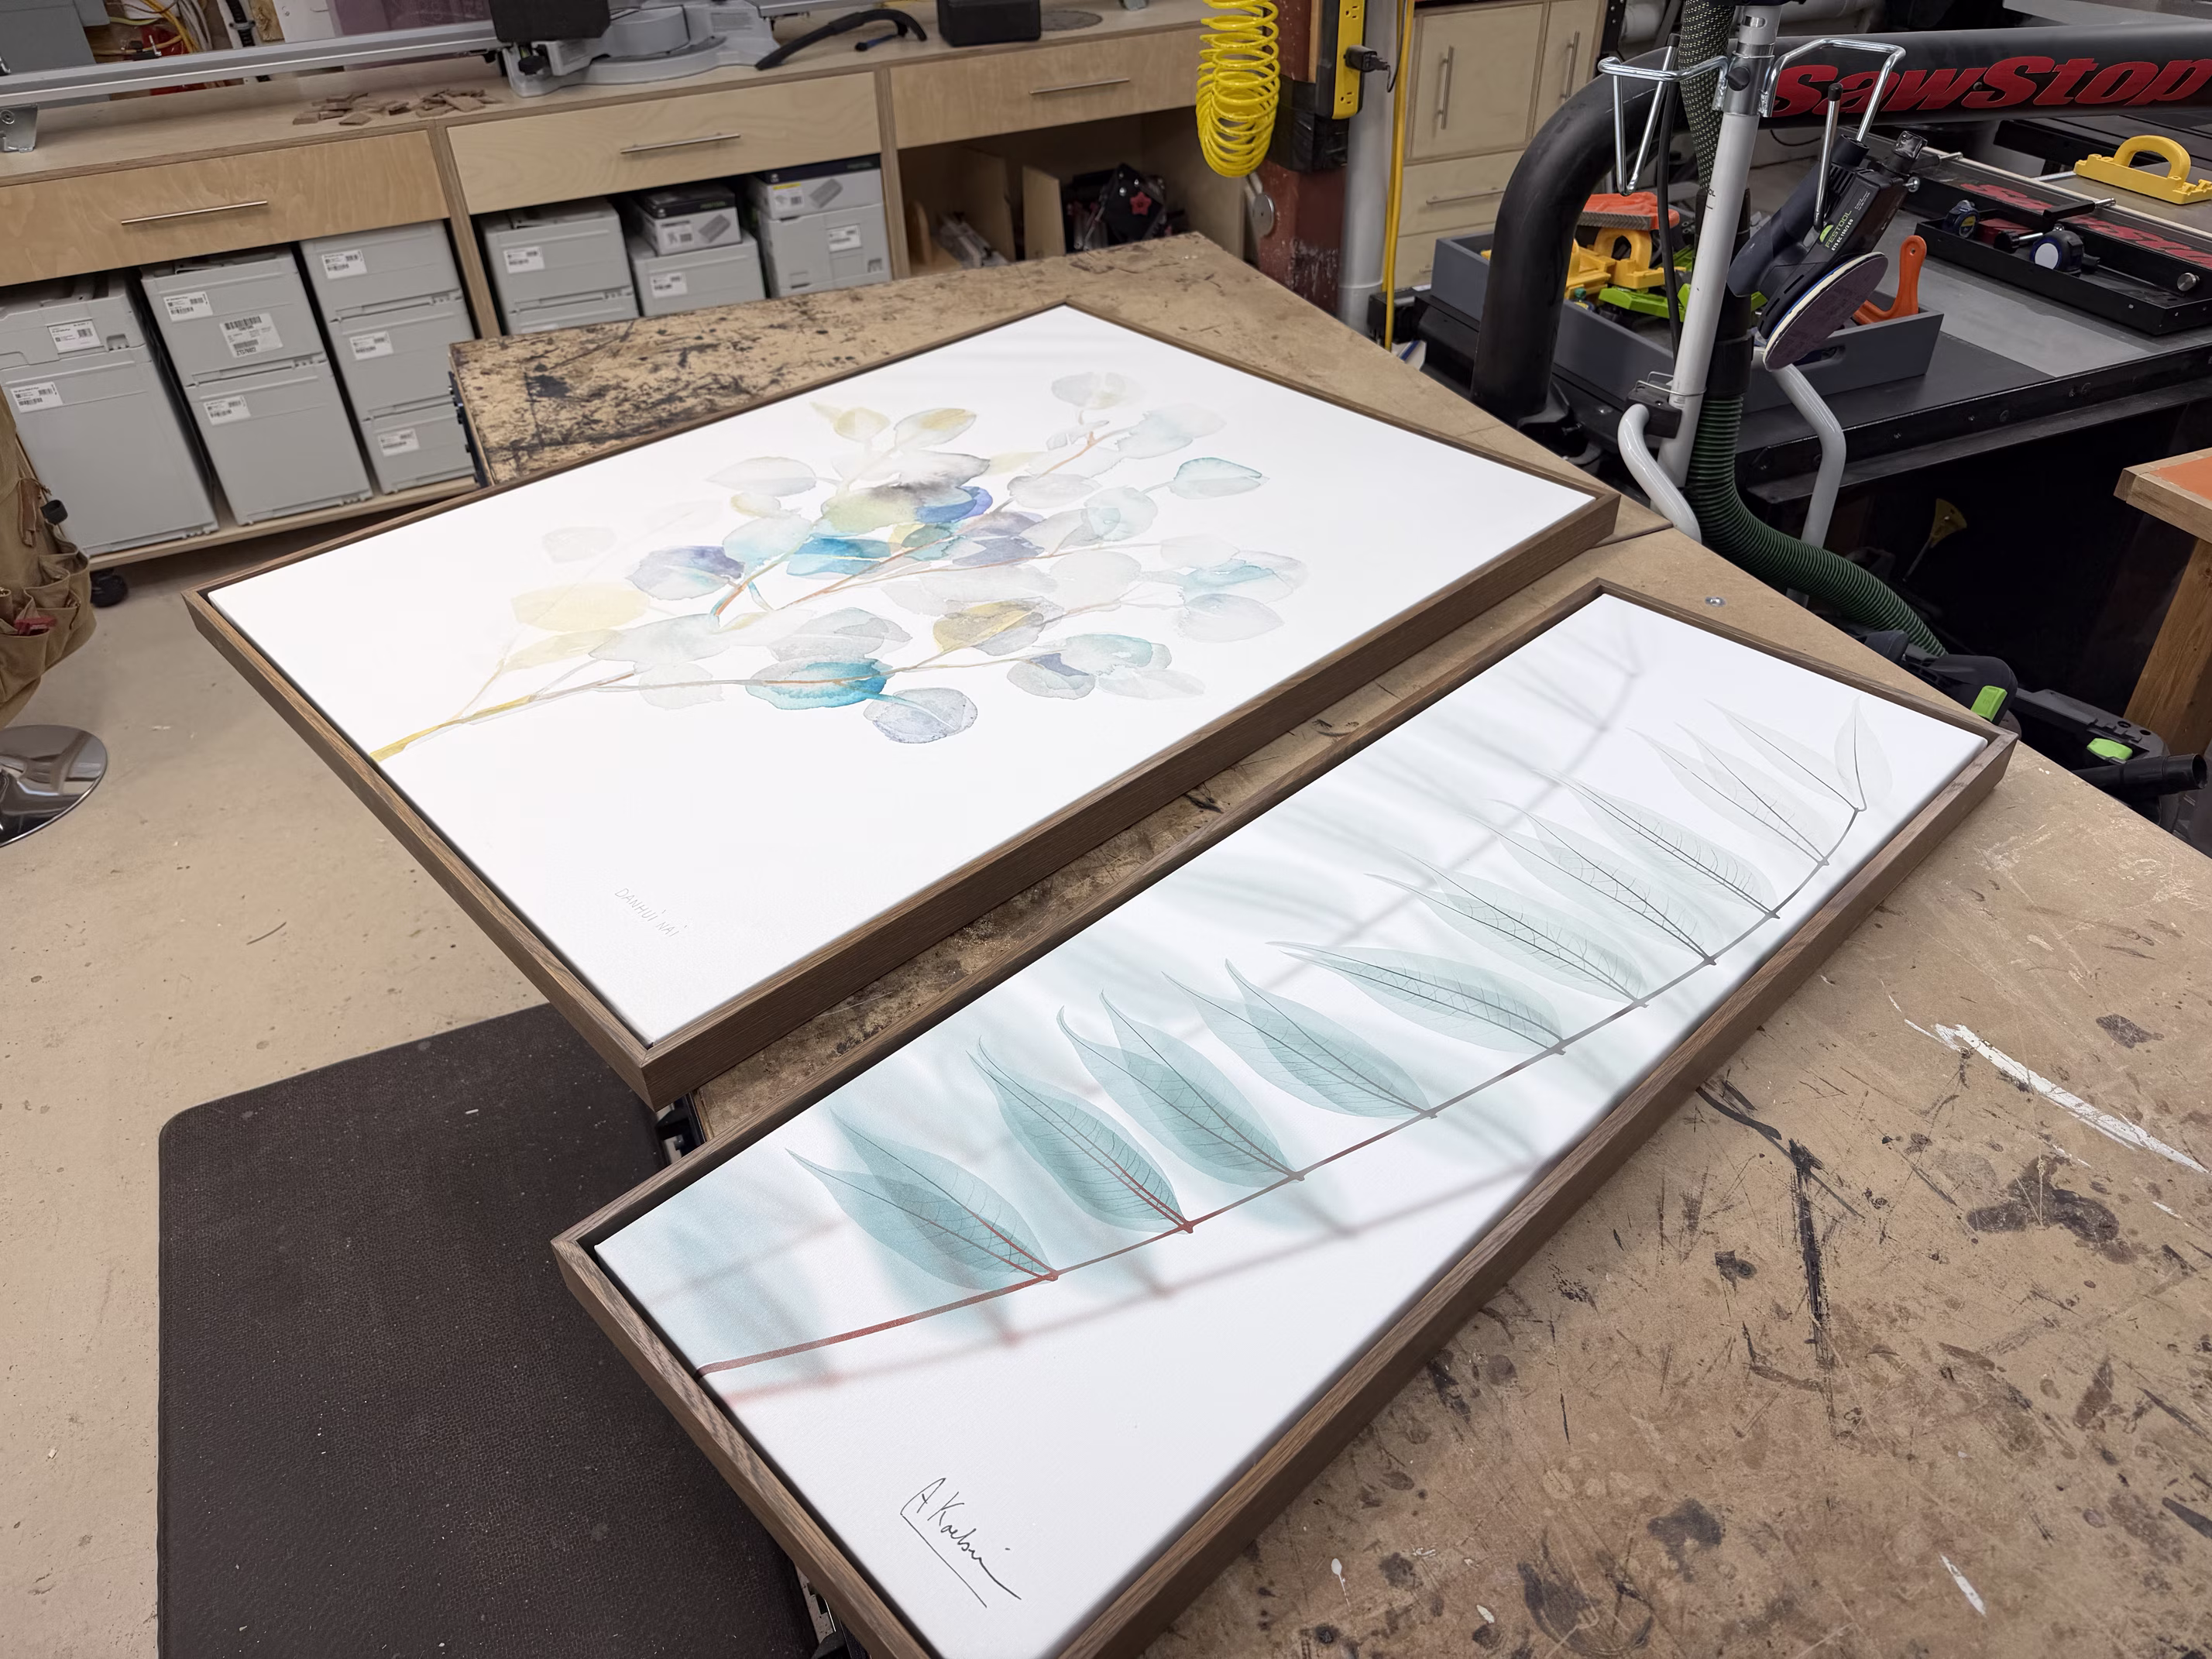
A set of white-oak shadow-box frames for artwork in the new sauna building out back.
Background
We got some cool prints that matched the theme we were going for in the new sauna building out back, which I would have to describe as “contemporary organic”, meaning marbles, tiles, and woods, but with a modern spa-like styling.
I know this is my fourth post on picture frames, and that might get a little repetitive, so I have included a puppet show at the end for your entertainment, stay tuned.
The Design
I did not use Sketchup for this one, so it proves I can do at least some things on the fly. It’s the same design as the last two in the series, a “shadow box” frame. The difference here is that the other two were painted poplar, but this set of frames are made from white oak. Some foreshadowing: white oak is way harder than poplar. If you look at the Janka hardness scale, it is about 2.5 times harder.
Construction

Mistakes at the Outset
This was bad. Ugly bad. So when making frames like this, you start with a board that is about 25mm (an inch) thick, and from that you want to rip it down the middle on the bandsaw to get two pieces, one about 12mm thick and the other about 7mm thick. This allows for a little bit of waste and accounts for the kerf of the blade, which is about 1.5mm thick.
But I made a couple or three mistakes here. First, this board is almost 20cm (8in) wide, meaning the bandsaw blade has to cut all the way through that. Second, my bandsaw blade was a little dull for white oak, which is a pretty hard hardwood. Third, I didn’t have the right setup on the bandsaw. Fourth, rather than looking at the entire board as I was cutting, I was focussed on just the top part, and did not realize the bottom was going totally wonky on me. And fifth…and sixth…

The Pain Continues
It’s not supposed to look like this.
When you cut a board down the middle, it is supposed to have wood on both sides. In my case 7mm thick on one side, and 12mm thick on the other. This side is neither.
A big part of the problem was that I was focussed on the top part of the board, where the bandsaw blade entered the wood. I was totally neglecting the bottom of the piece, which was going in a different direction (aka “going wonky”).
It was such a botched mess, I just turned off the bandsaw and walked away. When it’s not working, it’s best to take a break and come back with a clear head.
The Fix Is In


So when I came back the next day, shaking off the shear disgust of my previous efforts, I did a couple of things to make things work. The number one fix was to cut the boards down to about 40mm from 200mm in width so that the bandsaw had a lot less to chew on as it went through the board. Next thing was to get a brand new blade, which proved to make a real difference: it cut through the white oak like a chainsaw through a dandelion. I also did a bunch of little things like a better bandsaw setup, proper out-feed support etc.

Clamps and Glue
After cutting the rabbet (not rabbit my fellow woodworkers!), it was time for the dominos on the corner mitres and some glue and clamps.

Back Braces in Place
Armed with an 18 gauge brad-nailer, I glued the back braces in place.
The braces are made from the 7mm cuts mentioned above, and they are not visible when the frame is complete, so they are sometimes rough and only partially finished. They are for stability, strength and ensuring the outer boards are straight. The artwork itself is mounted directly to these with screws from the underside, so they need to be solid.
Finished
After trying a number of different shades of grey Rubio Monocoat hard-wax oils, we settled on a colour called Affogato.
According to Wikipedia, Affogato is defined as an Italian dessert with gelato drowned in coffee.
I’m in!!!


See, they are almost identical! I can’t see the difference, can you see the difference?

Alignment Issues
So one of the more challenging aspects of this build was that the artwork itself was neither square nor straight. Both pieces had been in the basement for quite a while, and stuff like that will happen over time. The corners were out of square sometimes by as much as five degrees, and if you looked down an edge you could see a lot of bowing. It was nasty, like a full centimeter bend on the larger piece.
I had to use copious amounts of clamps and spacers (the blue, white, red, and green plastic things in the pic) to get things aligned properly in the frames before screwing them in place.
If you are wondering about the playing cards in the box with the spacers, they are not for an impromptu game of workshop blackjack (though not a bad idea). It turns out that playing cards make great spacers, they are about 0.30mm each, so three of them make about one mm. You can put one or ten of them in a spot and as long as you put the same number of cards on the opposite side, you are golden, or combine them with the plastic thingies for even more flexibility!
Done and Ready
After all that, they were ready to go.


In Production
After carefully carrying the frames out to the sauna over very slippery icy stamped concrete, we mounted the frames in the spa.
First some close up pictures of the frame itself before we get to the good stuff.


The Big One
This frame is mounted at the end of a hallway, but not much point in a picture like that because all you see is the hallway. Instead a semi-profile shot shows off the contrasts of the frame and the print quite nicely.
It makes me want to assume the Lotus position and chant “ooohhhmmm” repeatedly.

The Cool One
This print has a great vibe. There is something about it that draws you in, maybe it’s the windswept leaves that do it, or maybe it’s the colours. Either way, the frame makes it pop and say “Here I am!”
Both frames and prints help create a warm, cozy, and refreshing feeling in the new sauna.
Puppet Show
So here is the puppet show I promised earlier…well look at that, we’re out of time. It will have to wait until the next post.
Materials and Tools
- White oak from KJP Select Hardwoods
- Joinery done with the Festool Domino
- Rubio Monocoat - Affogato hard-wax oil